
Hello!!
It was a long, long time since I've posted here. I just had no time, changed the job and let my hobby fade away. There was a time, when I wanted to give up everything and sell all my equipment despite my promises of a new projects. I had my own knives already started and didn't wanted to finish them either, even when my girlfriend ask me for that. I was still receiving an emails from my customers who were asking me for doing stuff for them, but usually my answer was ''No''. Then, few months ago somebody asked me to repair few knives for him and sent me their pictures. At the very beginning my answer was quick and same as always, but after some time I thought that I could give it a go. So here you go: All I know about these knives is that their owners brother brought them from Japan somewhere about 10 years ago. I am not sure how and when were they used or sharpened, but as you can see on the pictures they are in a very bad condition. Also I didn't know who's the maker and what are they made of.
I did some research and asked some people on the KitchenKnifeFora.com forums and again they appear to be very helpful. The bigger knife, Santoku 180mm, is a Sakai Toji Iwakuni. It is made of Yasuki steel by Izumiriki Seisakusho. I've never heard of that maker before.
I still don't know what kind of steel is this knife made of, because Yasuki steel can refer to Shirogami, Aogami and Aogami Super. This is what I have found on the internet. (Source: http://japan-blades.com/how-to)
''
Hitachi Metals Ltd. is one of top manufactures of high grade metal products and materials, electronics devices, high grade functional components and equipment. The company is well known as a manufacture of its “Yasuki Hagane” YSS (Yasuki Speciality Steel) for cutlery industries.
Yasuki Hagane steel has been produced in their plant in Shimane prefecture in Japan where the high quality iron sand has been produced for making traditional Japanese swords since ancient times. These are three main premium grade high carbon steels (Shirogami, Aogami and Aogami Super) that have been used for making Japanese made field & kitchen knives. Hitachi metal is also known as the manufacture of high grade premium stainless steel, ATS-34 and ZDP-189.
ZDP-189 is the highest performing steel in the knife industry today.''
So all I know at the moment is that it is a carbon steel and it could be white, blue or super blue steel.
The other knife is a small petty with ''kurouchi'' finish. I've been informed that it is ''Kiya'', but I didn't find anything about this knife on the internet. I've found other products from this maker, but nothing similar to that blade.
So before we start I took some pictures, so take a look.
Both knives together:


So let's start from the smaller one. This one should be easier to repair. To be honest, I was only asked to sharpen it, but I did much more. So from what you can see on the pictures it is heavy rusted. There is a kanji on the right side. This knife is quite thick, but I've stropped it and I was amazed that it was actually sharp and that it was cutting potatoes quite well. I will have to ask its owner who and when has sharpened it. There was also a small chip near the tip.


Here you can see quite thick grind of the blade:

The handle was of a very bad quality. There was a ridge between the wooden part and the collar.


It wasn't obvious at the beginning, but after further examination I have found out that collar was separated from the wooden part. Probably it wasn't even glued. I wanted to remove the handle with my usual method of banging the wooden board against the handle with the hammer, but even after very strong blows with the hammer it didn't come out. I assume that it is glued in or it sits there and it's stuck. It's strange because usually traditional Japanese handles are burned in to the handle with the red hot tang of the knife for snug fit. I had to repair it with a handle attached to the knife which made everything more complicated.

So first thing first, I have started my work from gluing back the collar to the handle with super glue.


Then, when it dried out, I have used my belt grinder to remove glue remains and to smoothen out the ridge between the collar and wood.

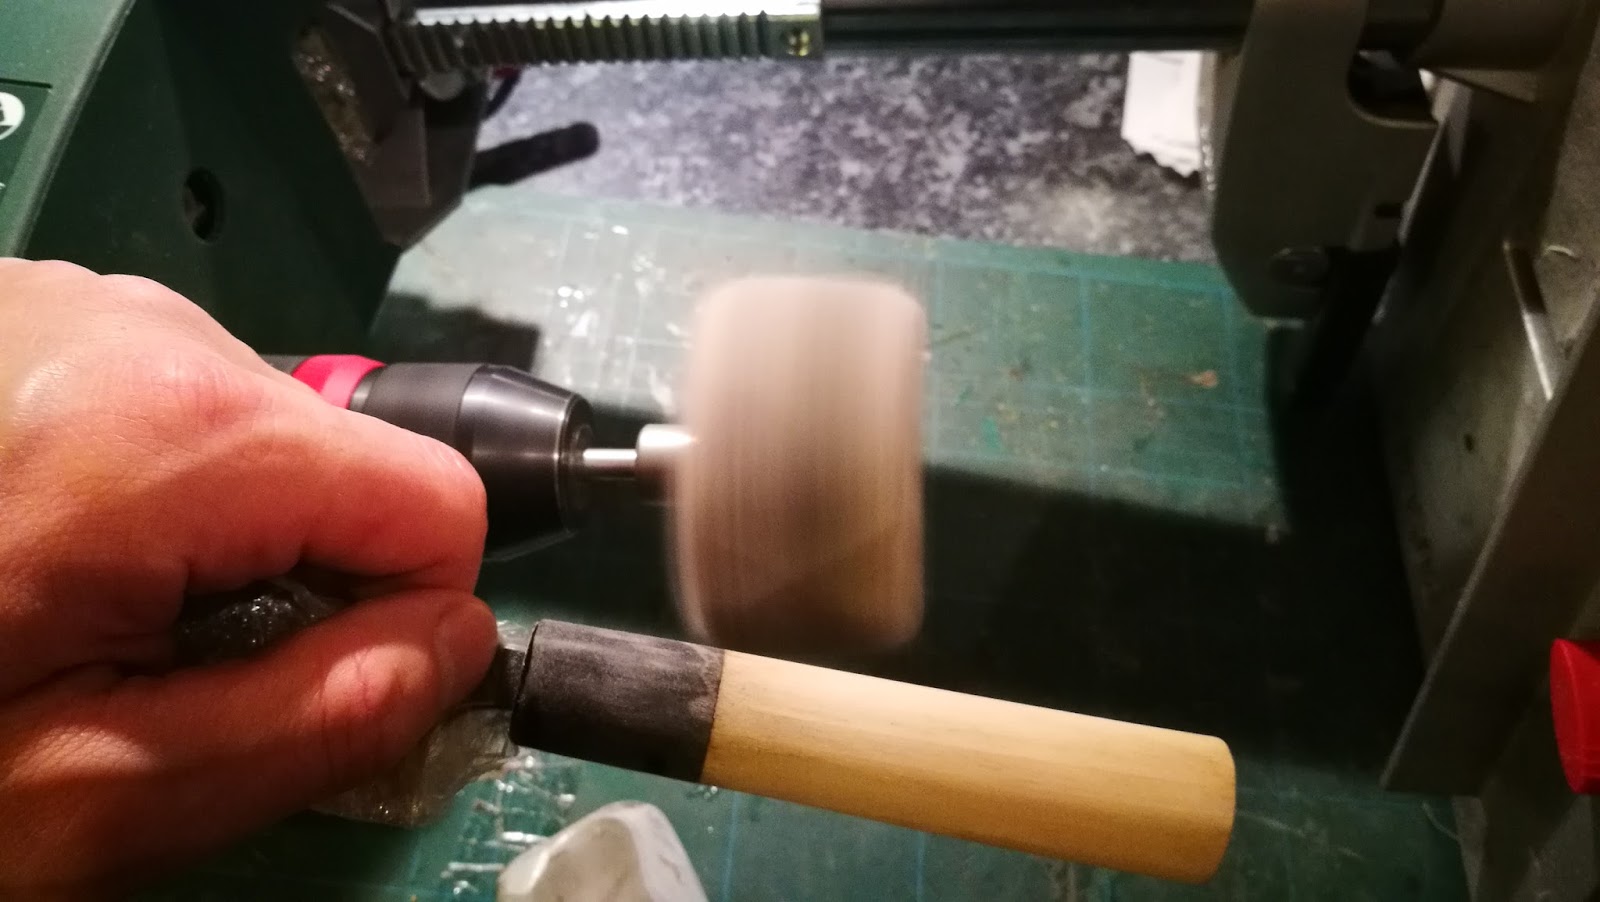


To finish it I have tried to use different kind of fingerstones coming mostly from natural stones, but you would be surprised how well a fingerstone from JNS6k is polishing that blade (and others).


So now it was a time for the main meal - Sakai Toji Iwakuni 180mm Santoku.
First thing that is striking the eye is a huge chip in the middle of the blade. Obviously the whole blade was covered in the rust.


So I have removed the handle and laid the blade on the A4 sheet of paper to draw the outline of the blade. I usually don't that, but this time I wanted to plan my next steps. I also took some thickness measurements.


Here it is, whole naked:D

I have circled in red, huge low spot with some pitting after rust. I already know that this will cause me a problem in the future.


In the middle of work:


As you can see on that picture the blade became very thick. The small chip is still visible, but it will fade away in the next step.


Below you can see the new edge. I have settled a new bevel only as a reference. It would be a big mistake to leave it as it
is, because now, this knife is too thick behind the edge and it won't cut
good.


It's time for the next step - thinning..
To do that I took the coarsest stone in my collection. I don't exactly now what is that but it is rough as hell, it's feedback is very unpleasant and it drinks more water than me on the hangover. I believe that it could be Cerax circa 120 grit grit or similar. I just didn't want to waste time.
Fortunately, the grind on that knife was leading me.


Here you can exactly see how close is the iron to the steel. I had to lift it even higher, because after few sharpening session someone would hit the iron.


Picture below is showing blade after last stage of thinning. I could go further, but there was no point of removing more metal than it is needed. This knife is already thin.

I wanted to refinish it on the stones. I really don't like to work with sanding paper, because it's taking ages and I believe that stone finish is better than sanding paper one. My way of doing that is to lay a knife perpendicularly to the stones and to grind in the same direction. This way, vertical scratches will be made on the blade.
Vertical scratches on the whole surface of the blade.

Of course everything has it's pros and cons. Do you remember big low spot I was talking before? Now it will be very visible. Of course, one of the solutions is to grind the whole blade to even it out, but as I said before there is no practical reason to do that. It (low spot) won't affect cutting performance.

I have used coarse fingerstone (I believe that it is made of JNS300) to polish it along the length of the blade.

It's starting to look good.

And then I continued the same with JNS800, Red Aoto, JNS 6000 and finished everything with Takshima fingerstones.

How do you like it? I am pleased with the finish like that.


At the end of work, I had to attach the handle back to the knife. The handle itself was a handle with oversized hole in the middle and the slot for the tang. I didn't want to glue it back, so I took some wax from random candle, squeezed that in to the gap between the tang and the handle and heat it up with my dremel hot air soldering tool. That has sealed the gap and prevent water from getting in to the handle.


That was a nice project. I have really enjoyed it. It took me longer than I thought it will, but again I have learned some things and gained some motivation for the next project. Of course, as always, I am not 100% happy with the end result, but I am never satisfied. There are still some marks and pitting after rust, especially on the left side of the blade, but as I said before it doesn't affect the cutting performance and there was no reason to remove more metal than I had to.
I really wish to take better pictures, but it is damn hard to do it. Knives are reflecting everything and I believe that I would have to own a studio photography equipment to take pictures I wanted. In real, these knives are looking better IMO.


Brak komentarzy:
Prześlij komentarz