niedziela, 22 czerwca 2014

My trips to Germany, Solingen

Hello eveybody.
Last year I visited my girlfriends family in Germany, Remscheid. When her uncle told me that Remscheid is only few kilemeters from Solingen, I was really excited. This year we went there as well. I already described the whole story from last and this year on Polish knives forum. Unfortunately it is a lot of writing and this could be difficult for me to write it in English, so I will give you some highlights from the story. Anyway you won't be dissappointed.

Last year
I am not sure that you are aware of that but Solingen, Wuppertal and Remsheid were three industrial cities. Solingen is called ''Klingenstadt'' - City of blades. Remscheid is known from manufacturing tools and Wuppertal is known from manufacturing textiles. In the past times, when humanity didn't know electricity, people were using water from river to power machinery in the factories.
I will try to shorten my story so I will only show you pictures and movies.
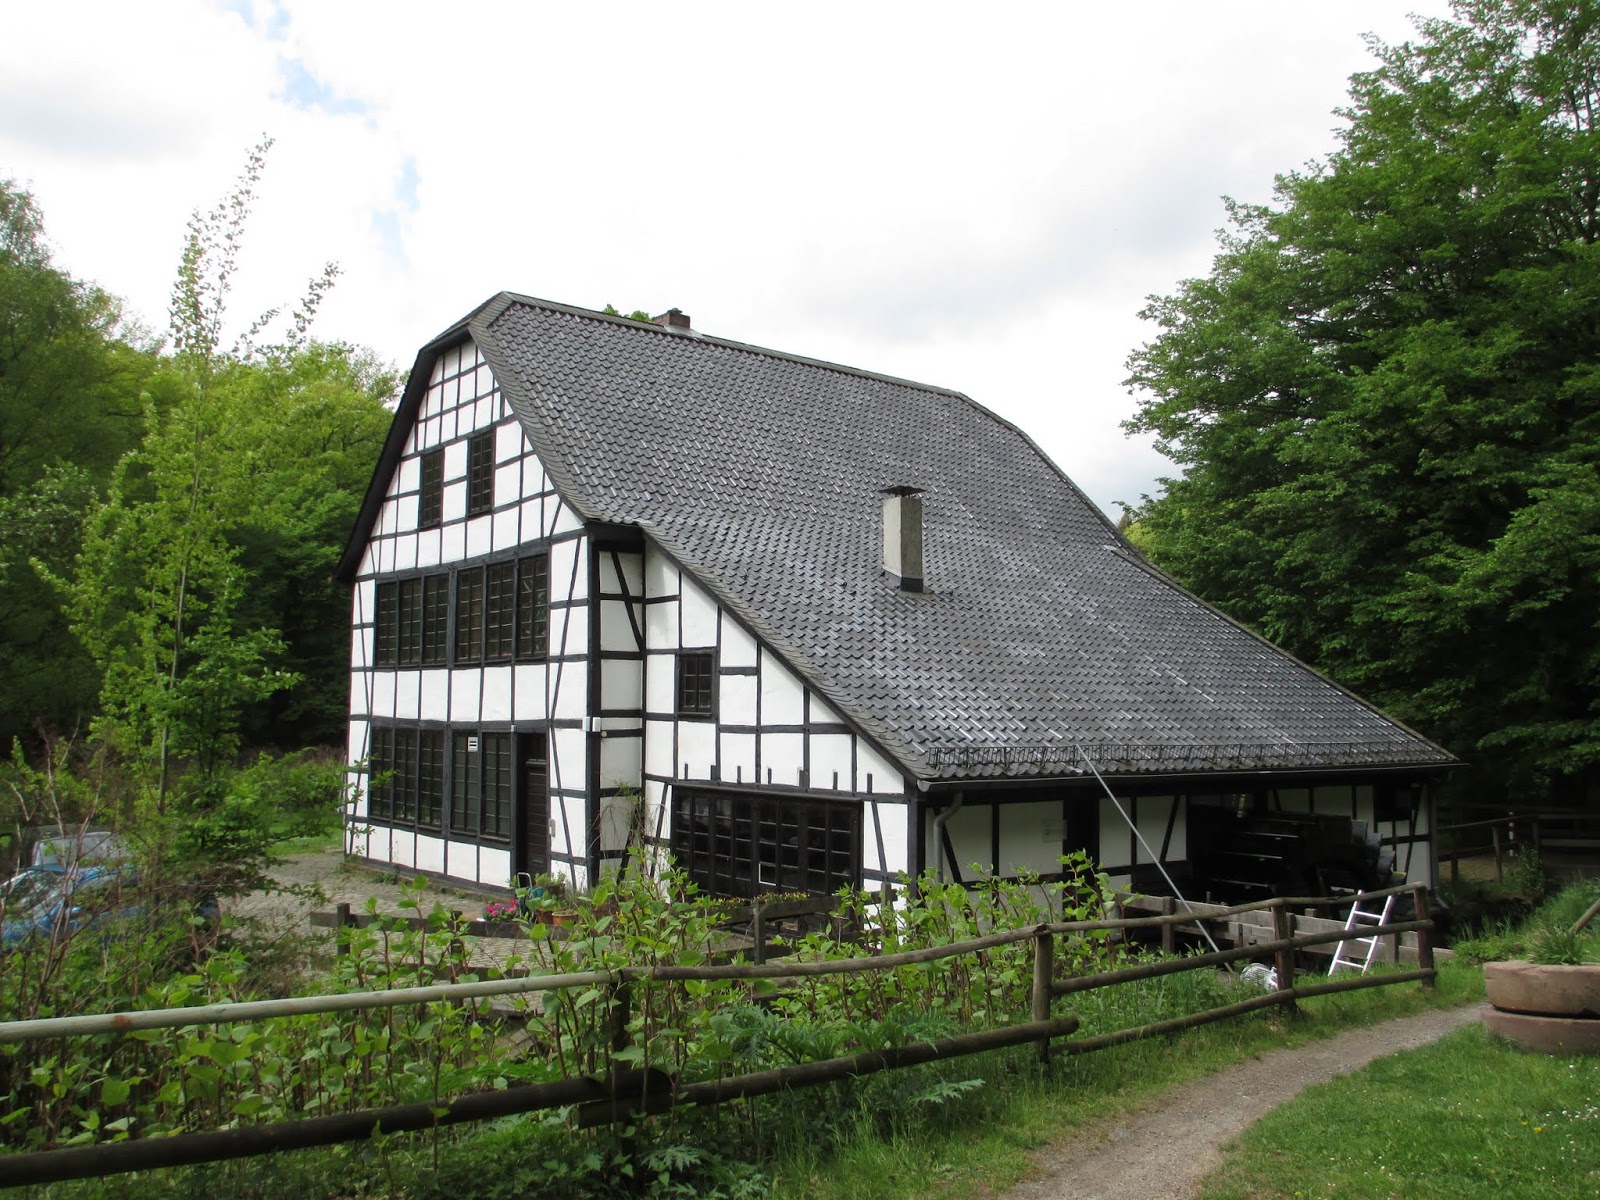
''Schleifermuseum Balkhauser Kotten''. - The grinding museum
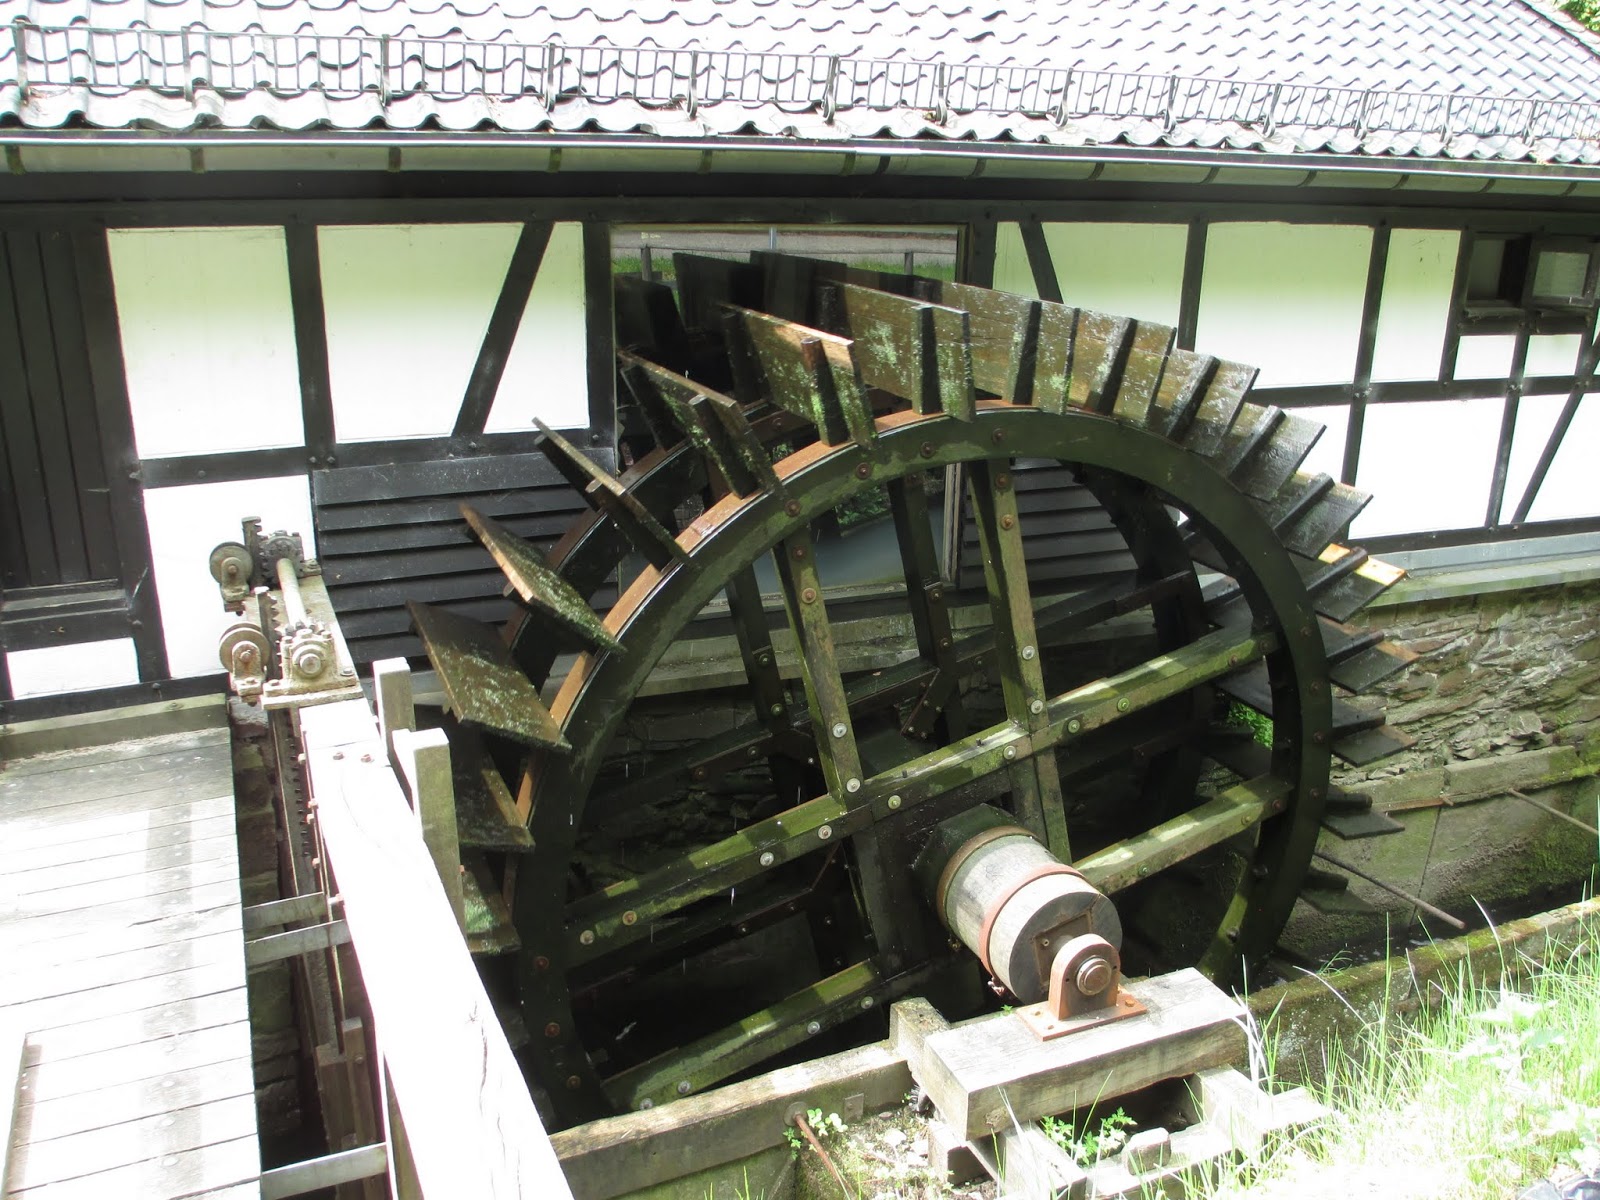

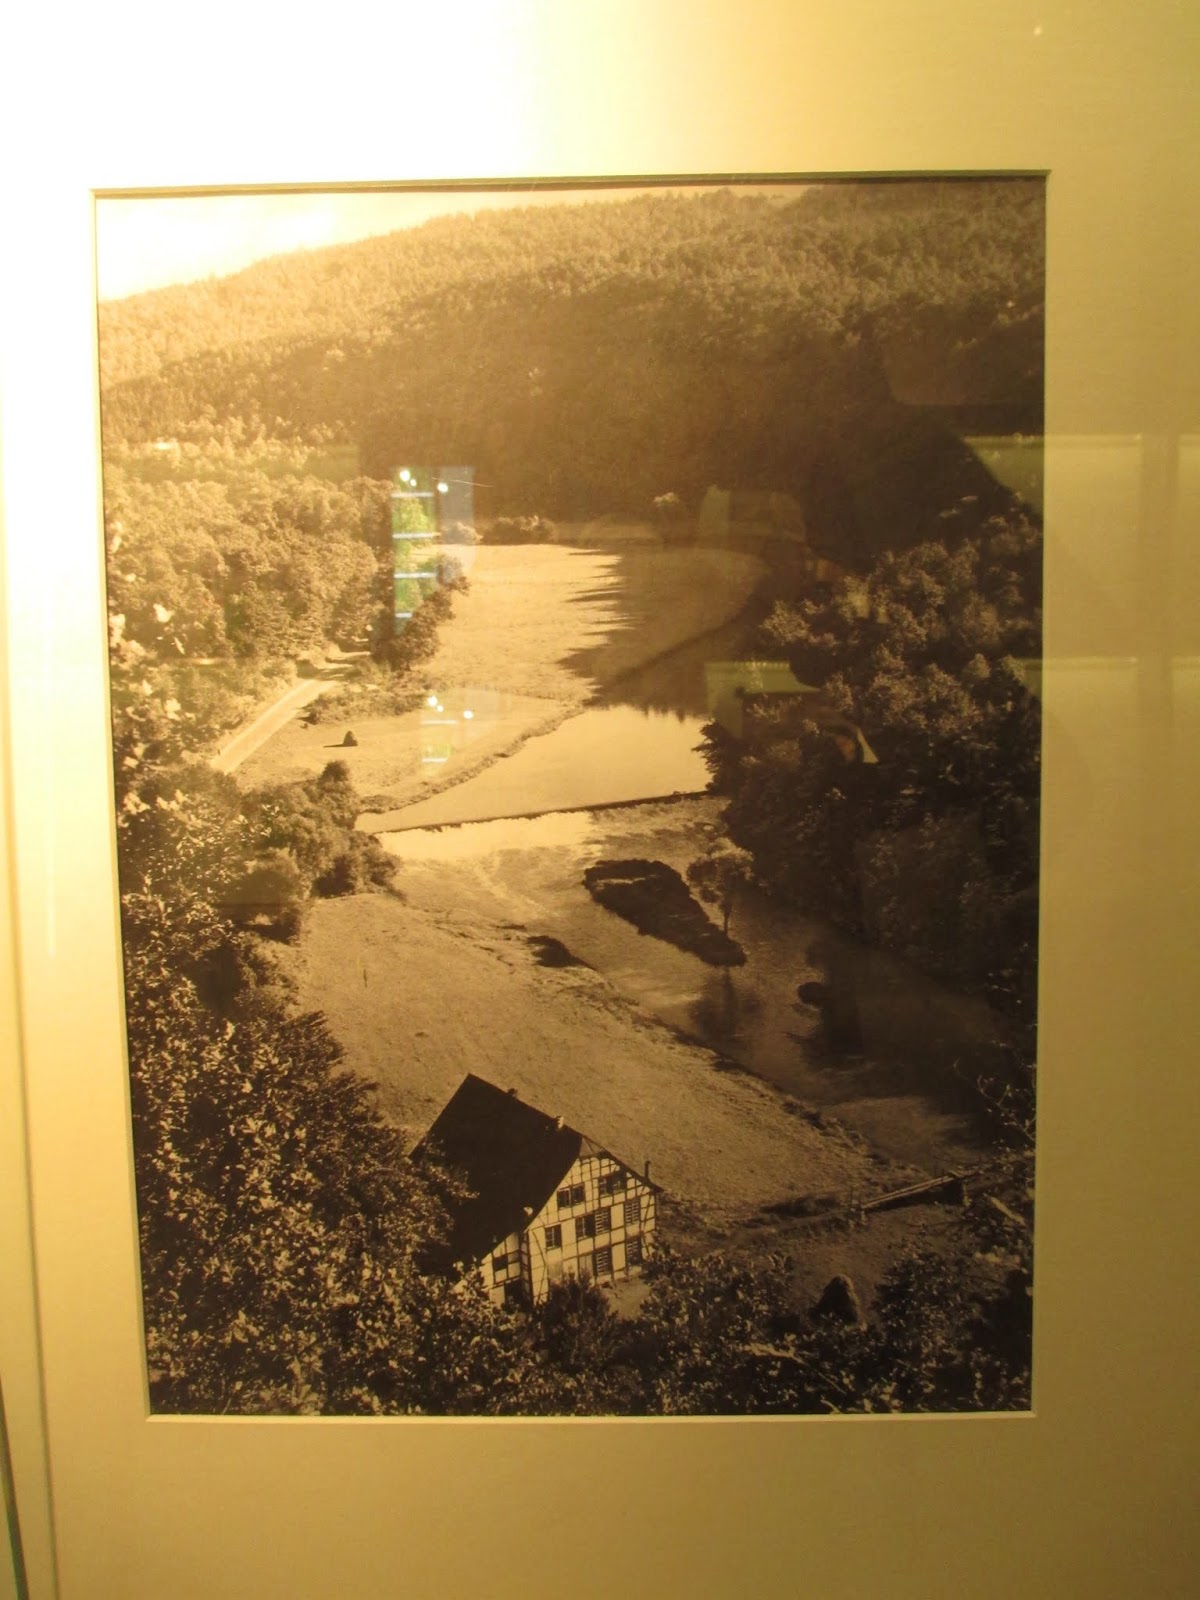
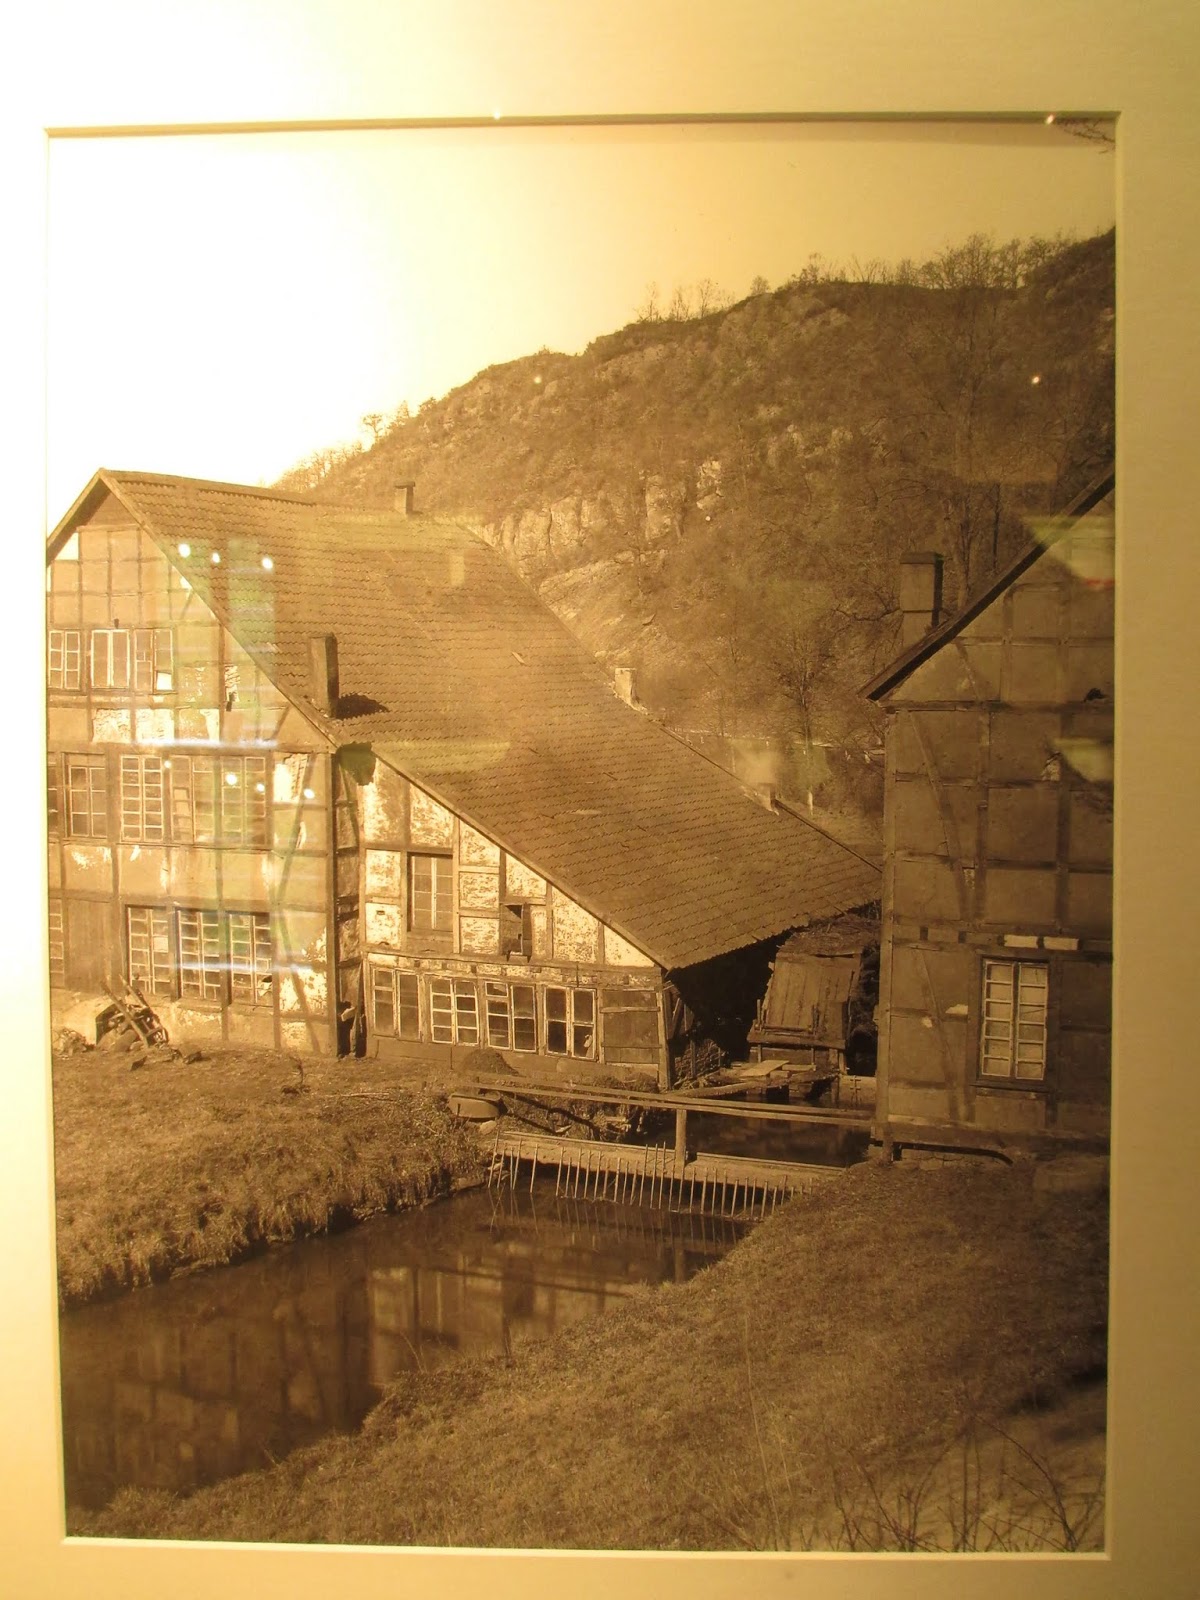

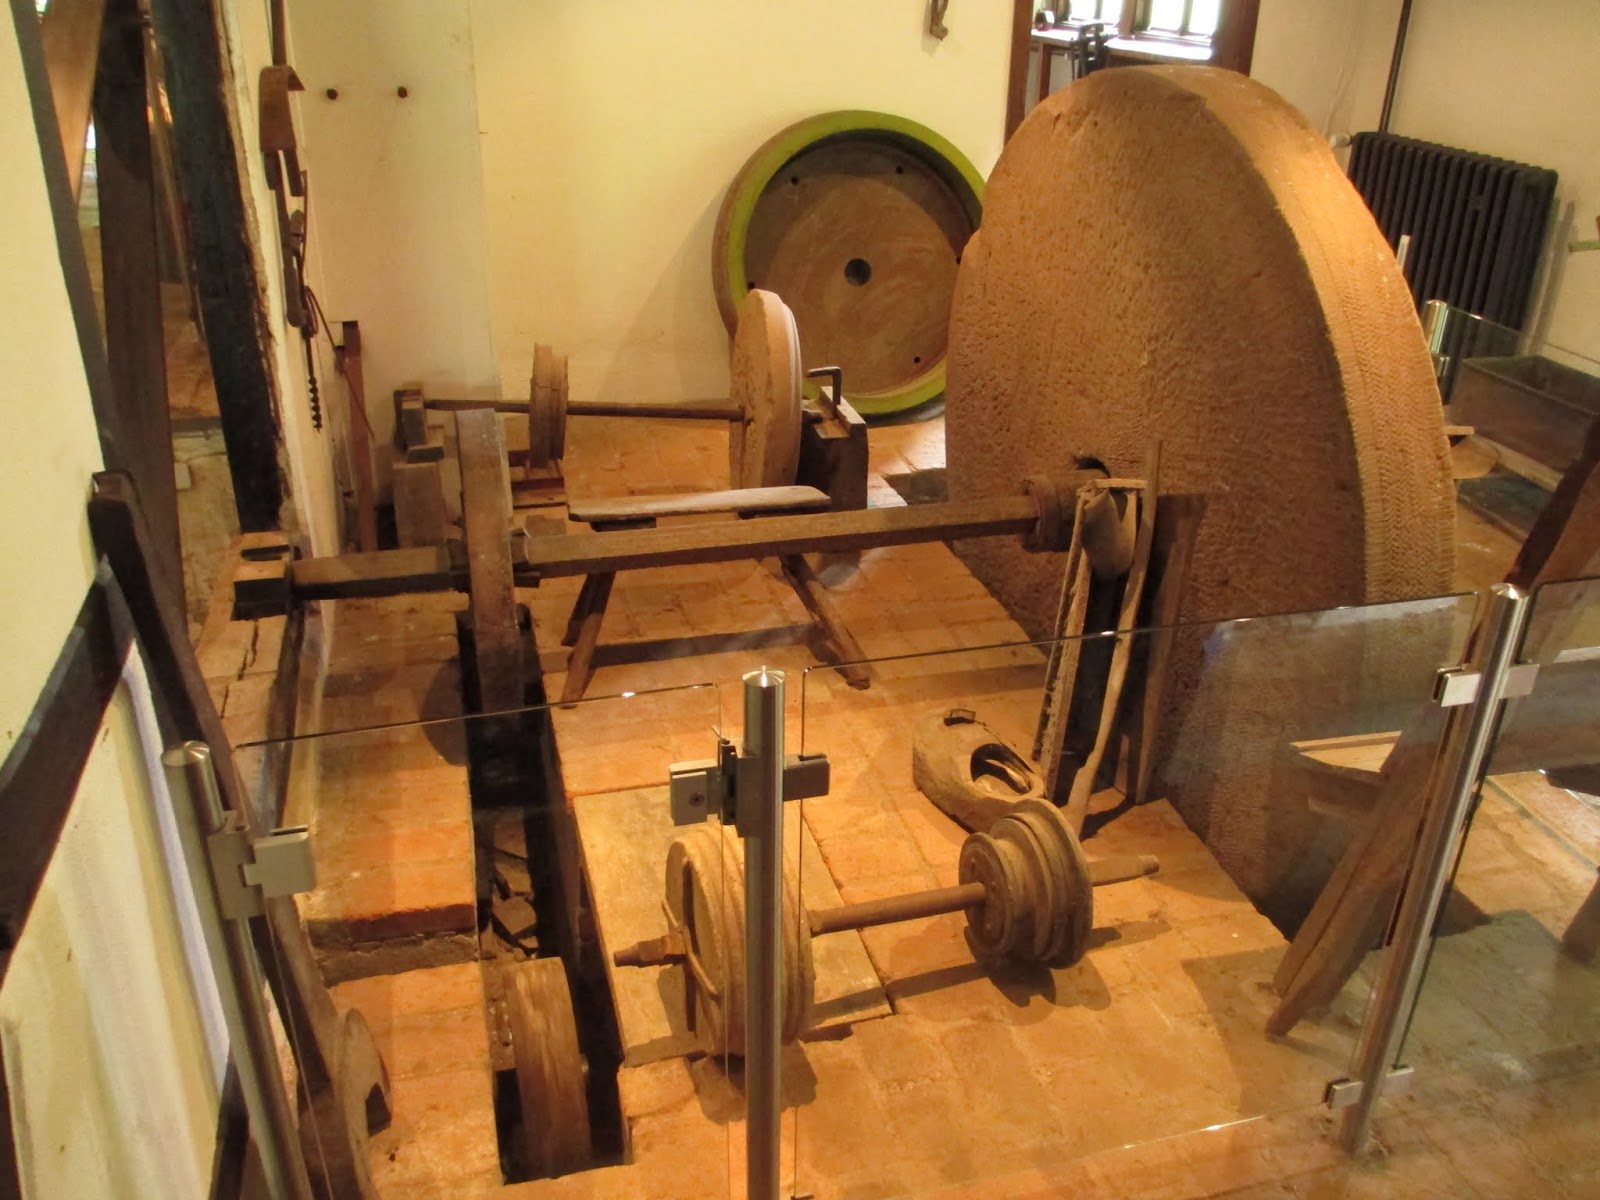

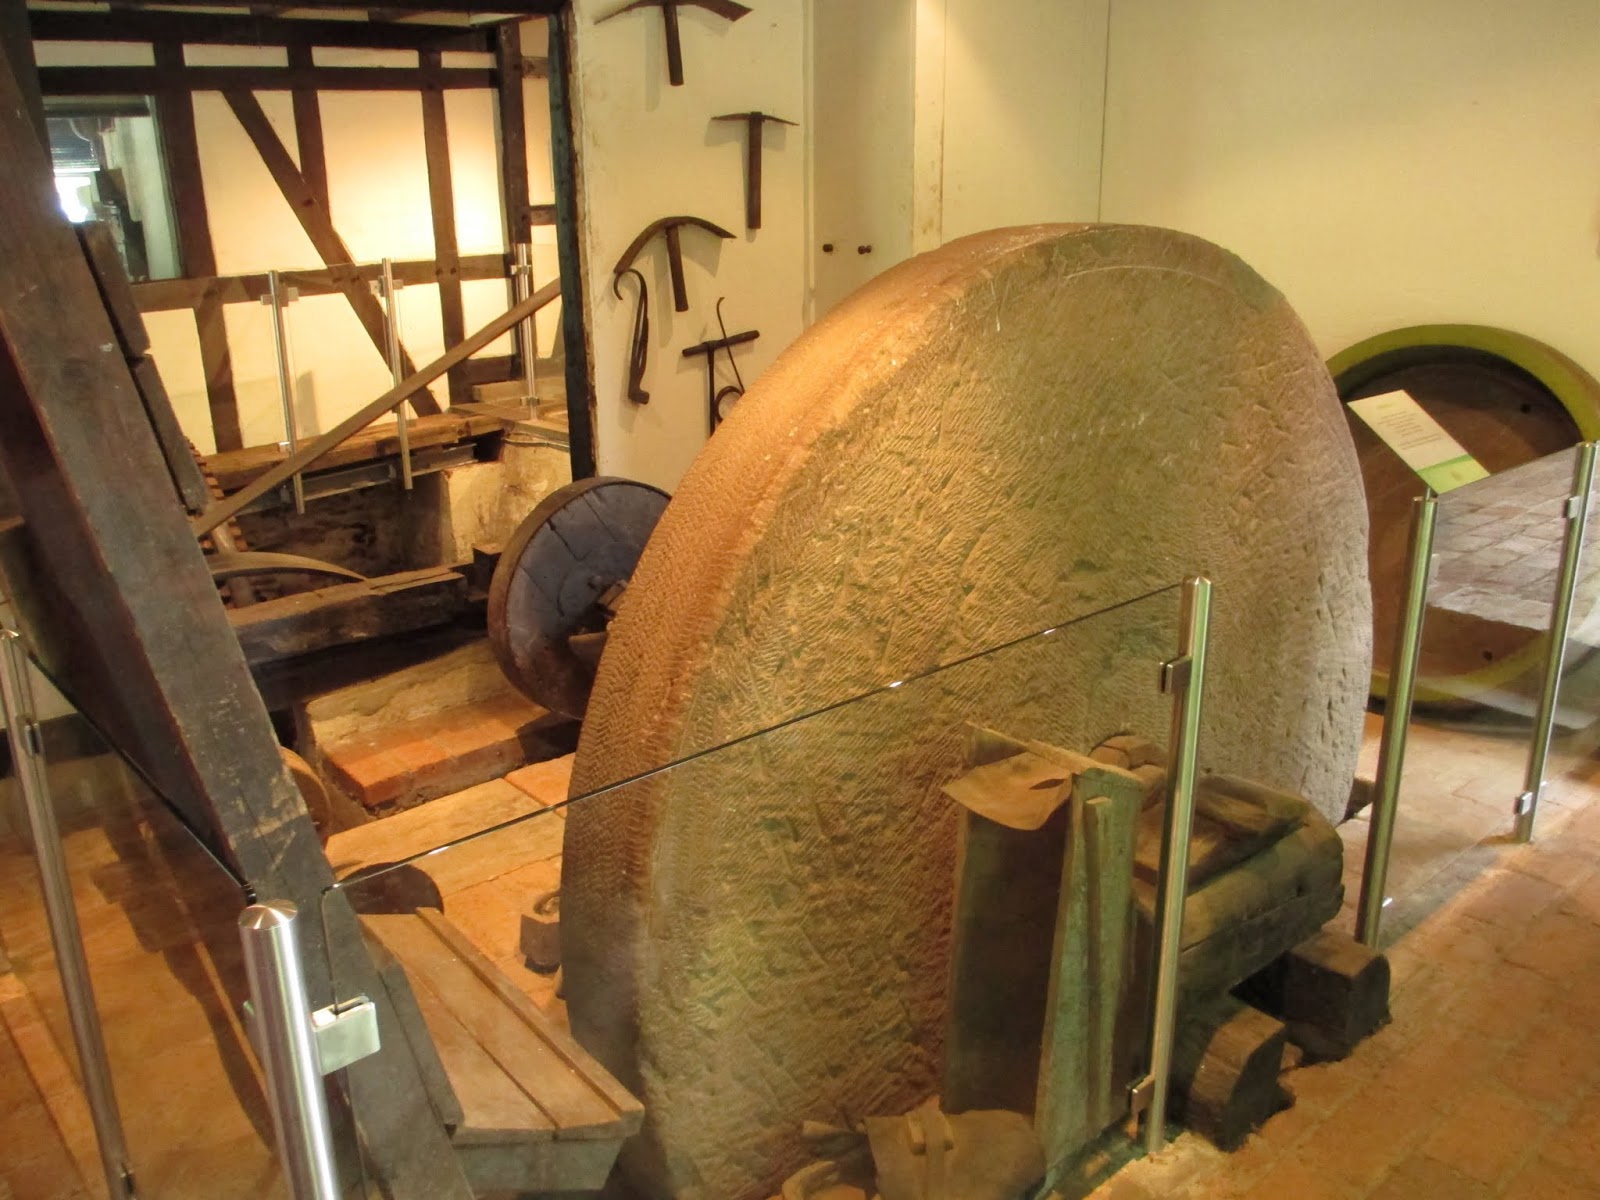

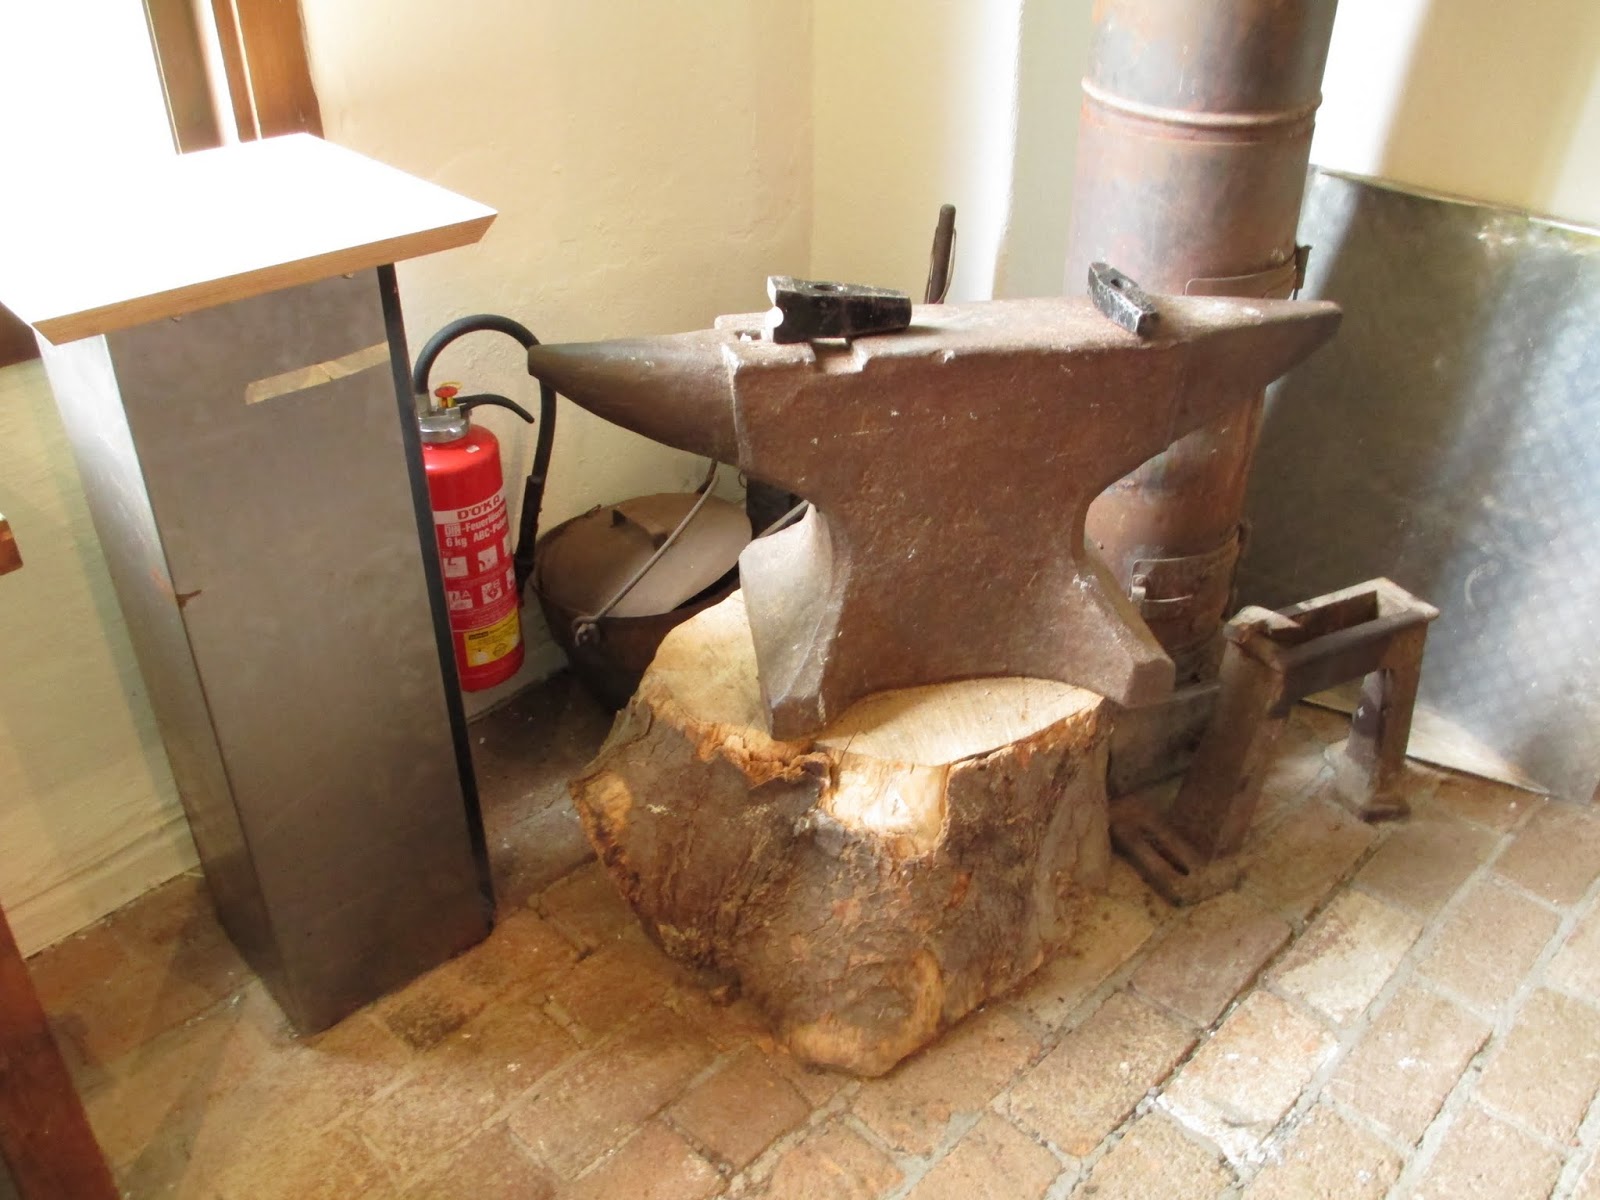
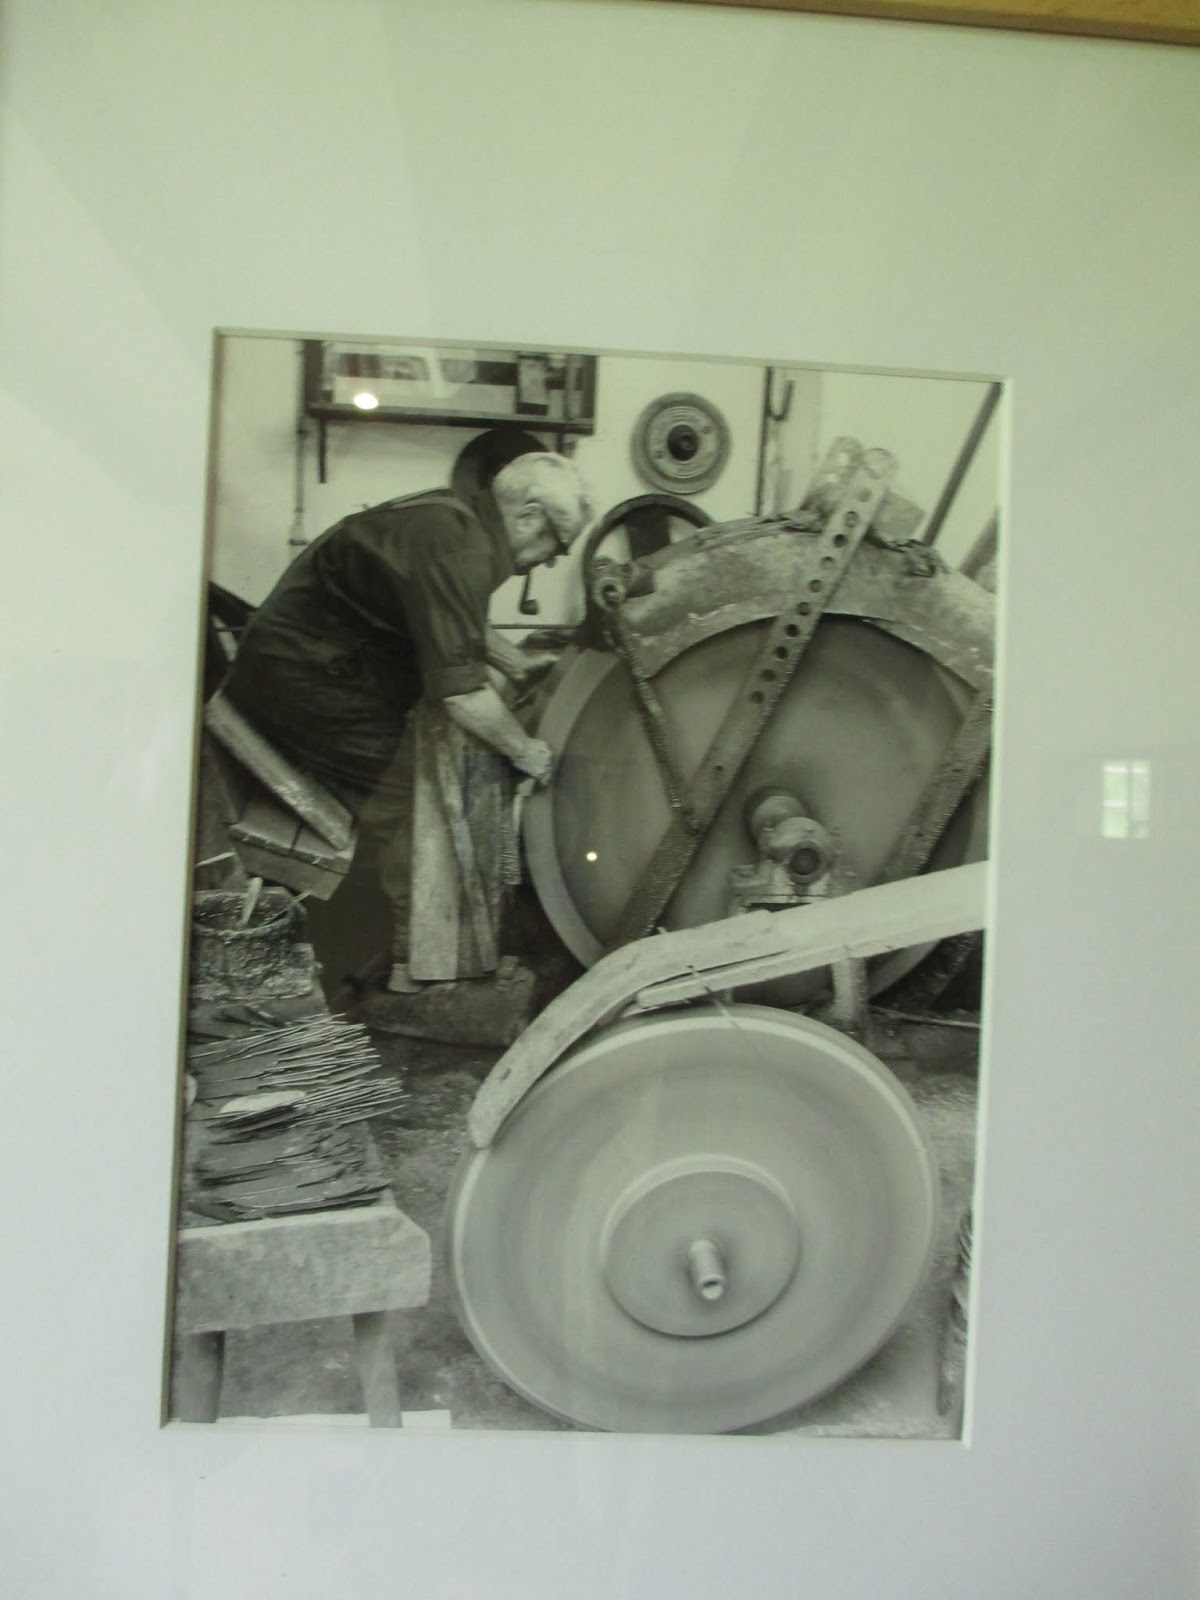
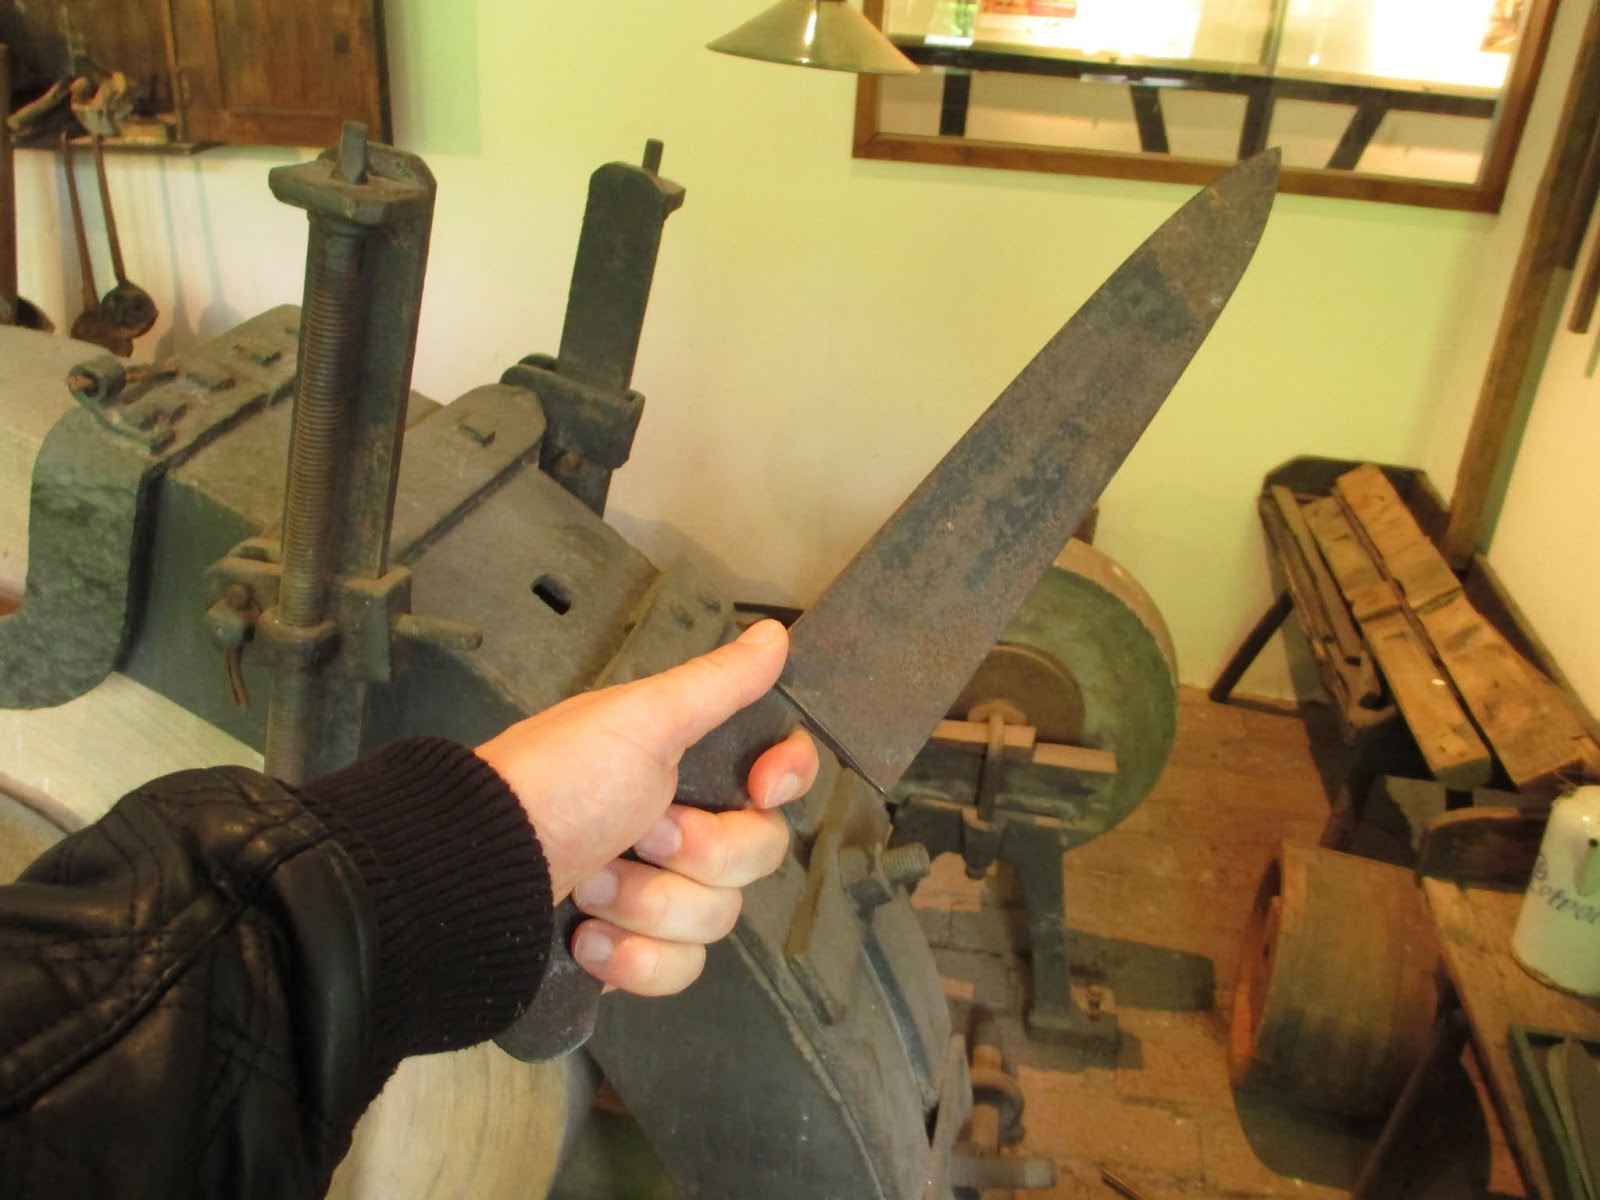
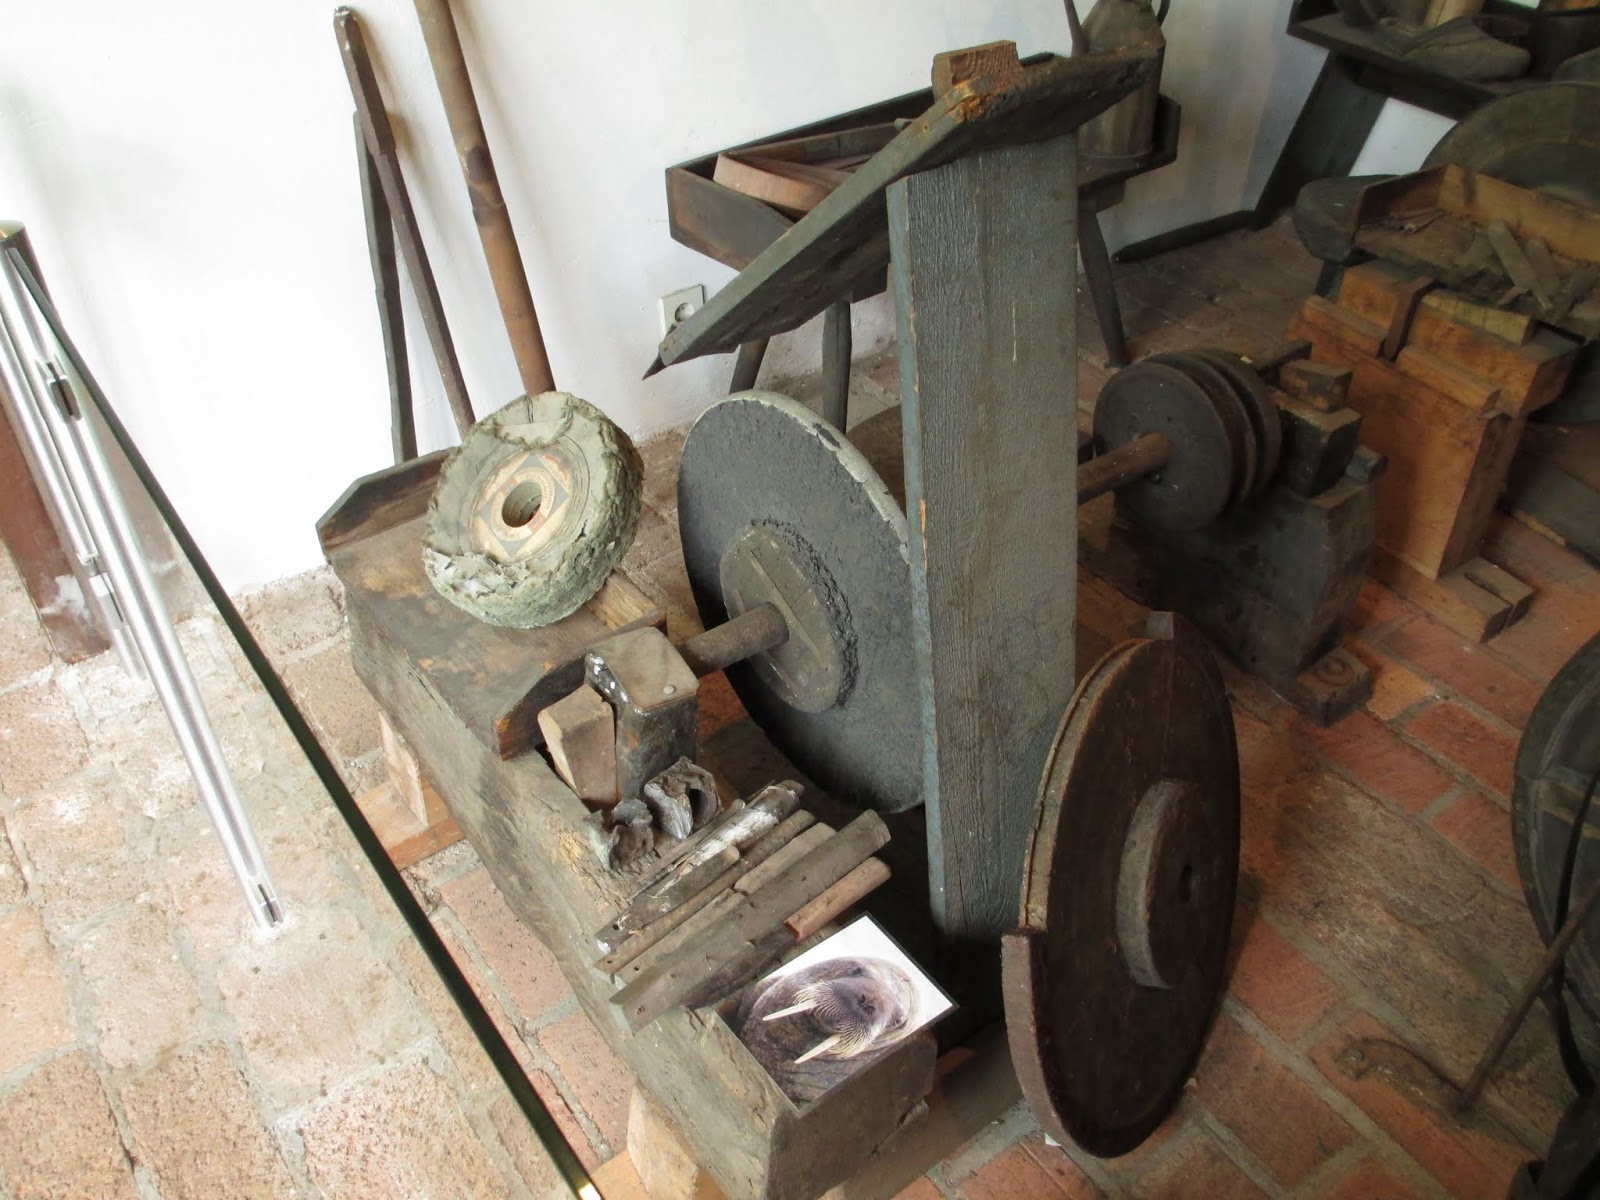
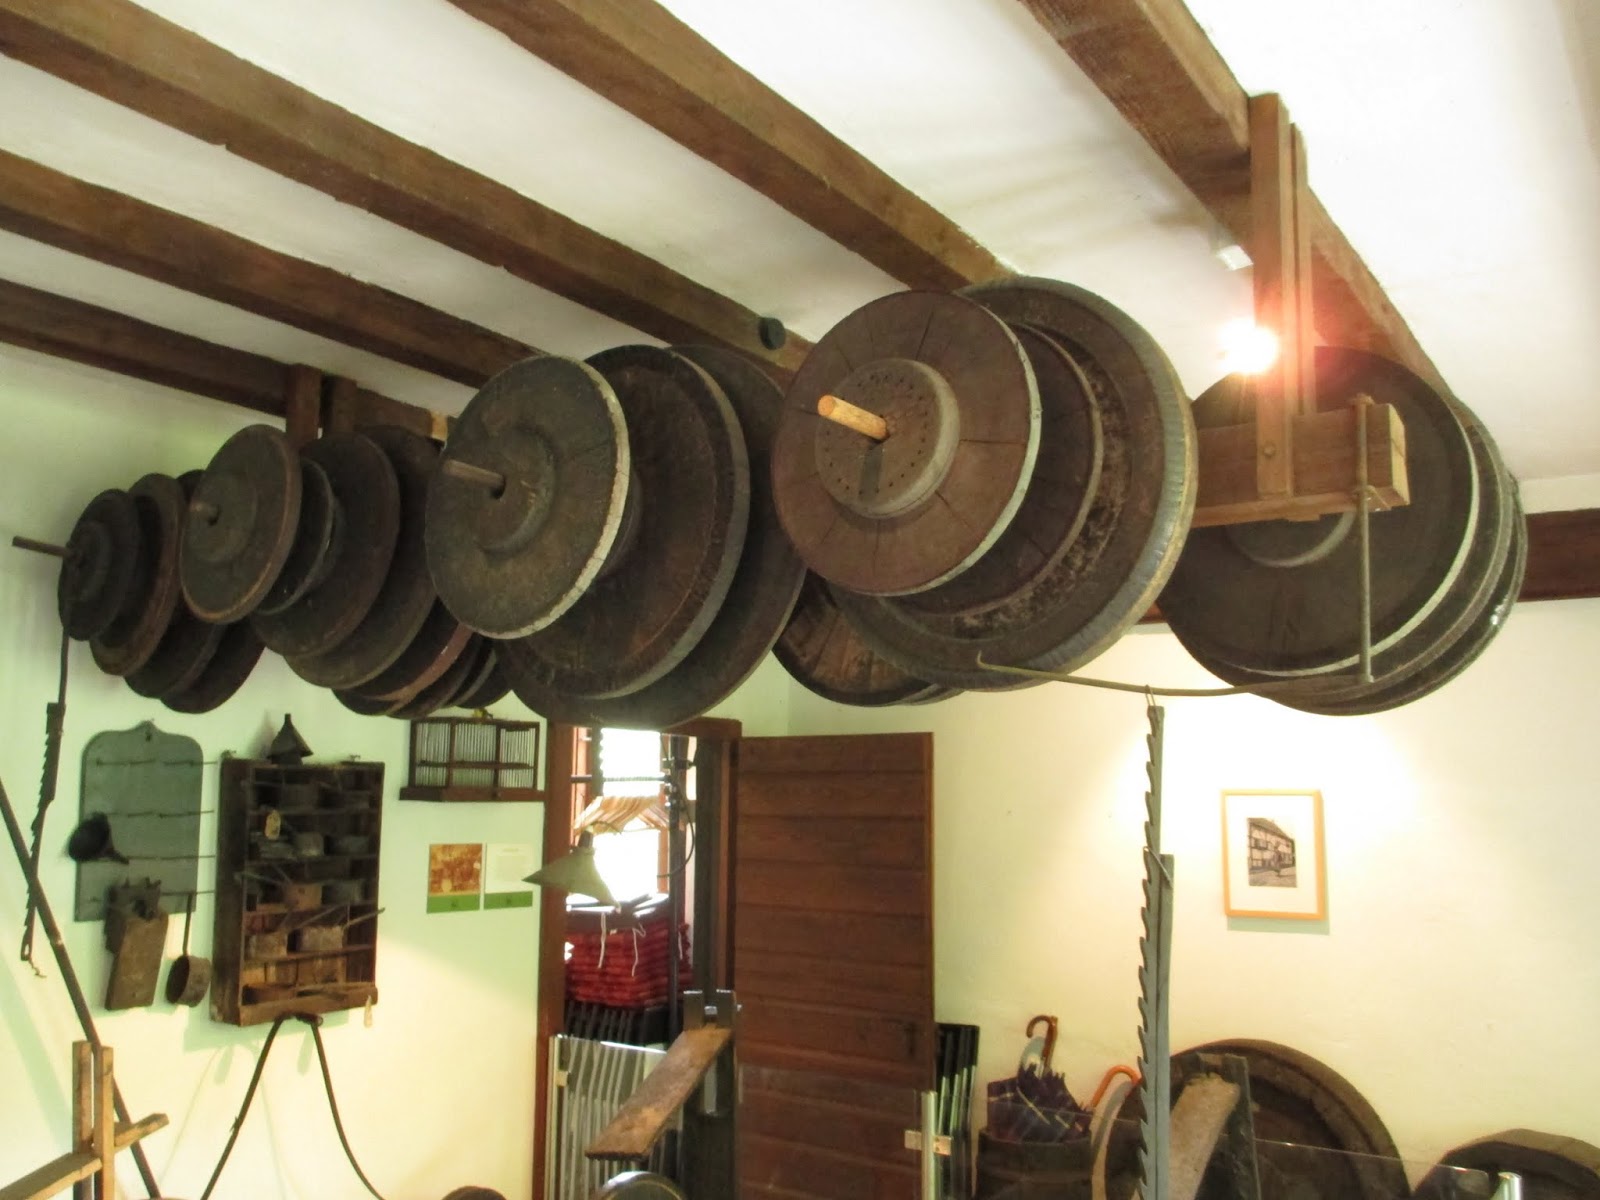

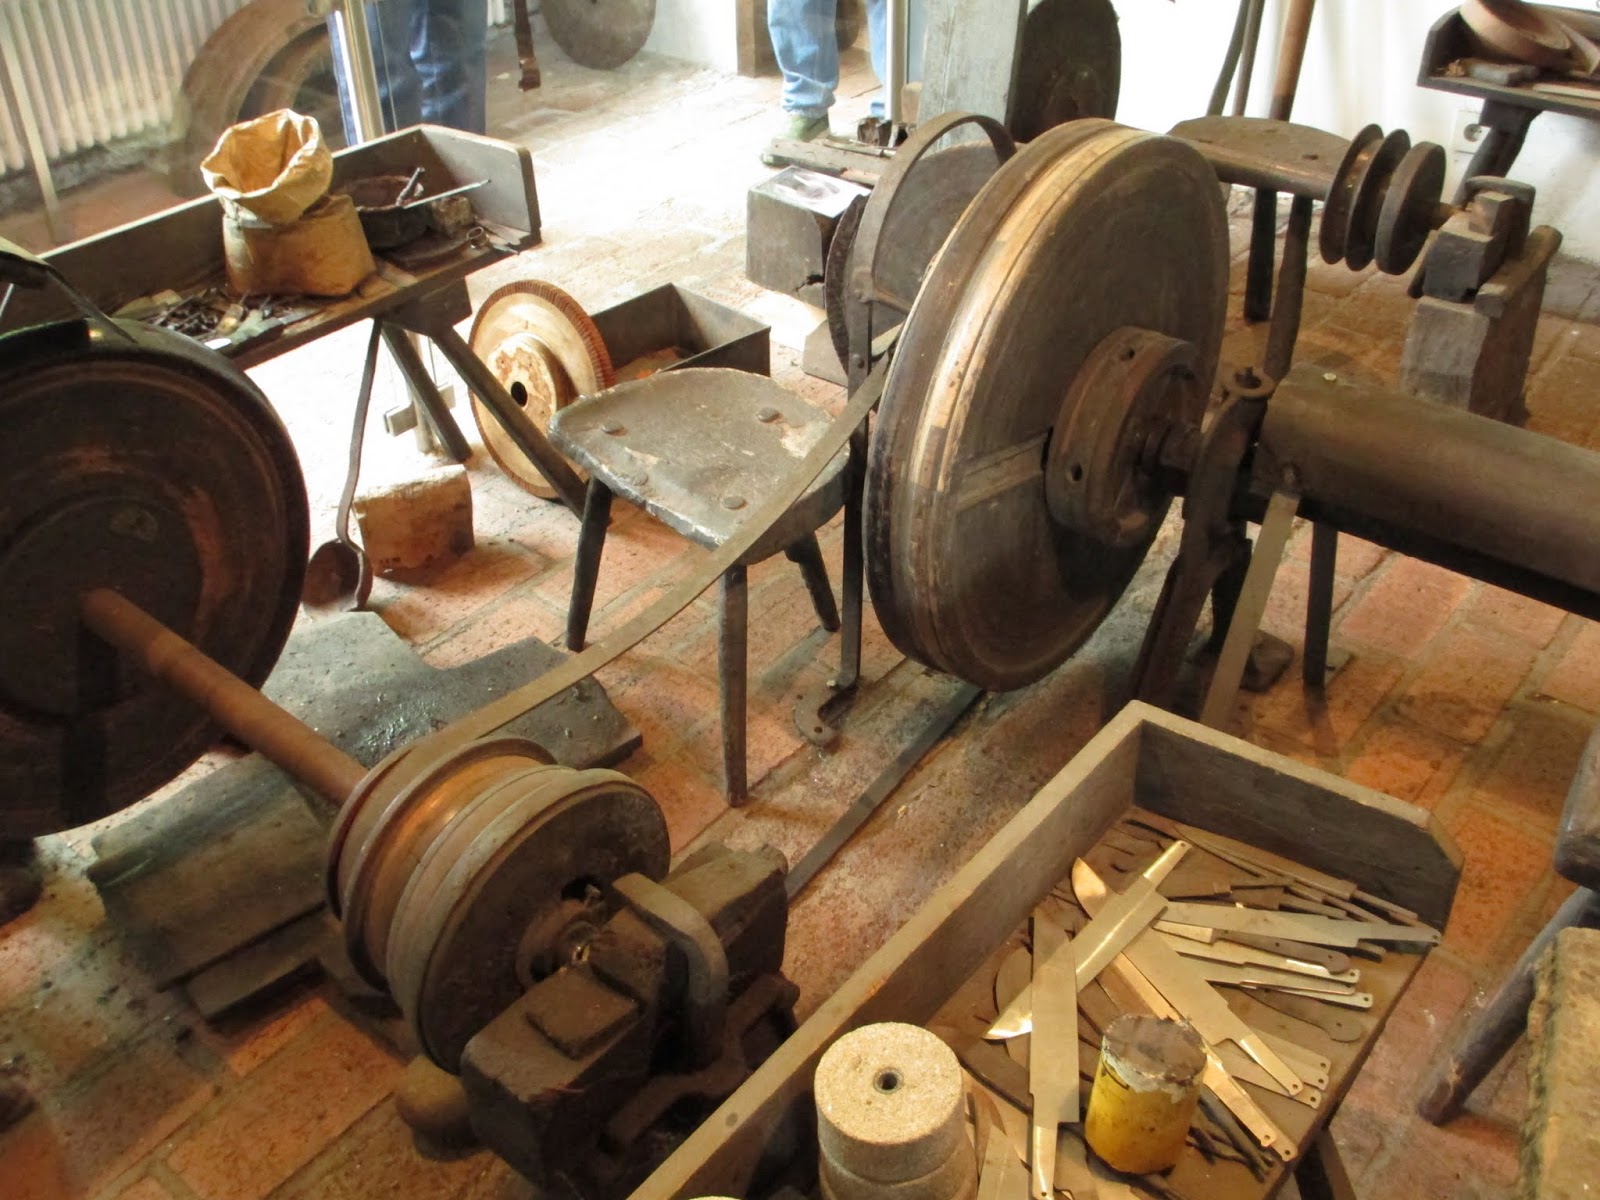
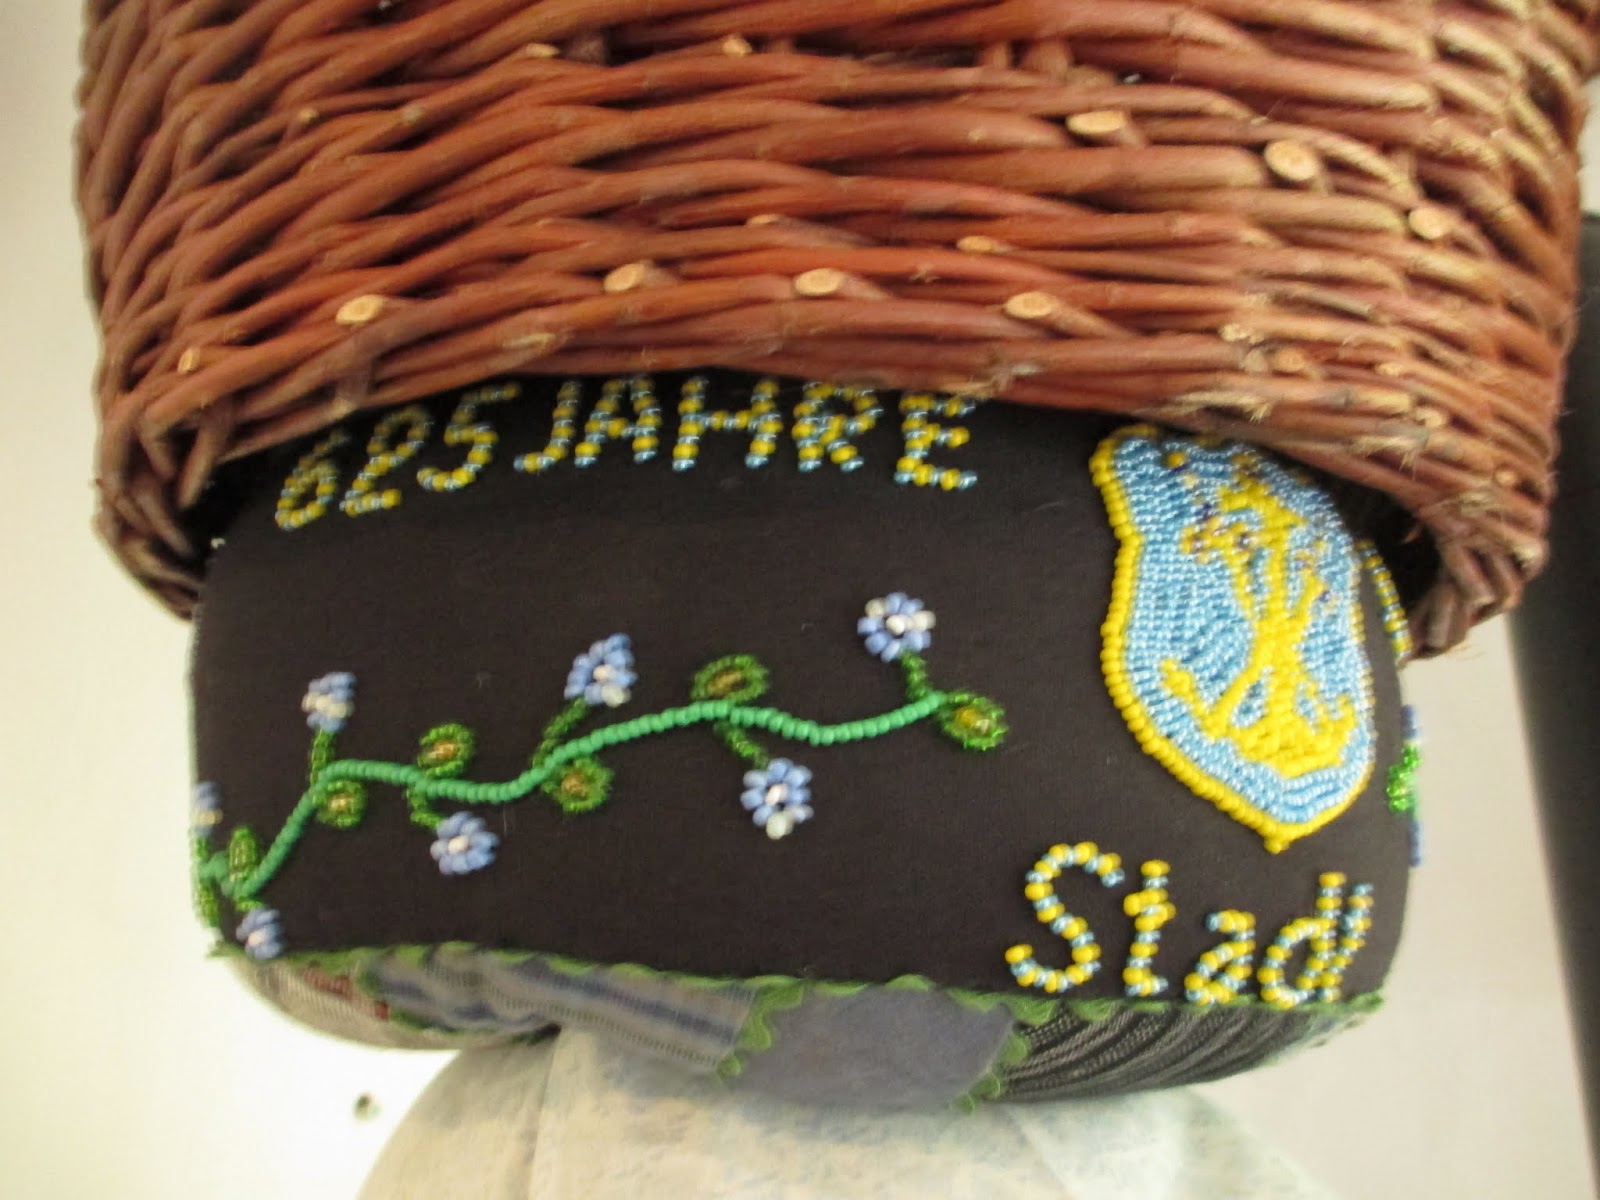
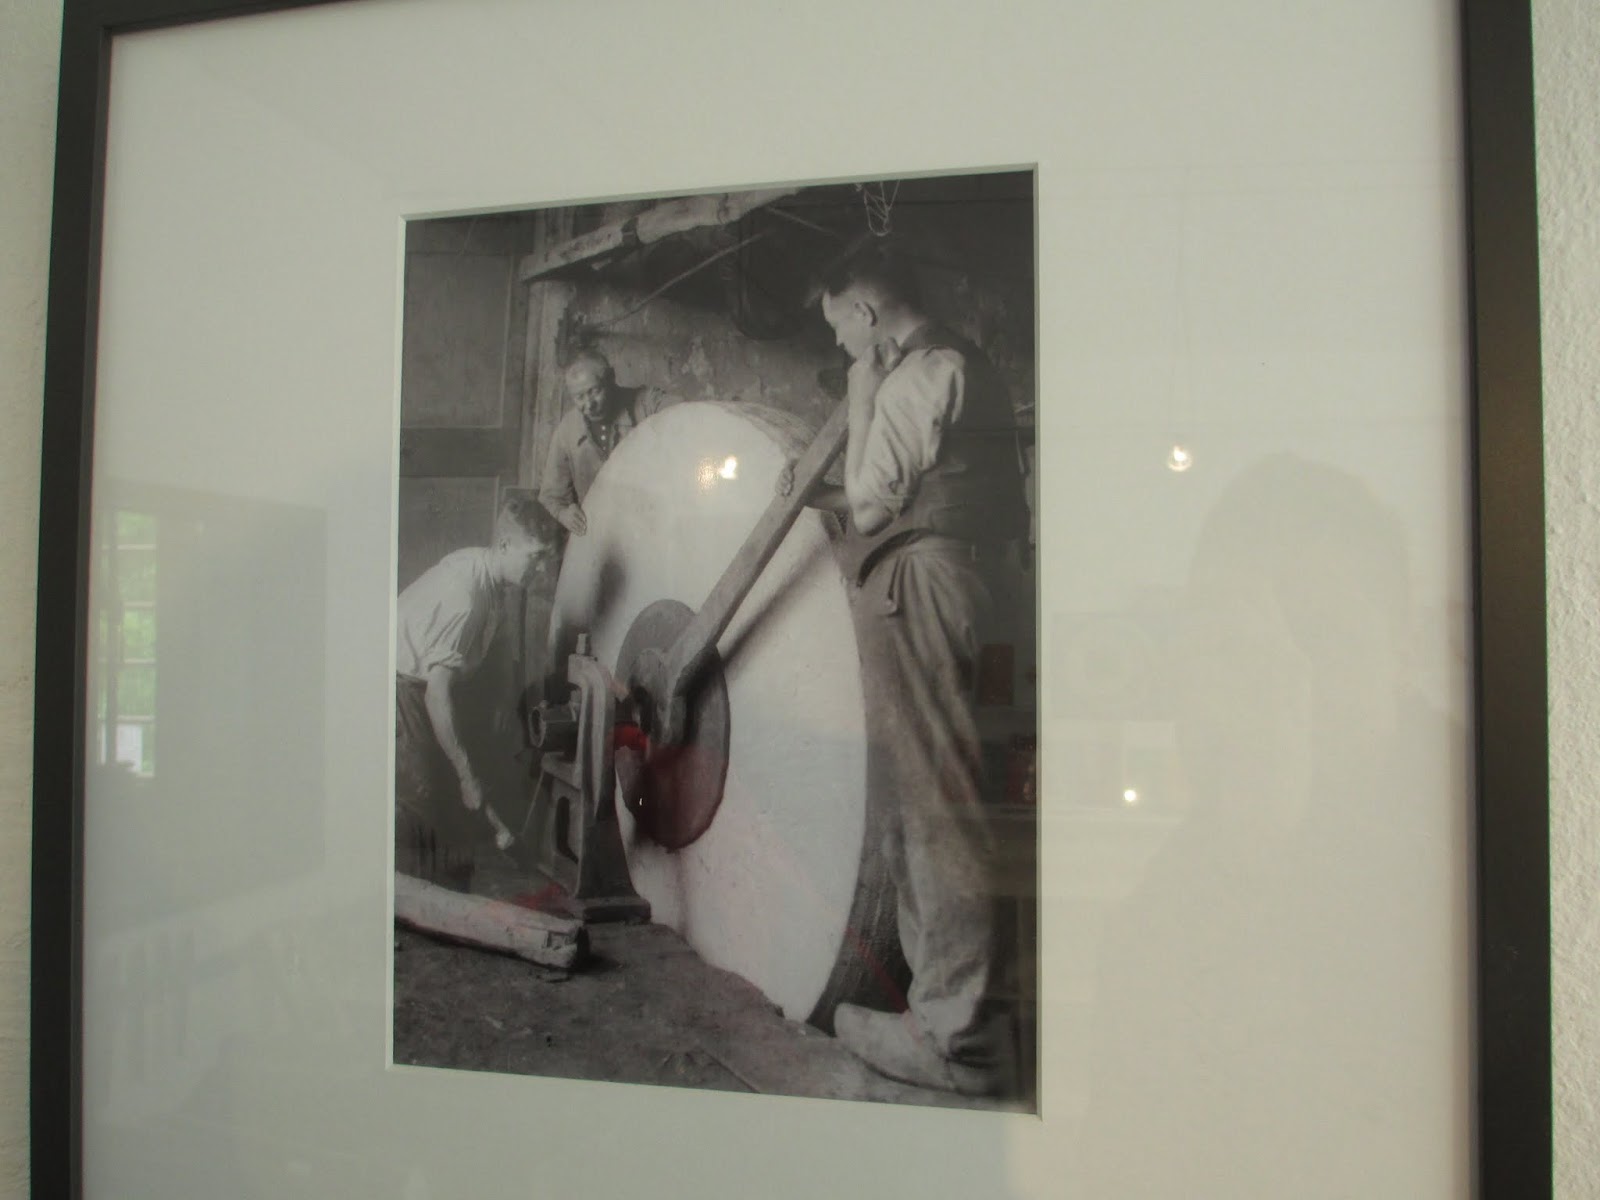


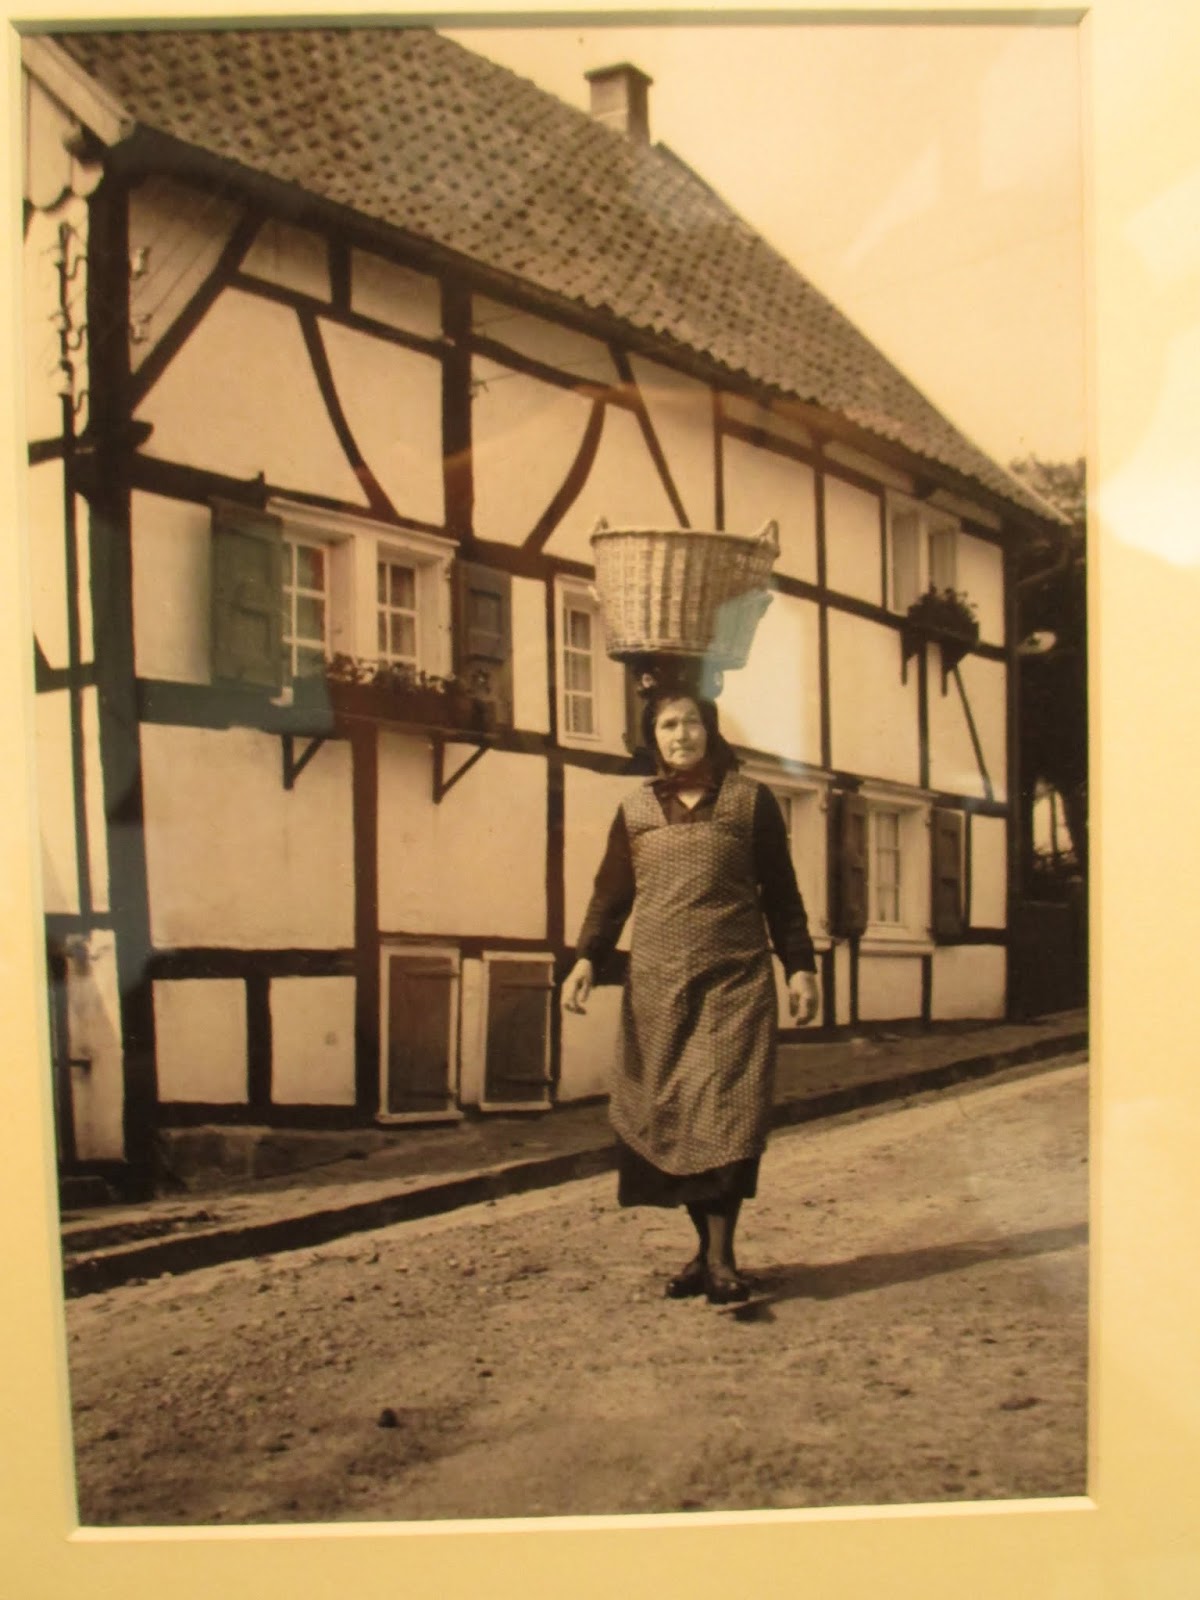
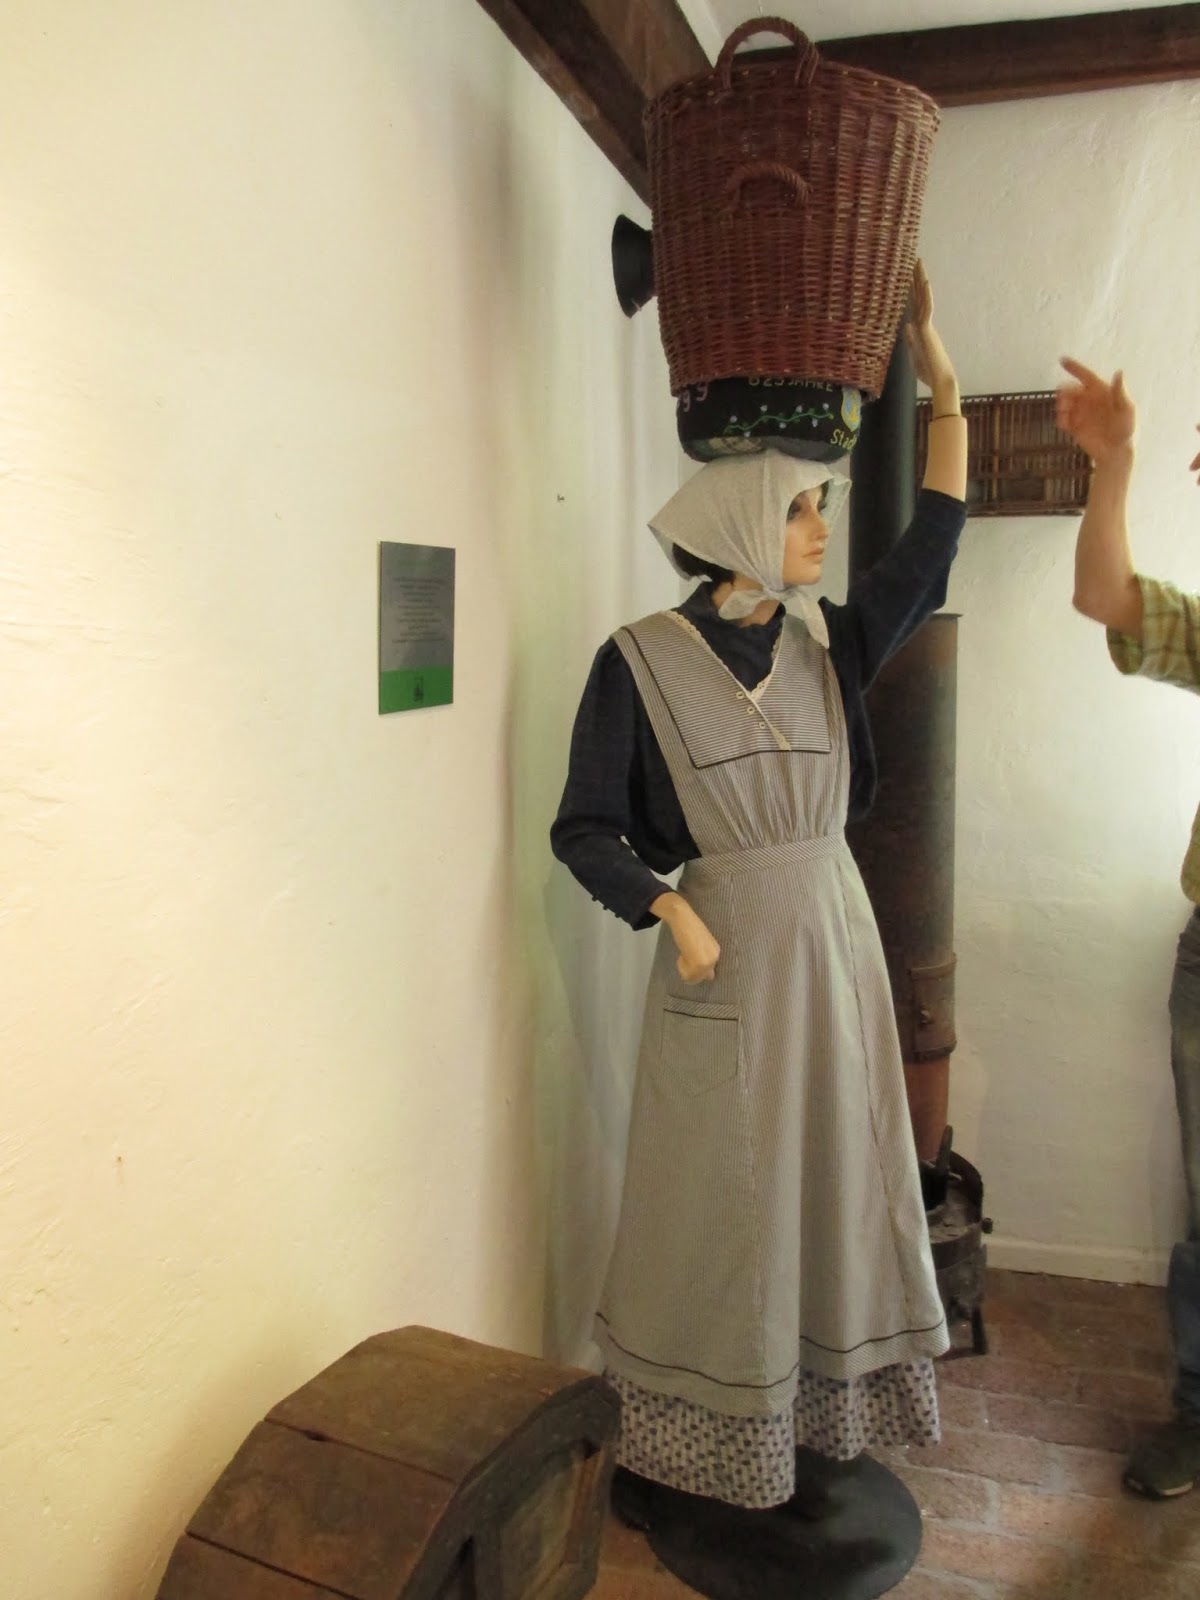
That is interesting fact.
After grinding knives, womens has to take them in the baskets to the town which was about 3 - 4km from grinding place. Each basket weight about 20kg and womens has to carry them on the head.


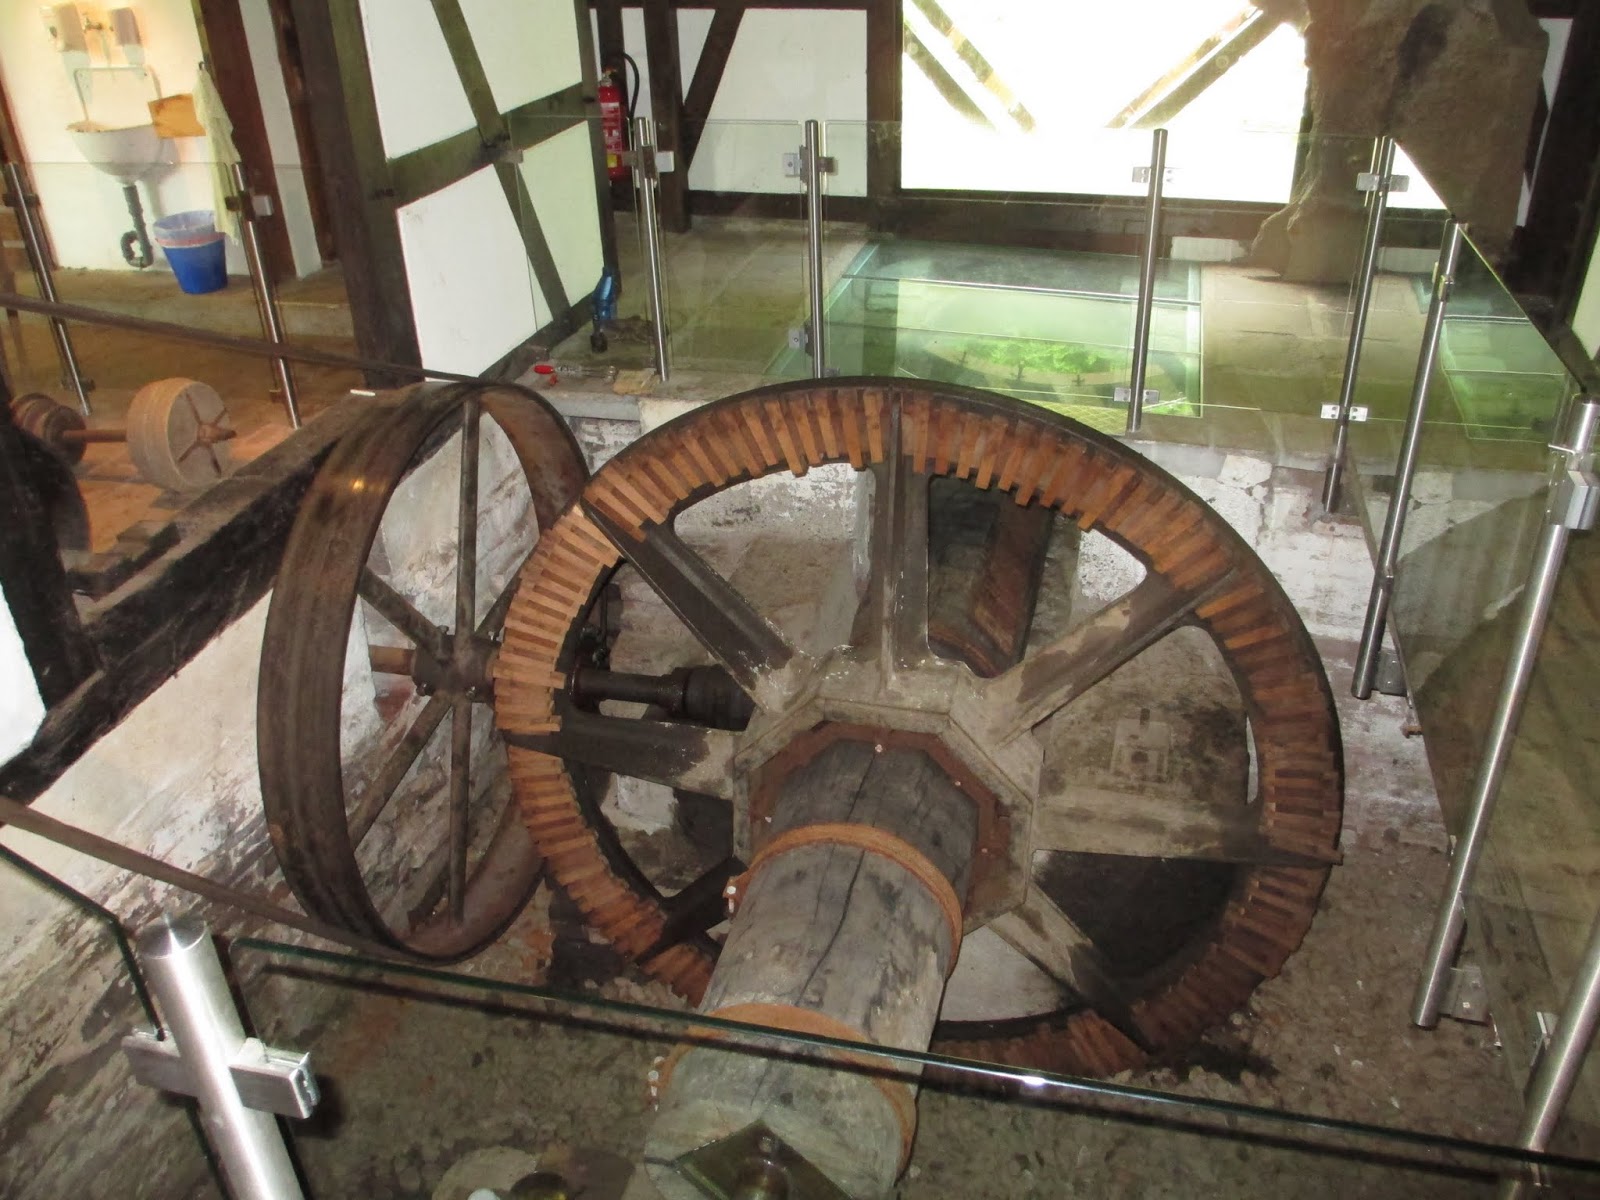
Mechanism which was powering this place.


Grinding and polishing:


Fine grinding and polishing


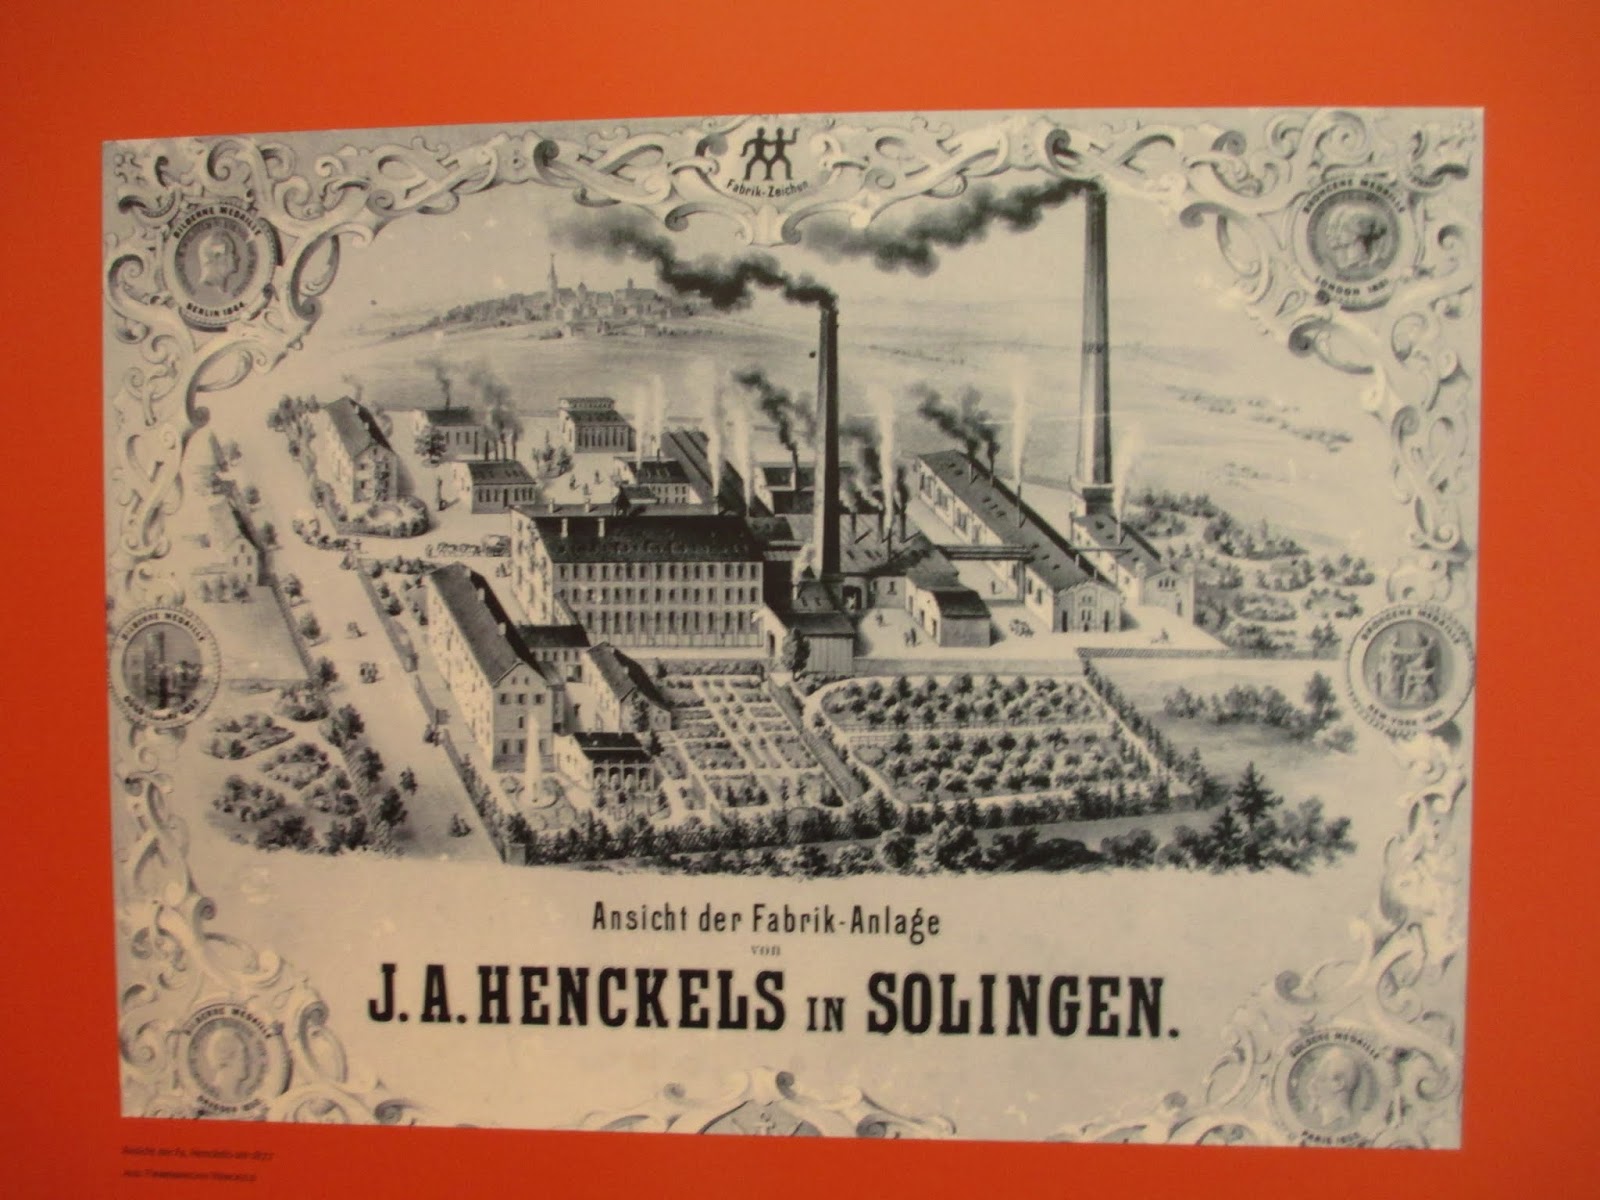
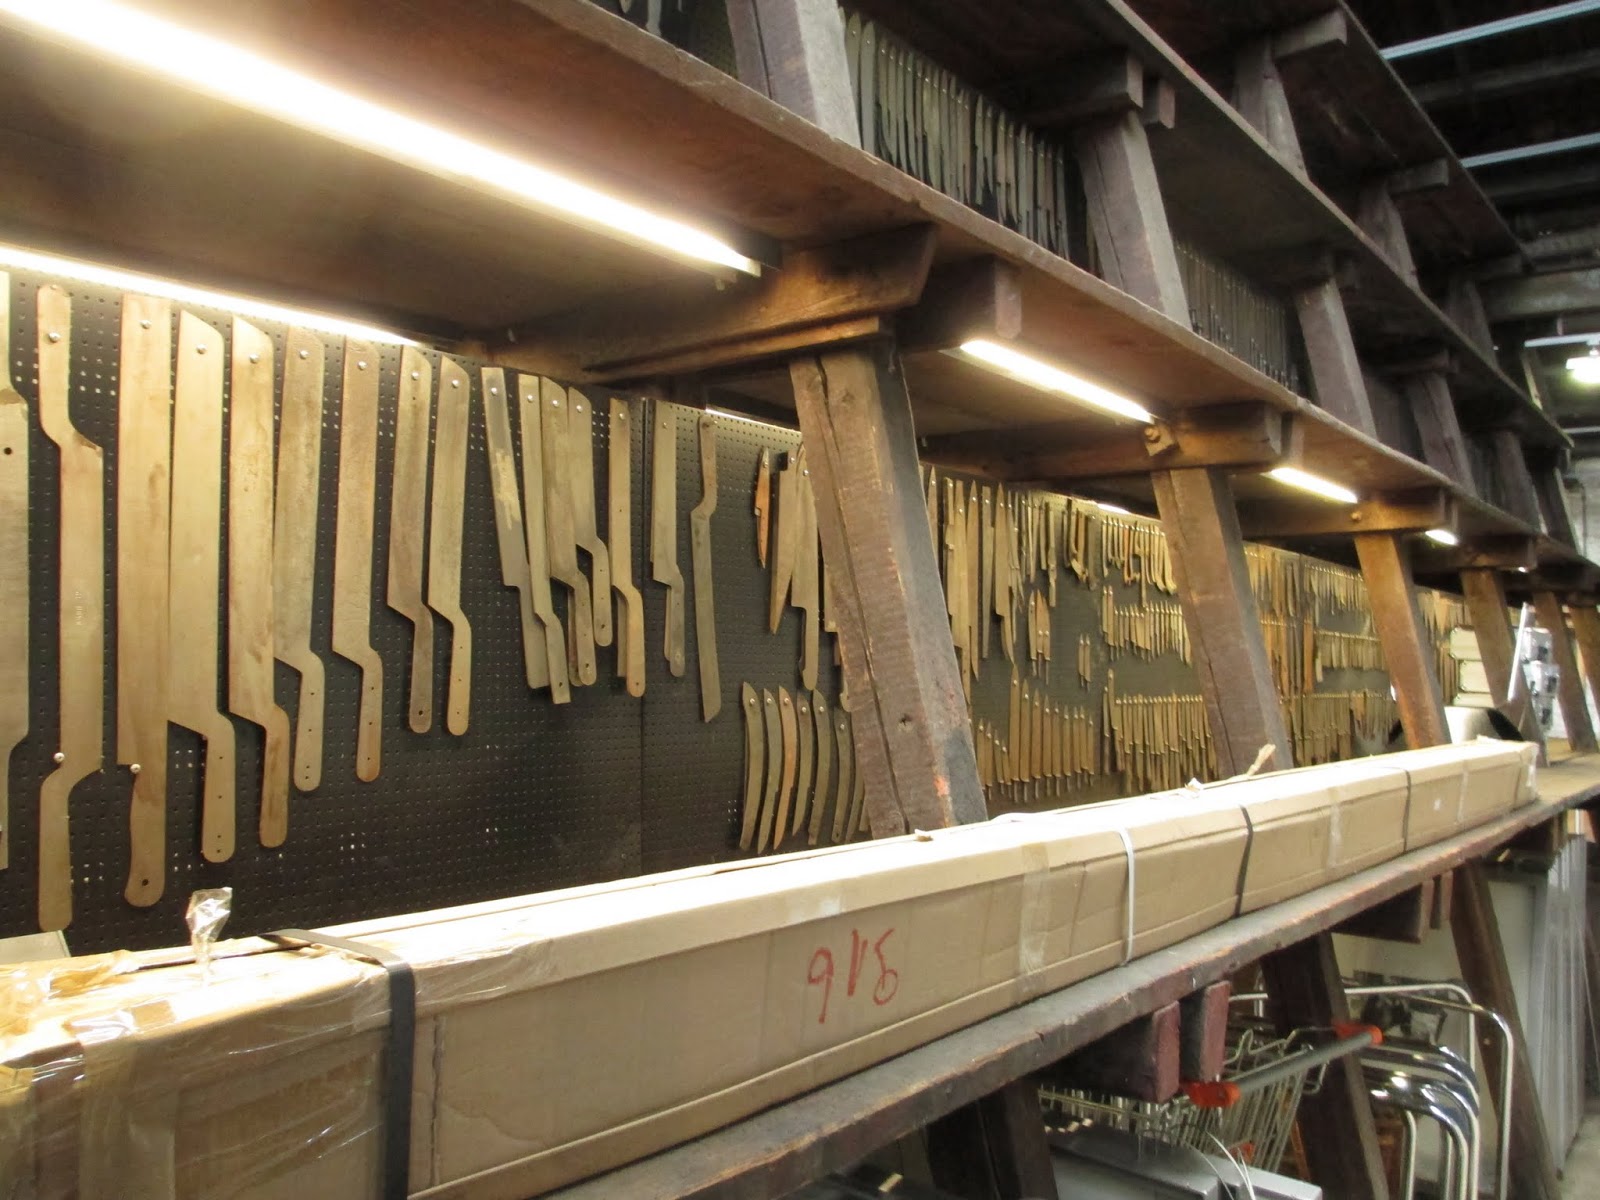
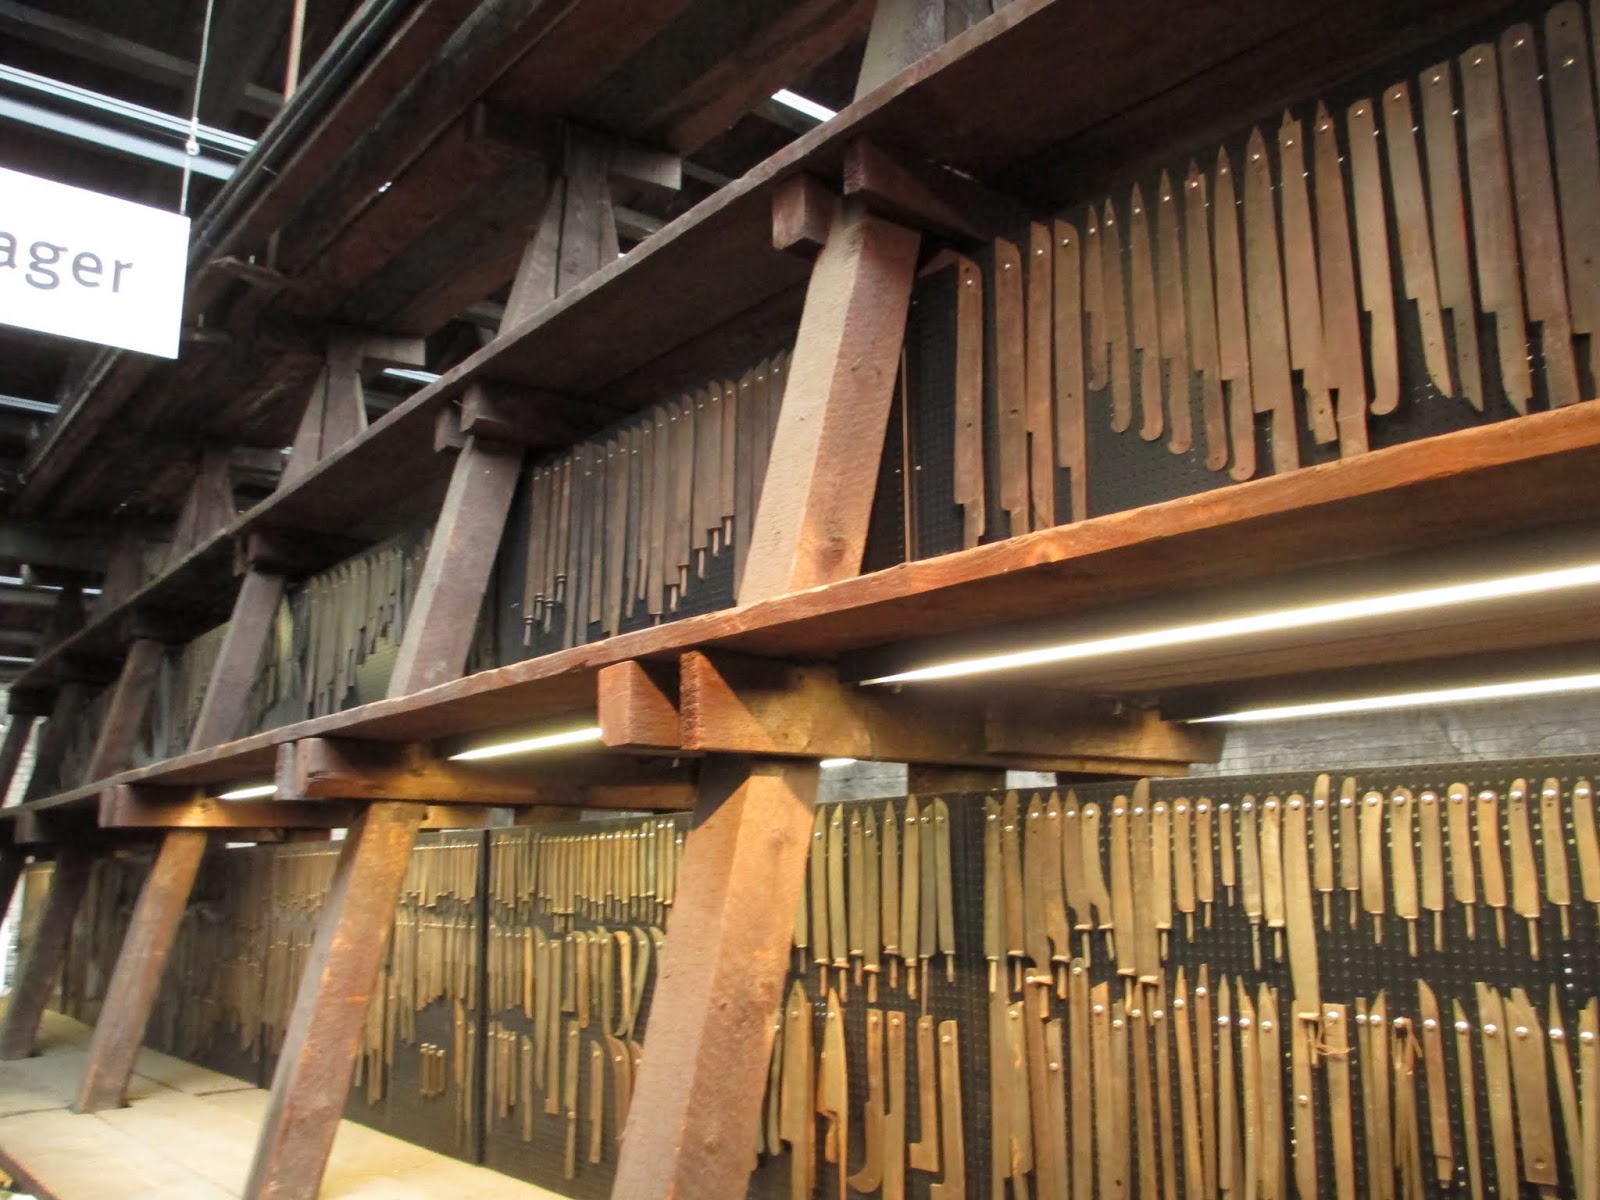
Later on I was near Zwilling and Henckels factory and I was in their factory shop.


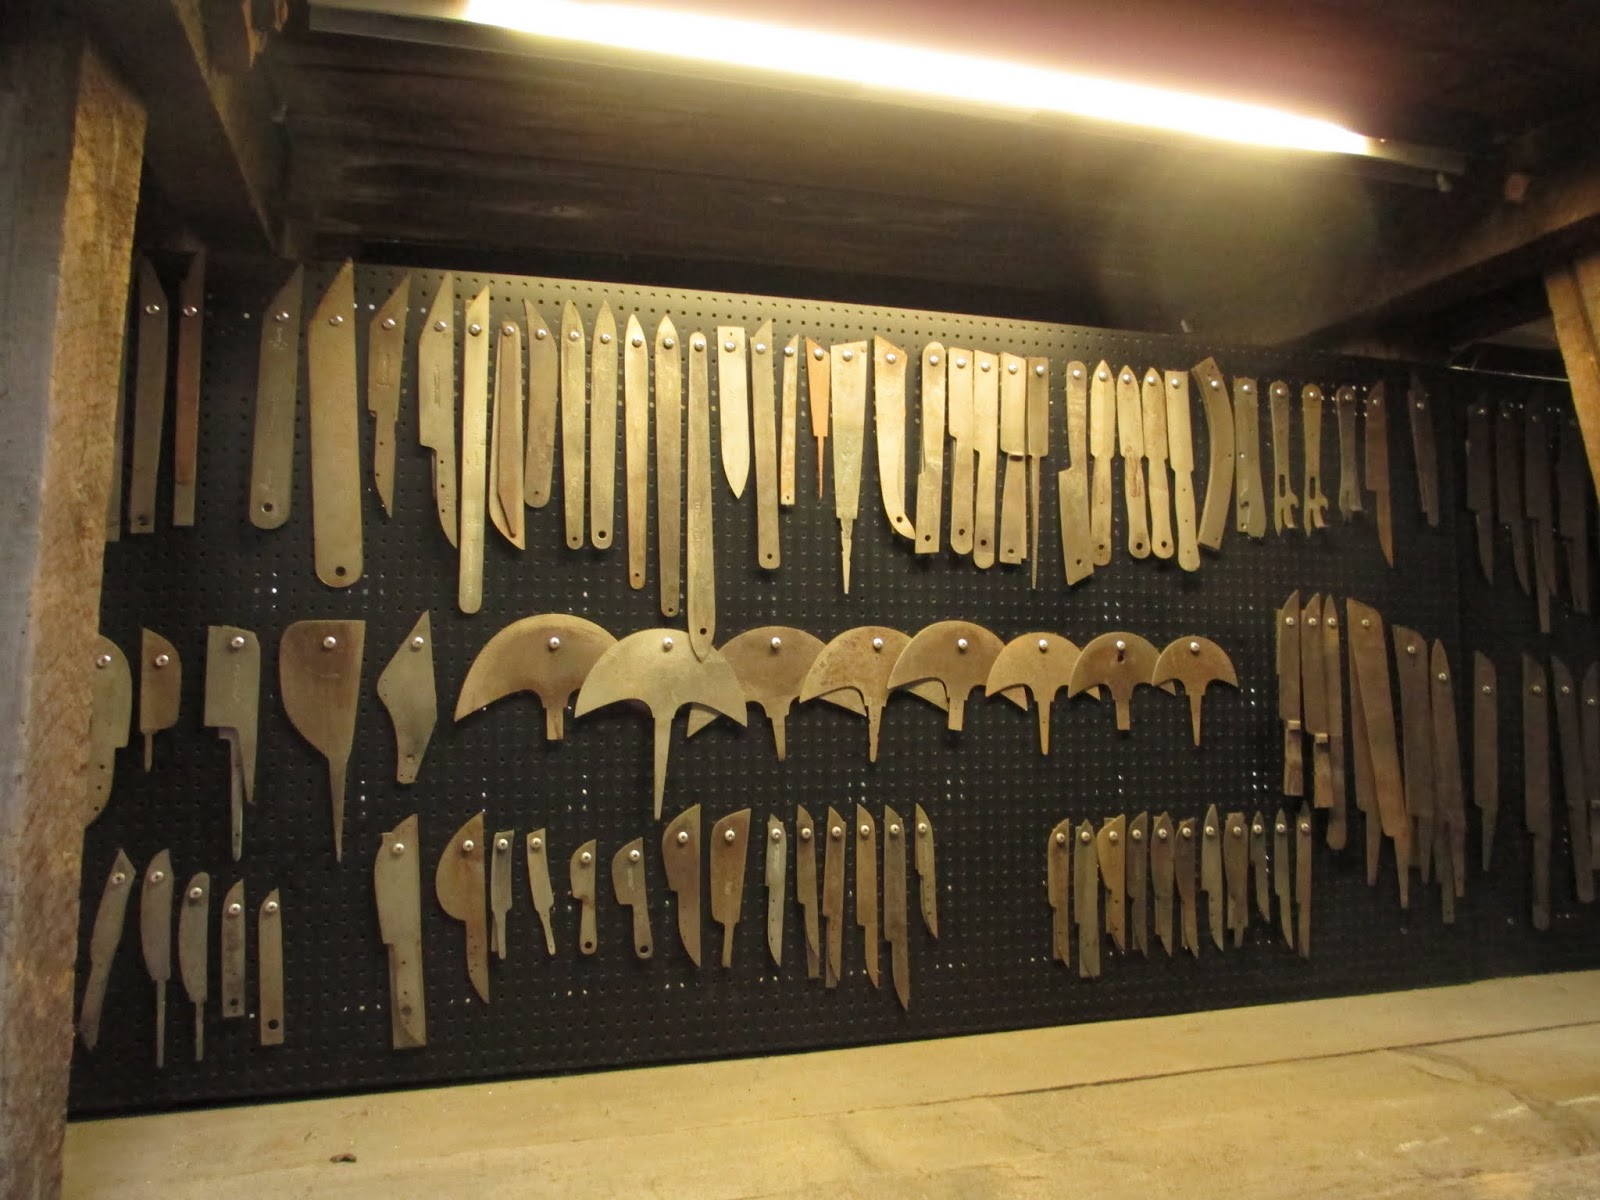
I can't tell you where it is but it was very interesting place.


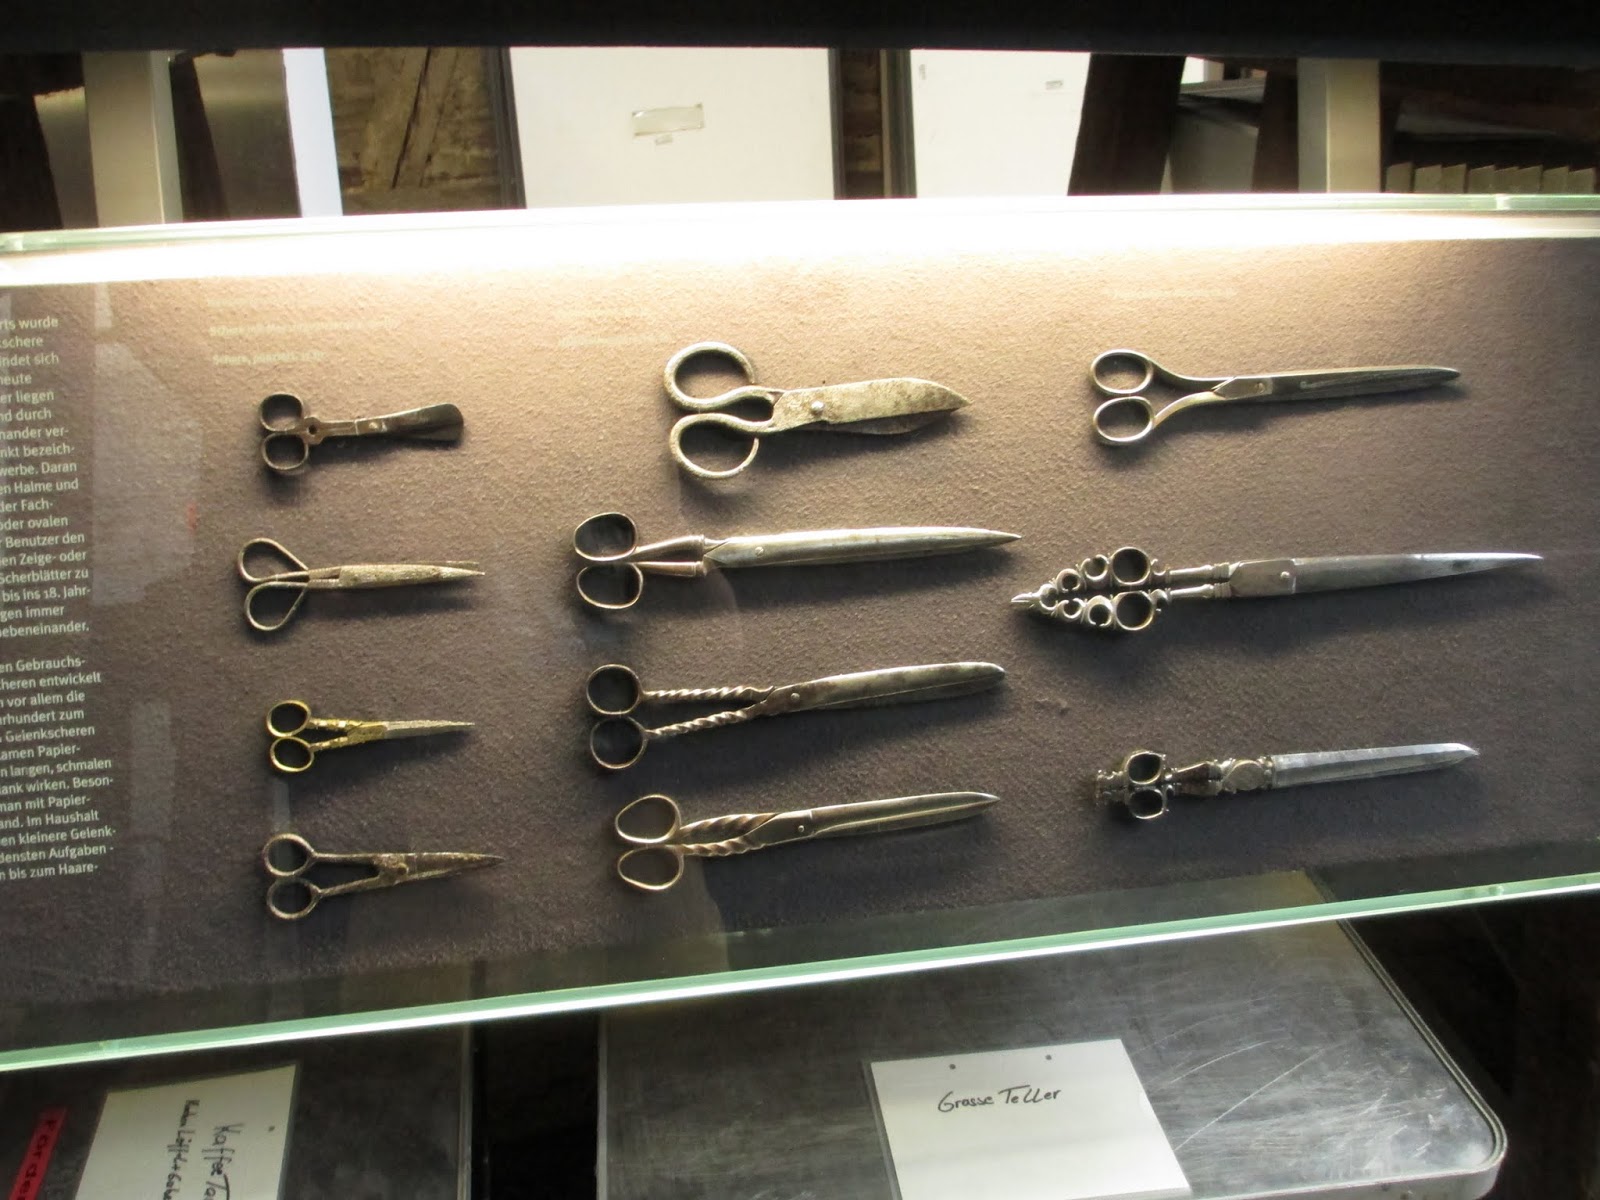
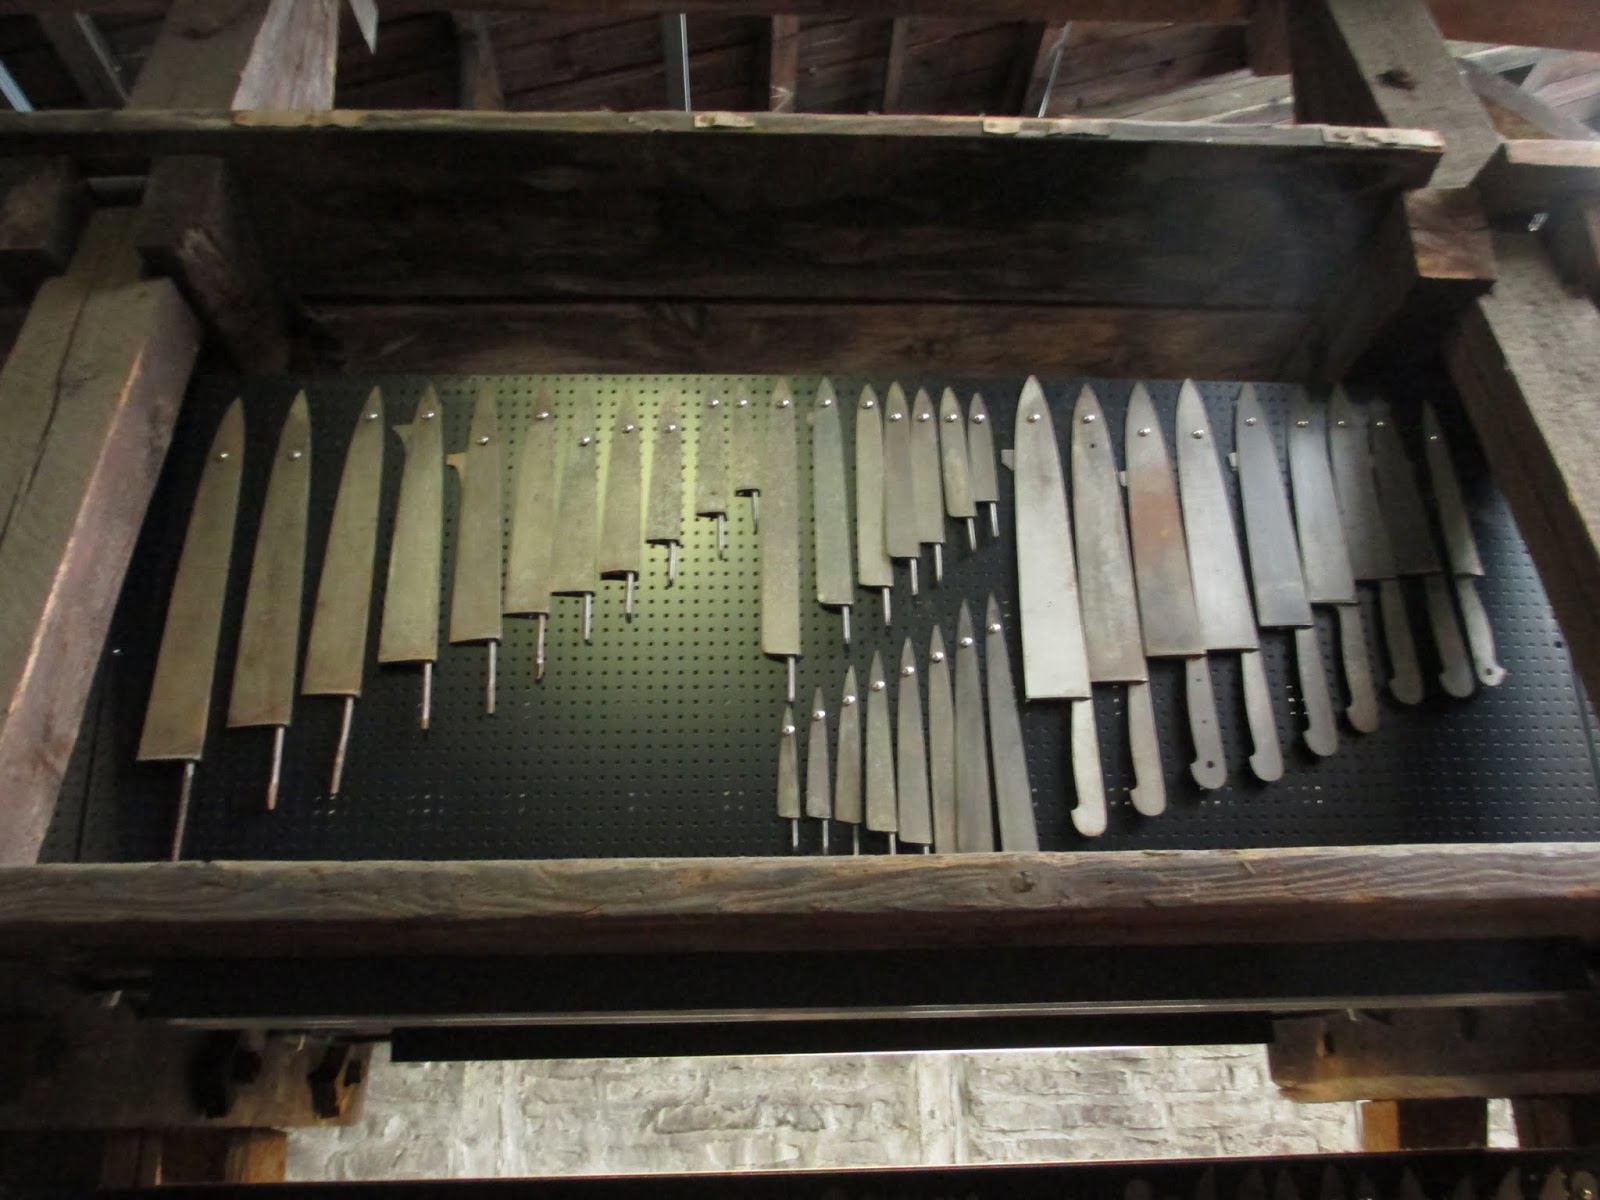
The smallest scissors in the world.


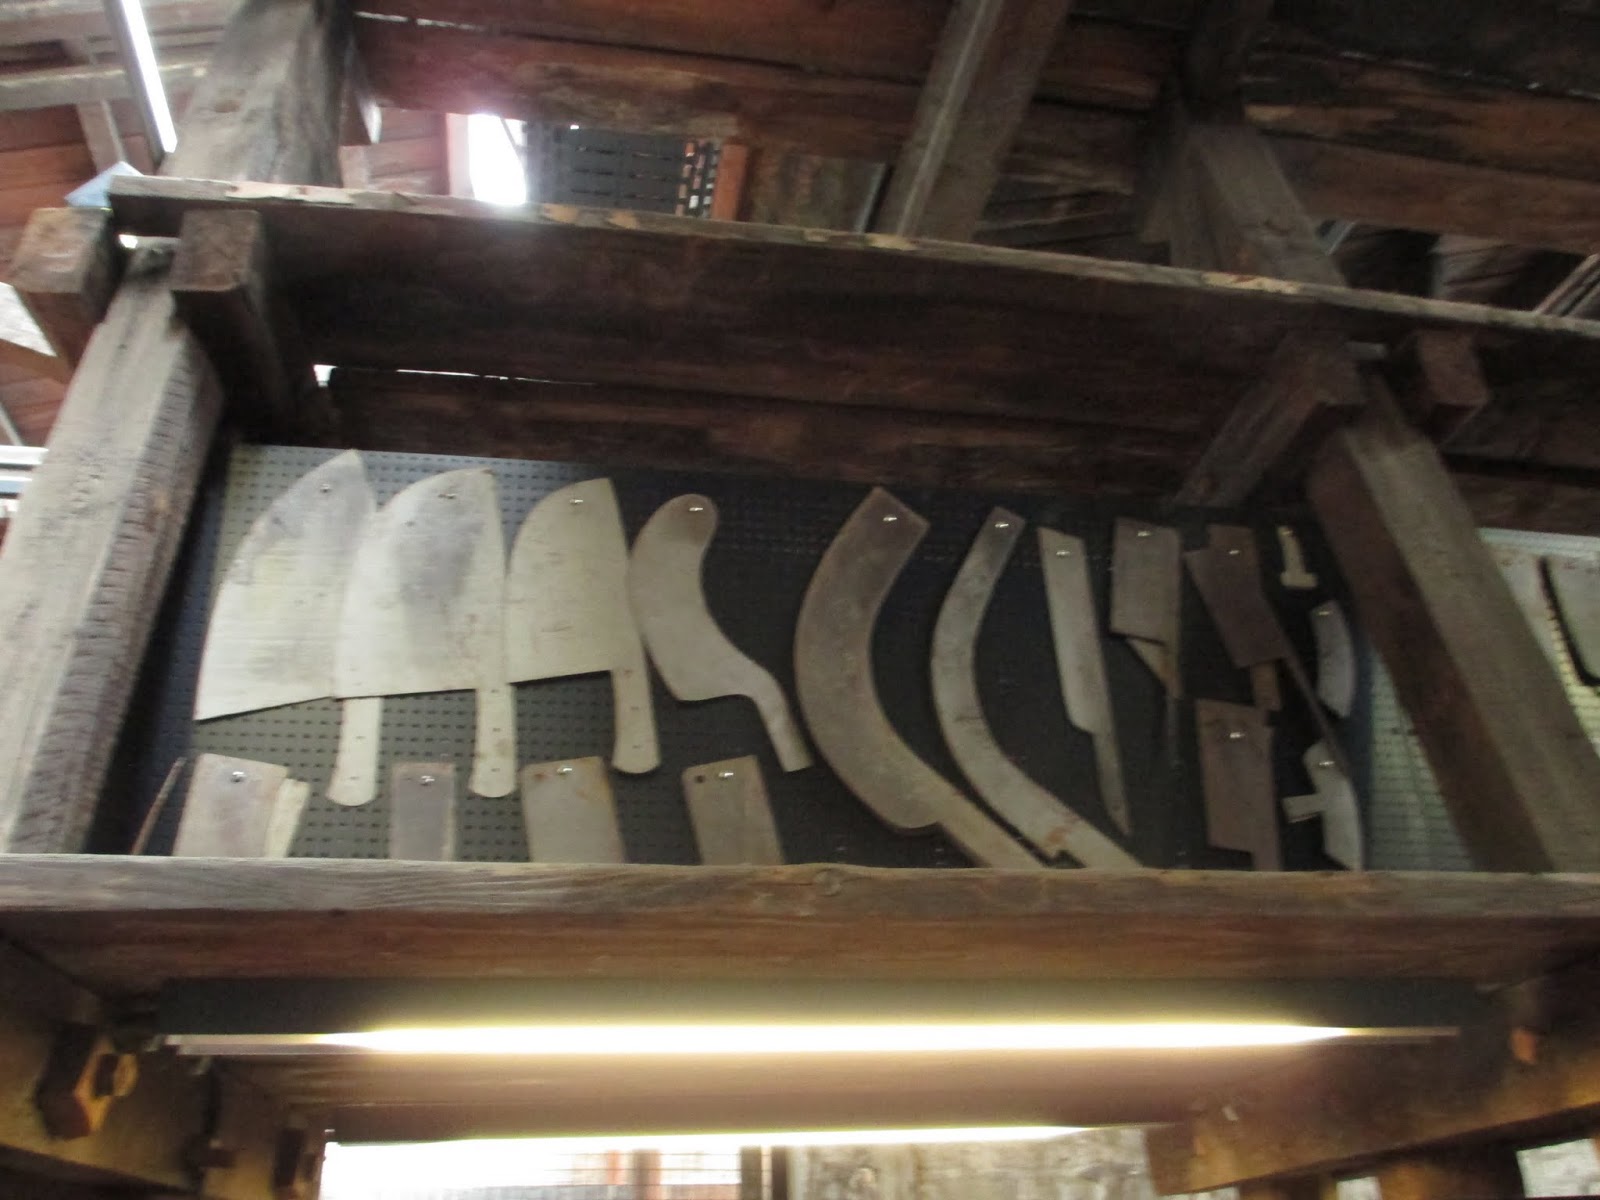
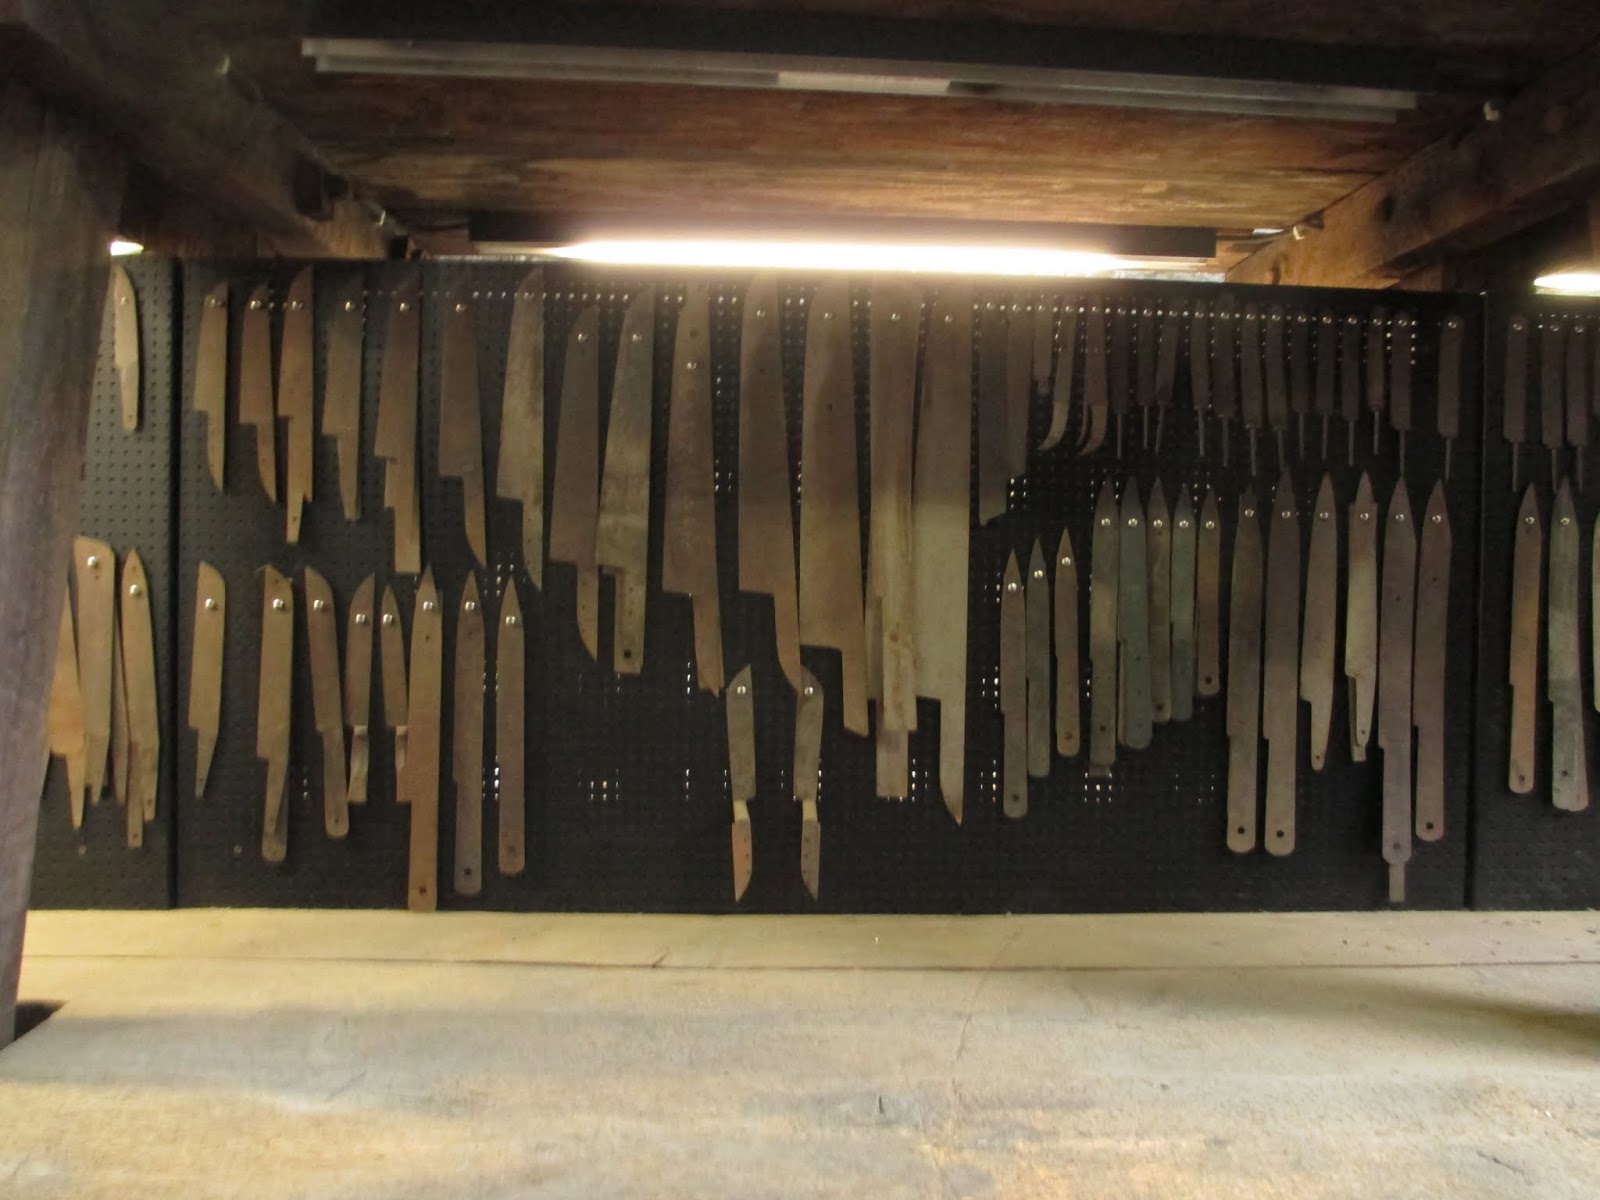
And the largest knife.


This year:

I took my small Ebisu and Hakka to sharpen my girlfriends uncle knives but he surprised because he had 1000/3000 combo stone:D Sharpening session:


Tools and machines museum in Remsheid:


Stream engine:


And now the best part from this year trip. Schleiferei Wipperkotten. This is 400 years old grinding place which is still working.


This is best thing I've seen in last time. This guy constructed this steam powered sharpening machine for his exams in school.


Knife sharpening. 240grit grinding wheel and power stropping on leather with 10000 grit polishing paste.


That's it. I am very sorry that I didn't describe everything as I would like to but I don't have a time and this is a lot of writing. I have a story for every movie and picture. I really can recommend you to go to Solingen and near areas. Not only because of knives but also because of great places and outdoors. Germany is really beautiful and clean country. I hope that I will go there next year as well. If you have any questions don't hesitate to ask me. You can see all pictures from my trips to Germany in my private albums here:

Germany 2013

https://plus.google.com/photos/105172329006238409782/albums/5876880198113076465
Germany 2014

https://plus.google.com/photos/105172329006238409782/albums/6022668507198567105?authkey=CKeisvDD6cCBHA


piątek, 23 maja 2014

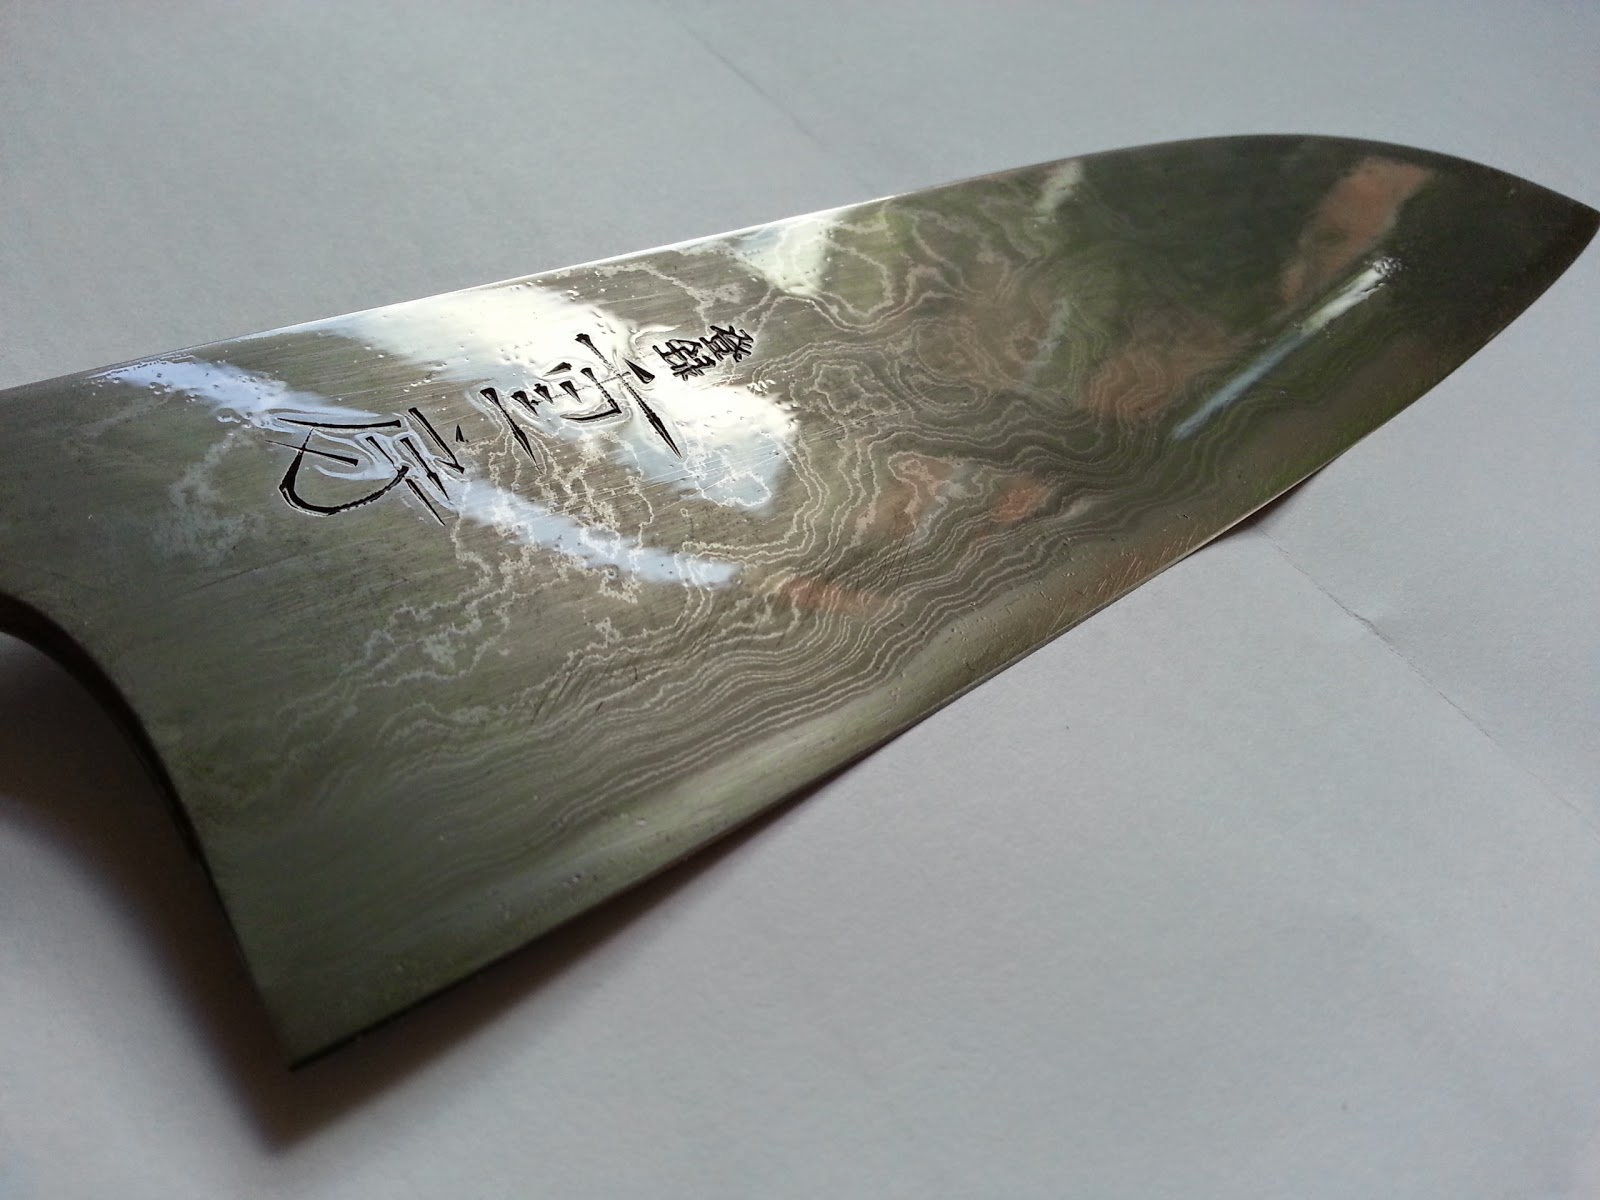
Shigefusa Kitaeji Santoku

Hello there:D

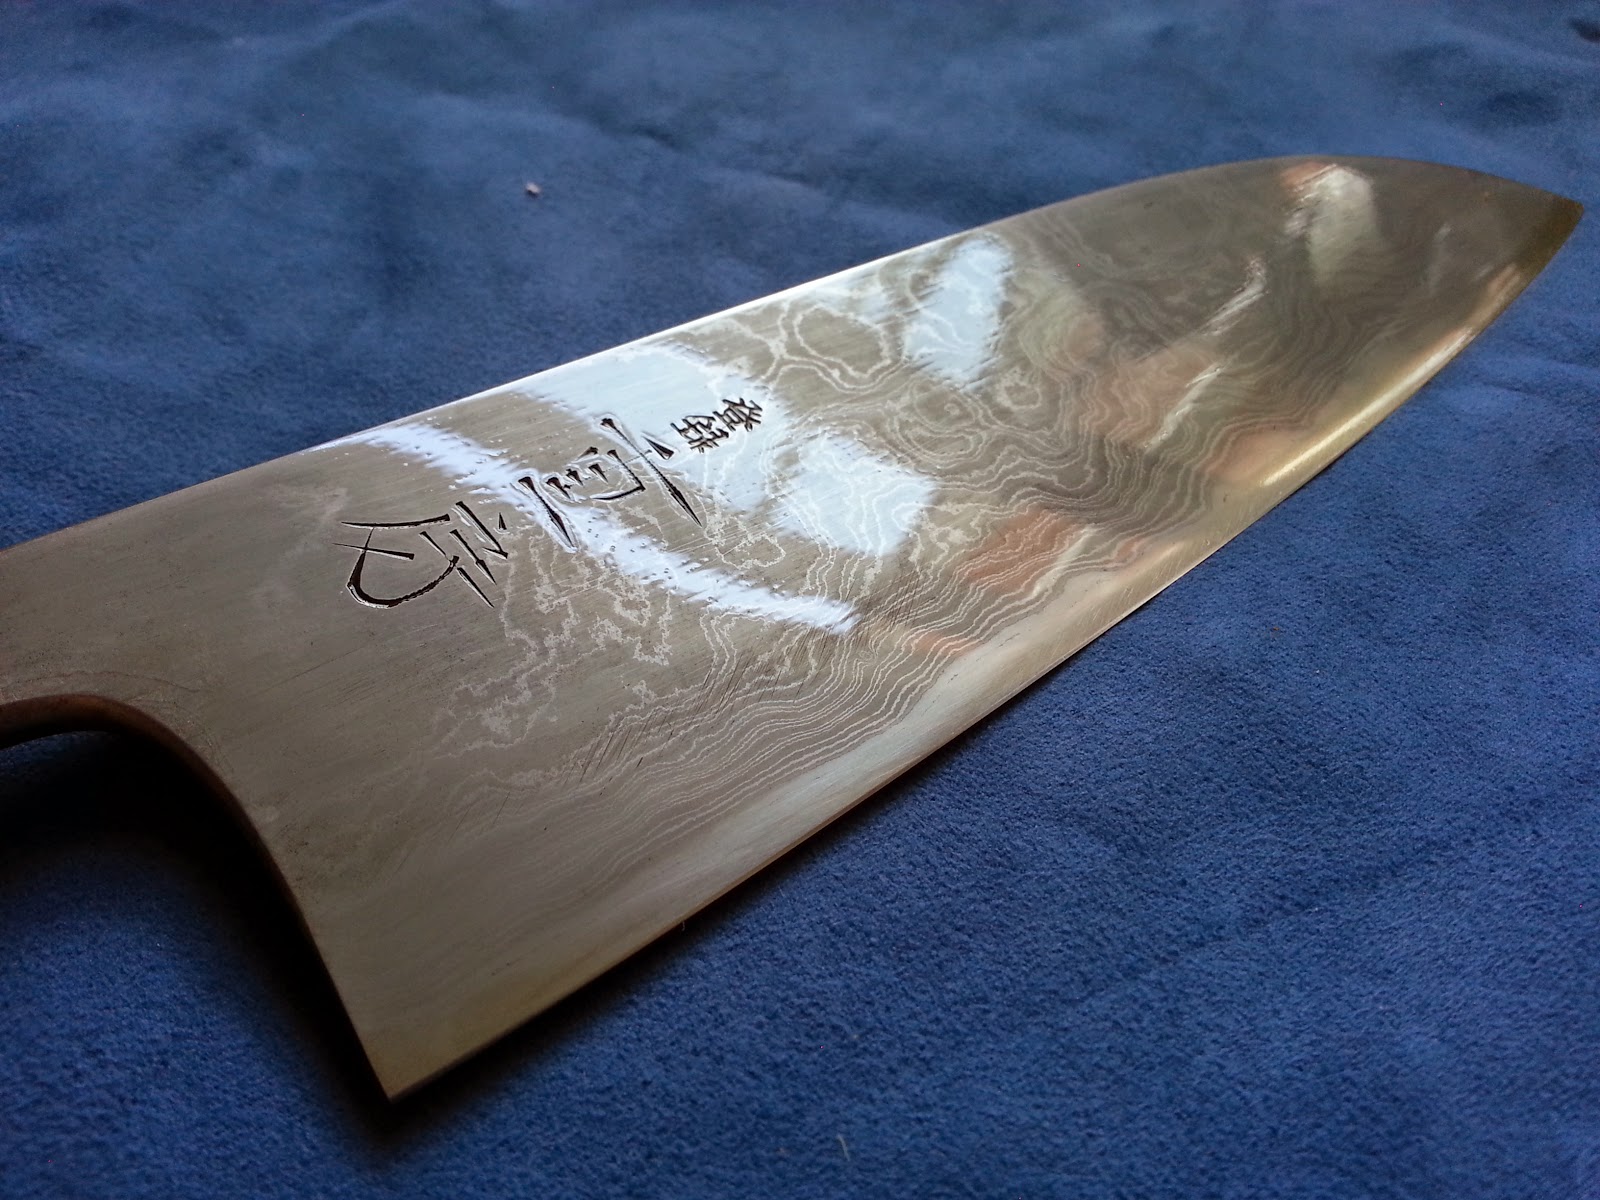
I didn't write for a while but I had plenty of work. In the meantime I was in Denmark on JapaneseNaturalStones.com annual knife nerd gathering but I will post about it later on. I have plenty of pictures and movies. Before I've gone to Denmark I had a chance to work on this beautiful Shigefusa Kitaeji Santoku. I was asked to thin it, resharpen it and make a saya.
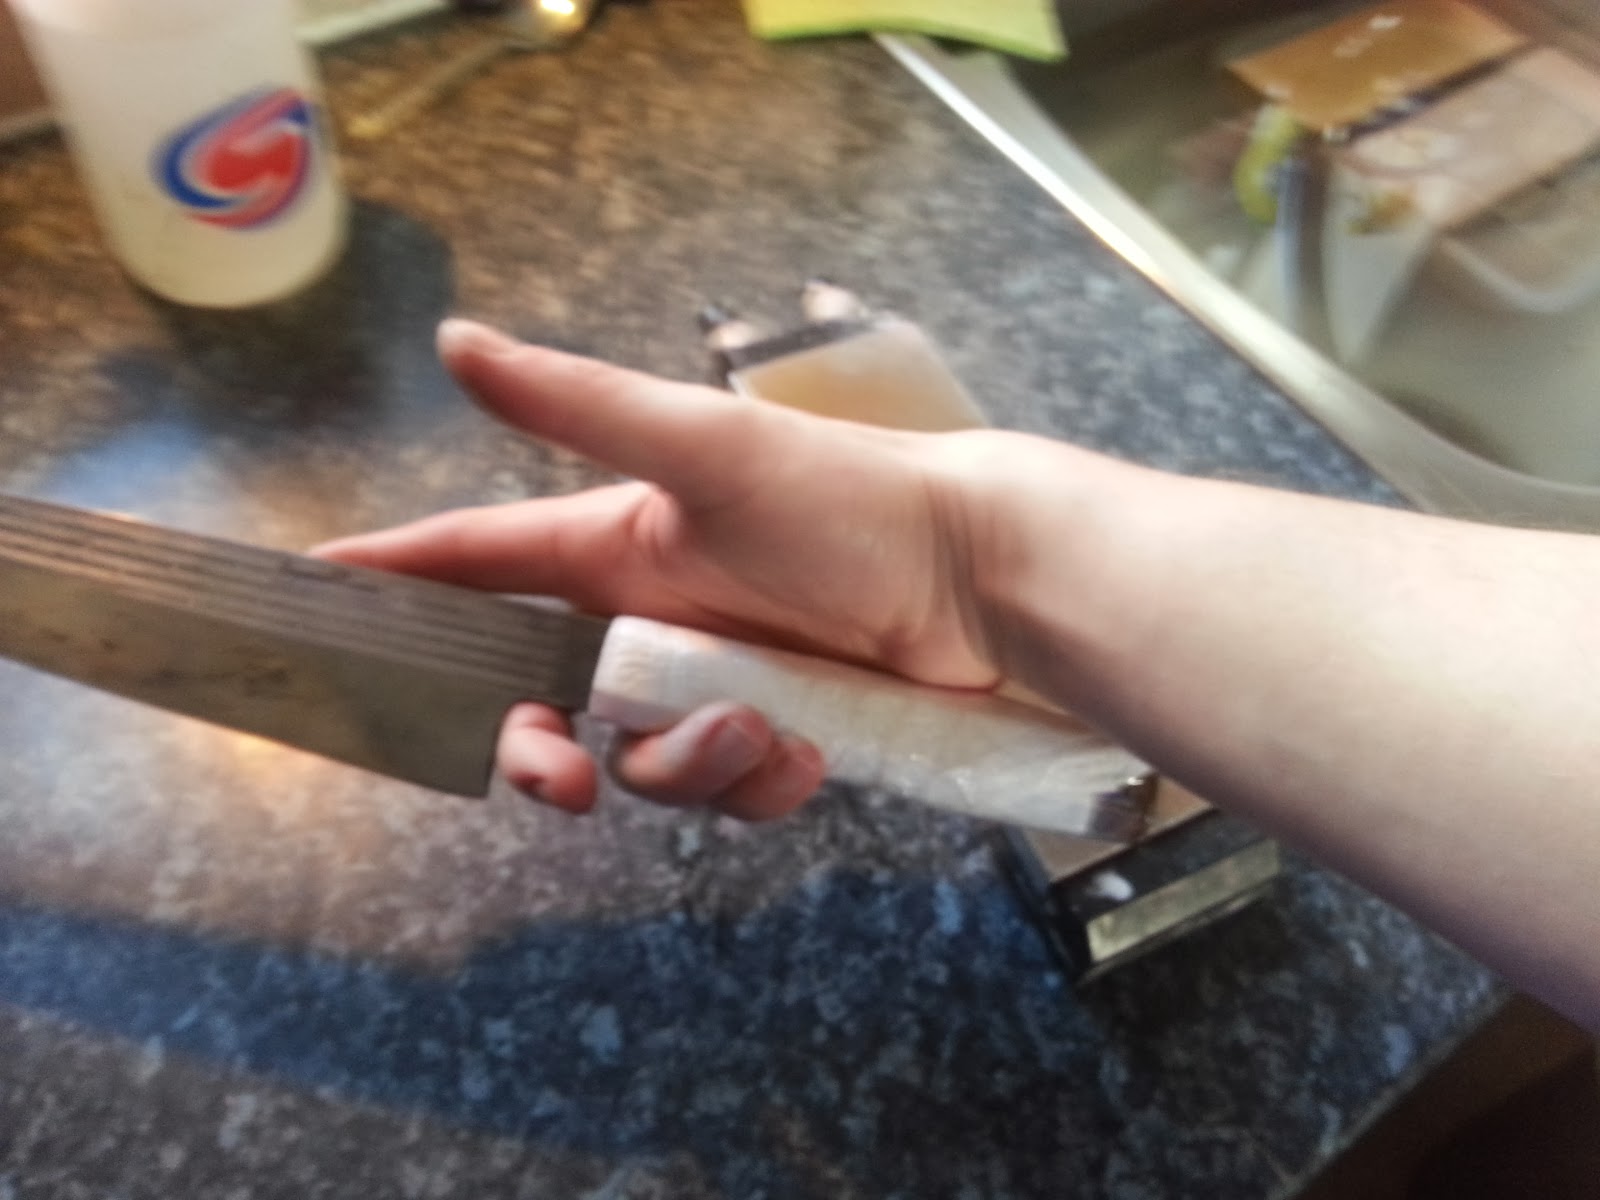
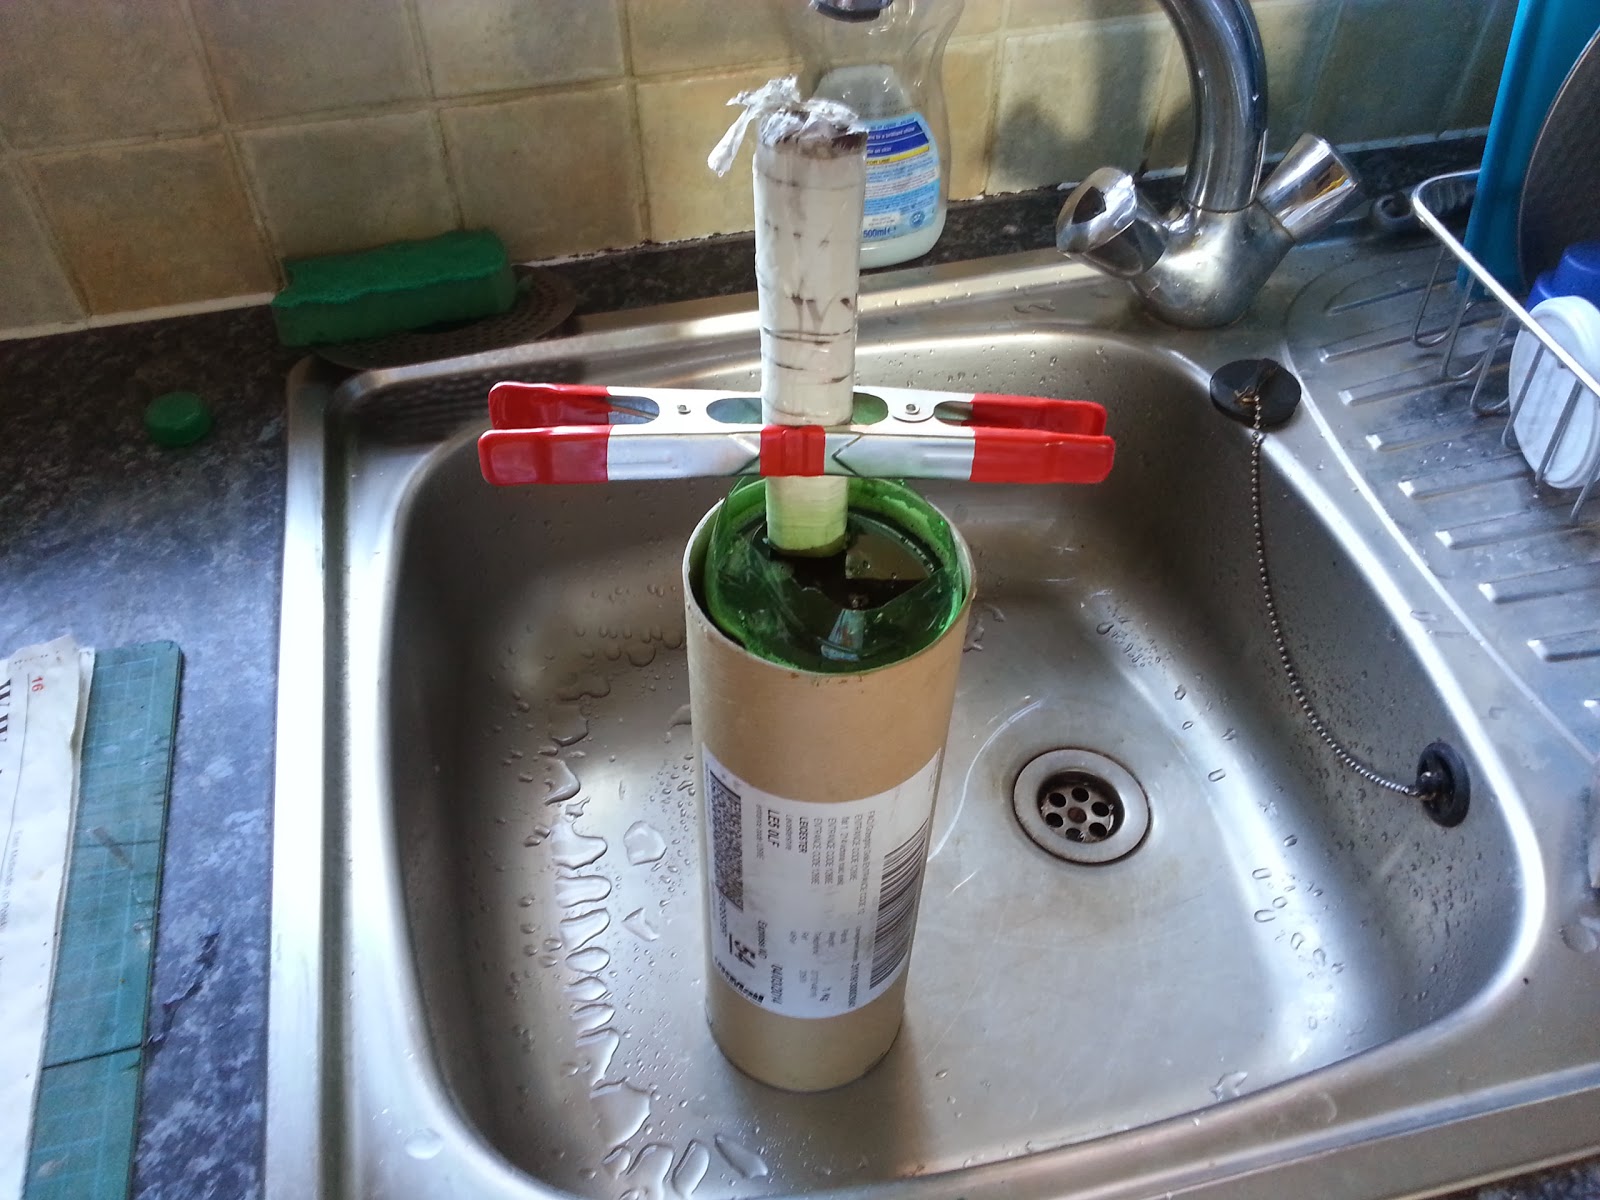
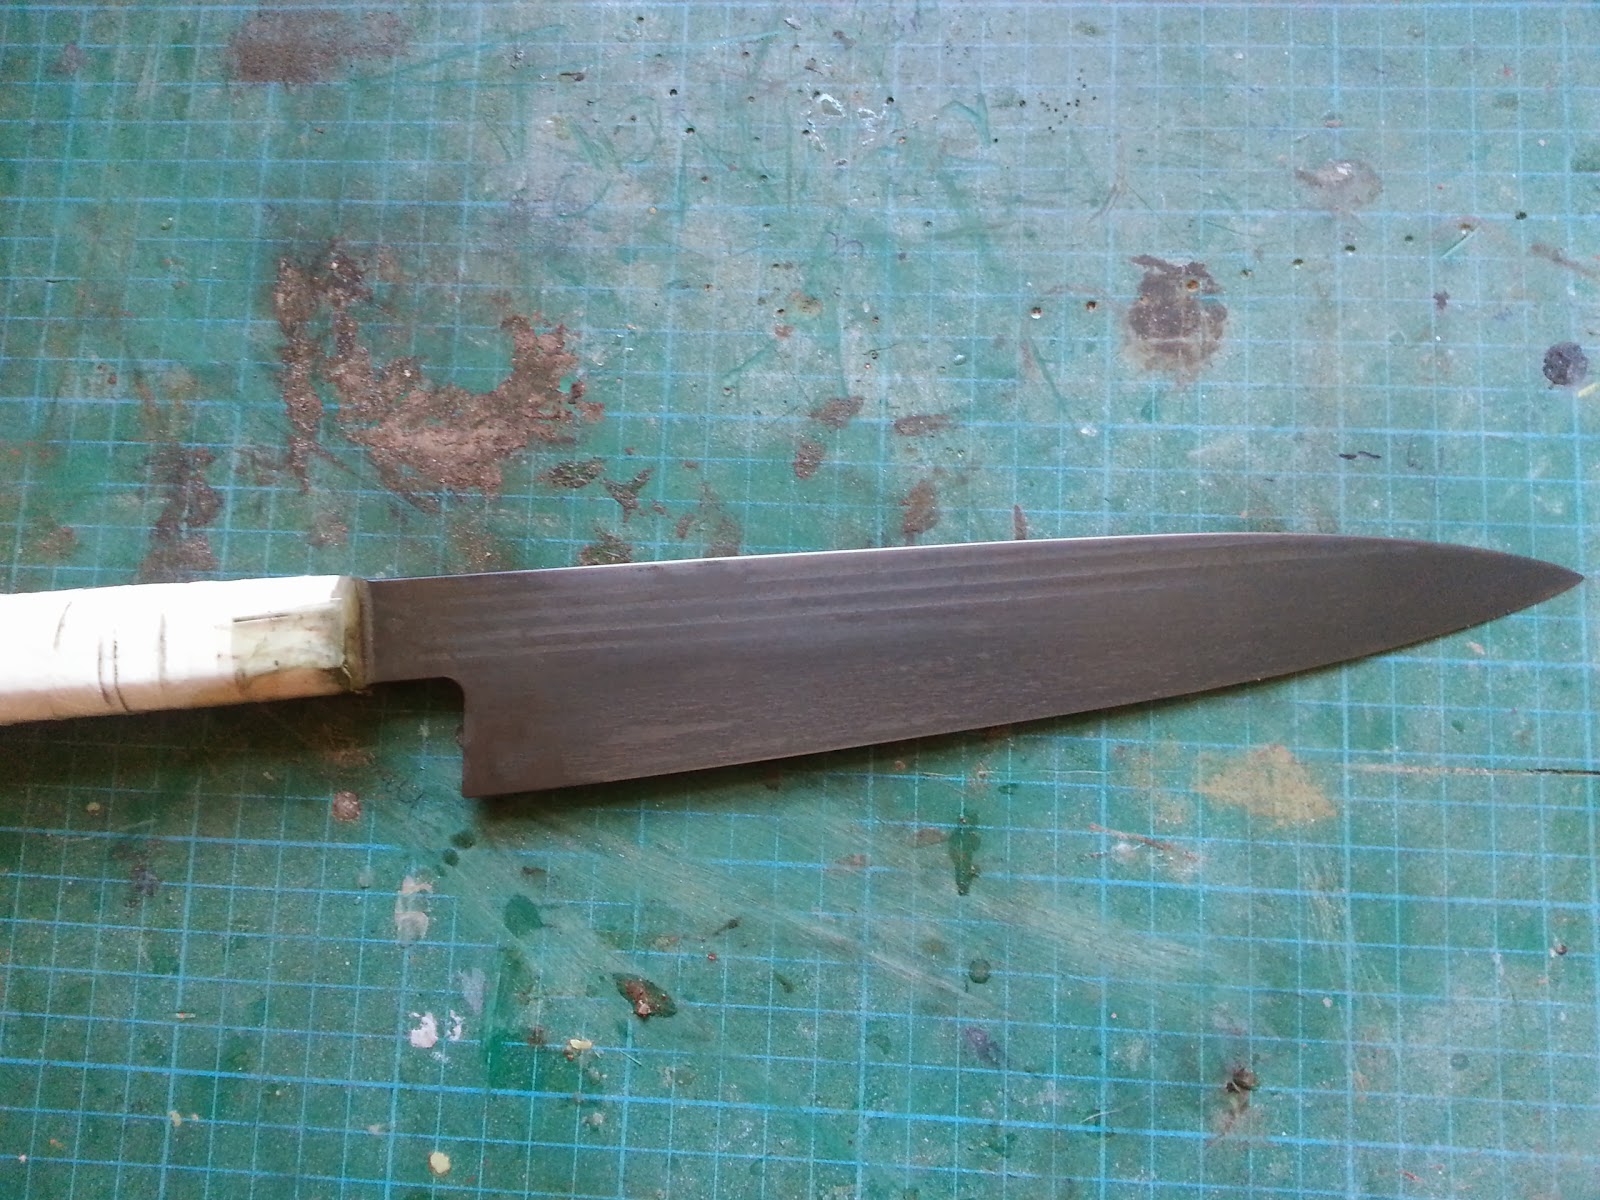
I must say that working with Shigefusa was a pure pleasure. For saya I choosed cedar wood from my own collection. It was very soft and I thought that if I apply many layers of shellac then I will get nice hard shell. I was little bit lucky because there was a problem on the post and my parcel came back to me from Italy. I opened it and noticed that bubble wrap left too many marks on shellac. It wasn't dry enough. I removed shellac from saya, sanded it again and drowned the whole saya in a mix of danish oil and boiled linseed oil for 24 hours. After that I used wax to finish it.
I also polished it more with Uchimogori fingerstones. I was doing that for 3 days 25 minut per side of the knife. I had to send it today because I am going to my holiday in Germany tomorrow. I really regret that because I really want to know how can it look after proper Uchimogori treatment. Time for pictures.

Before:


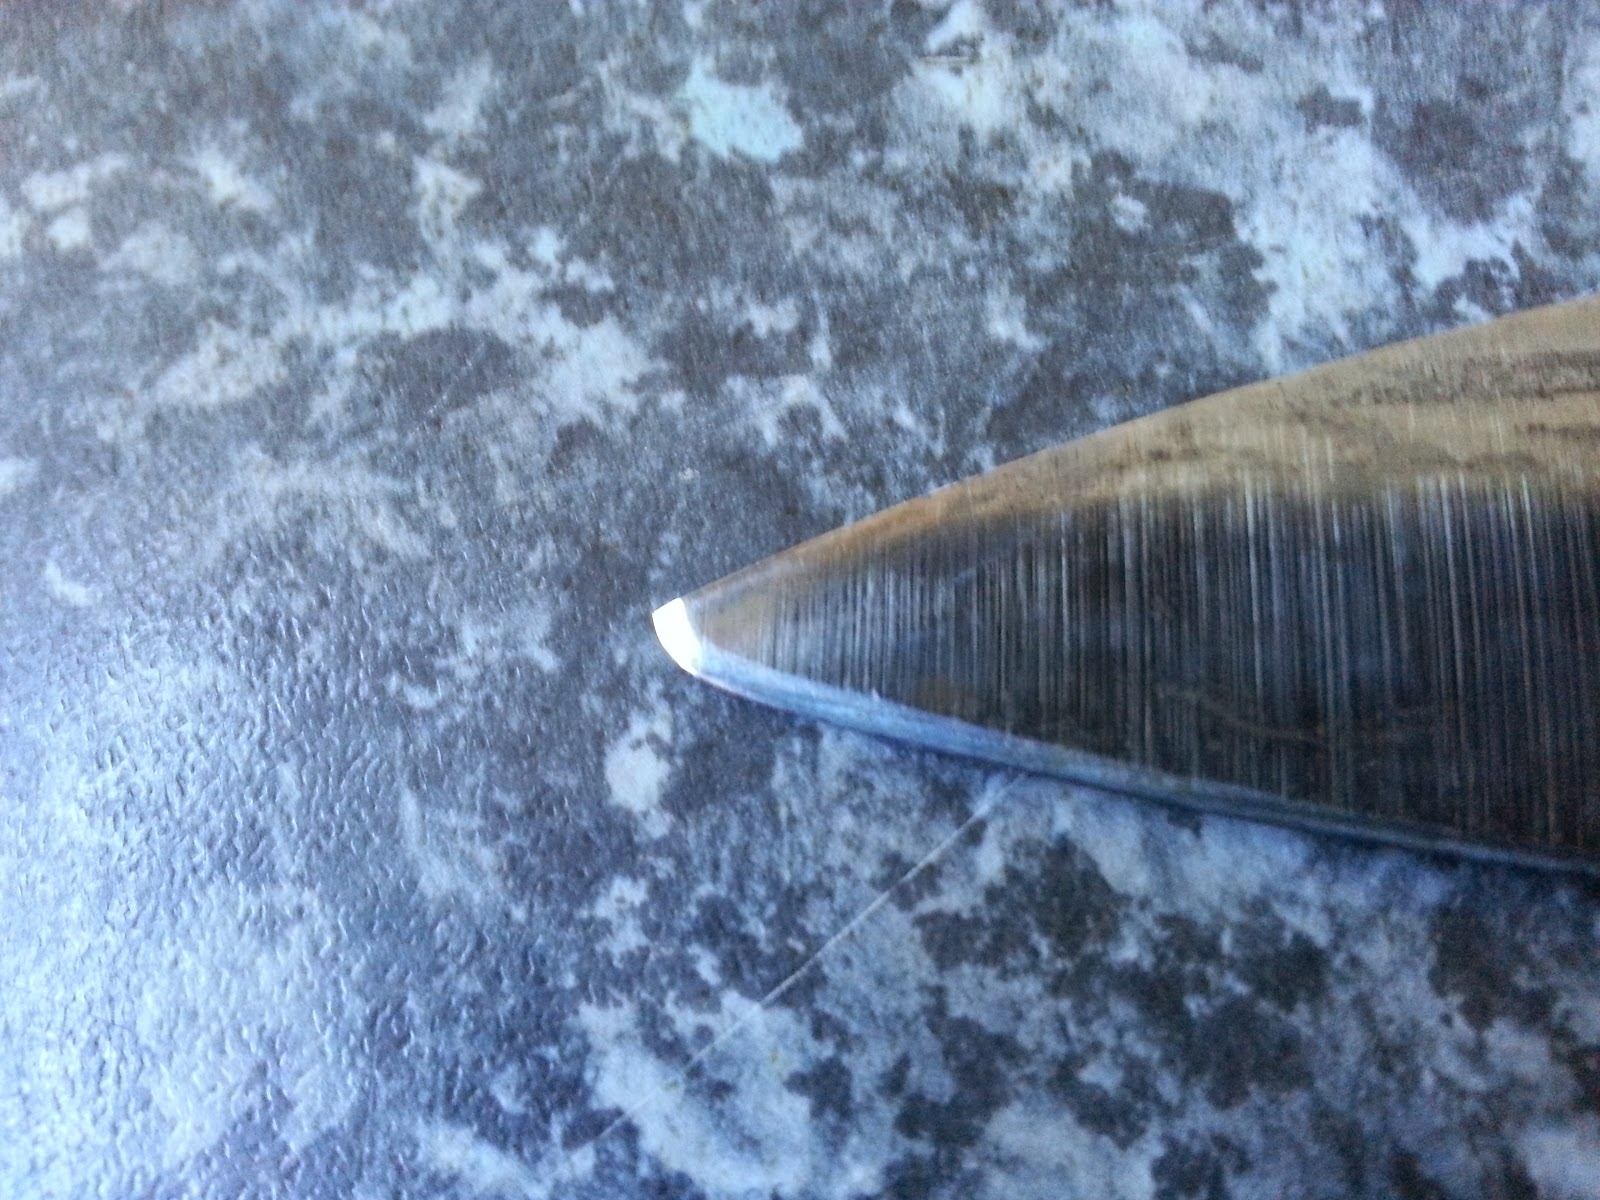
Before thinning:


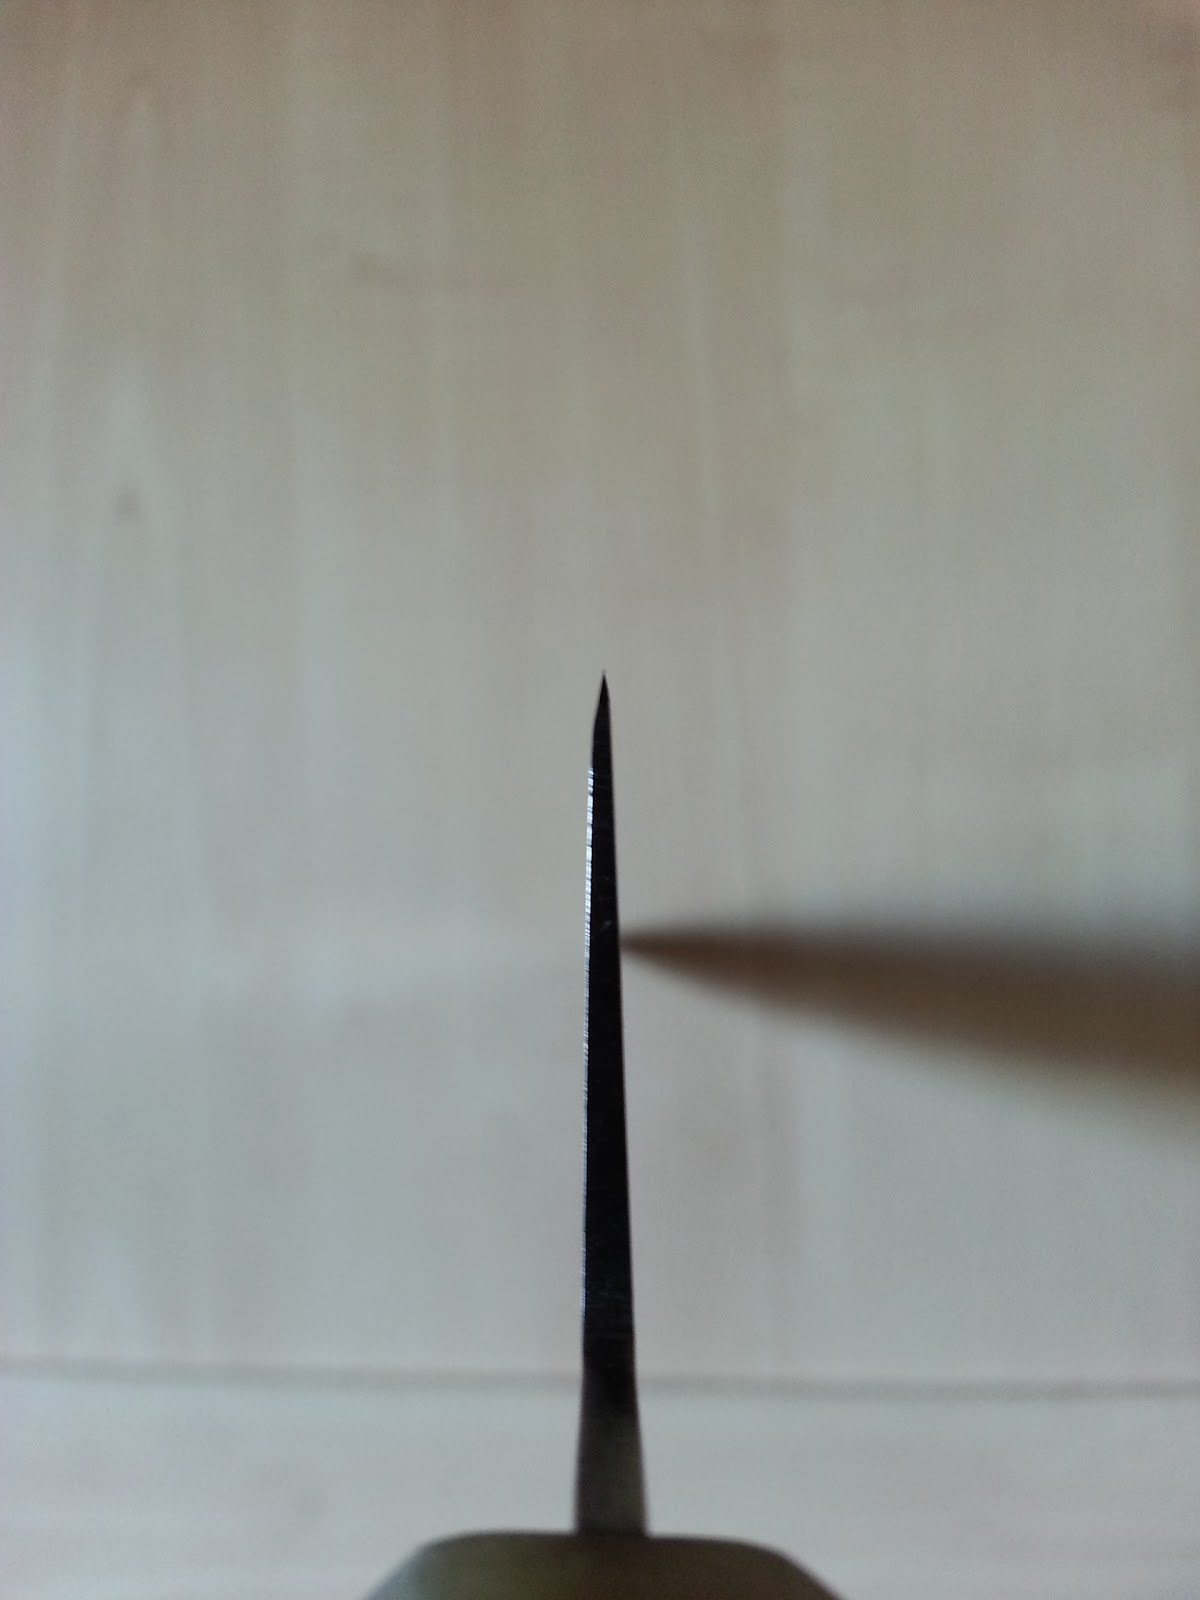
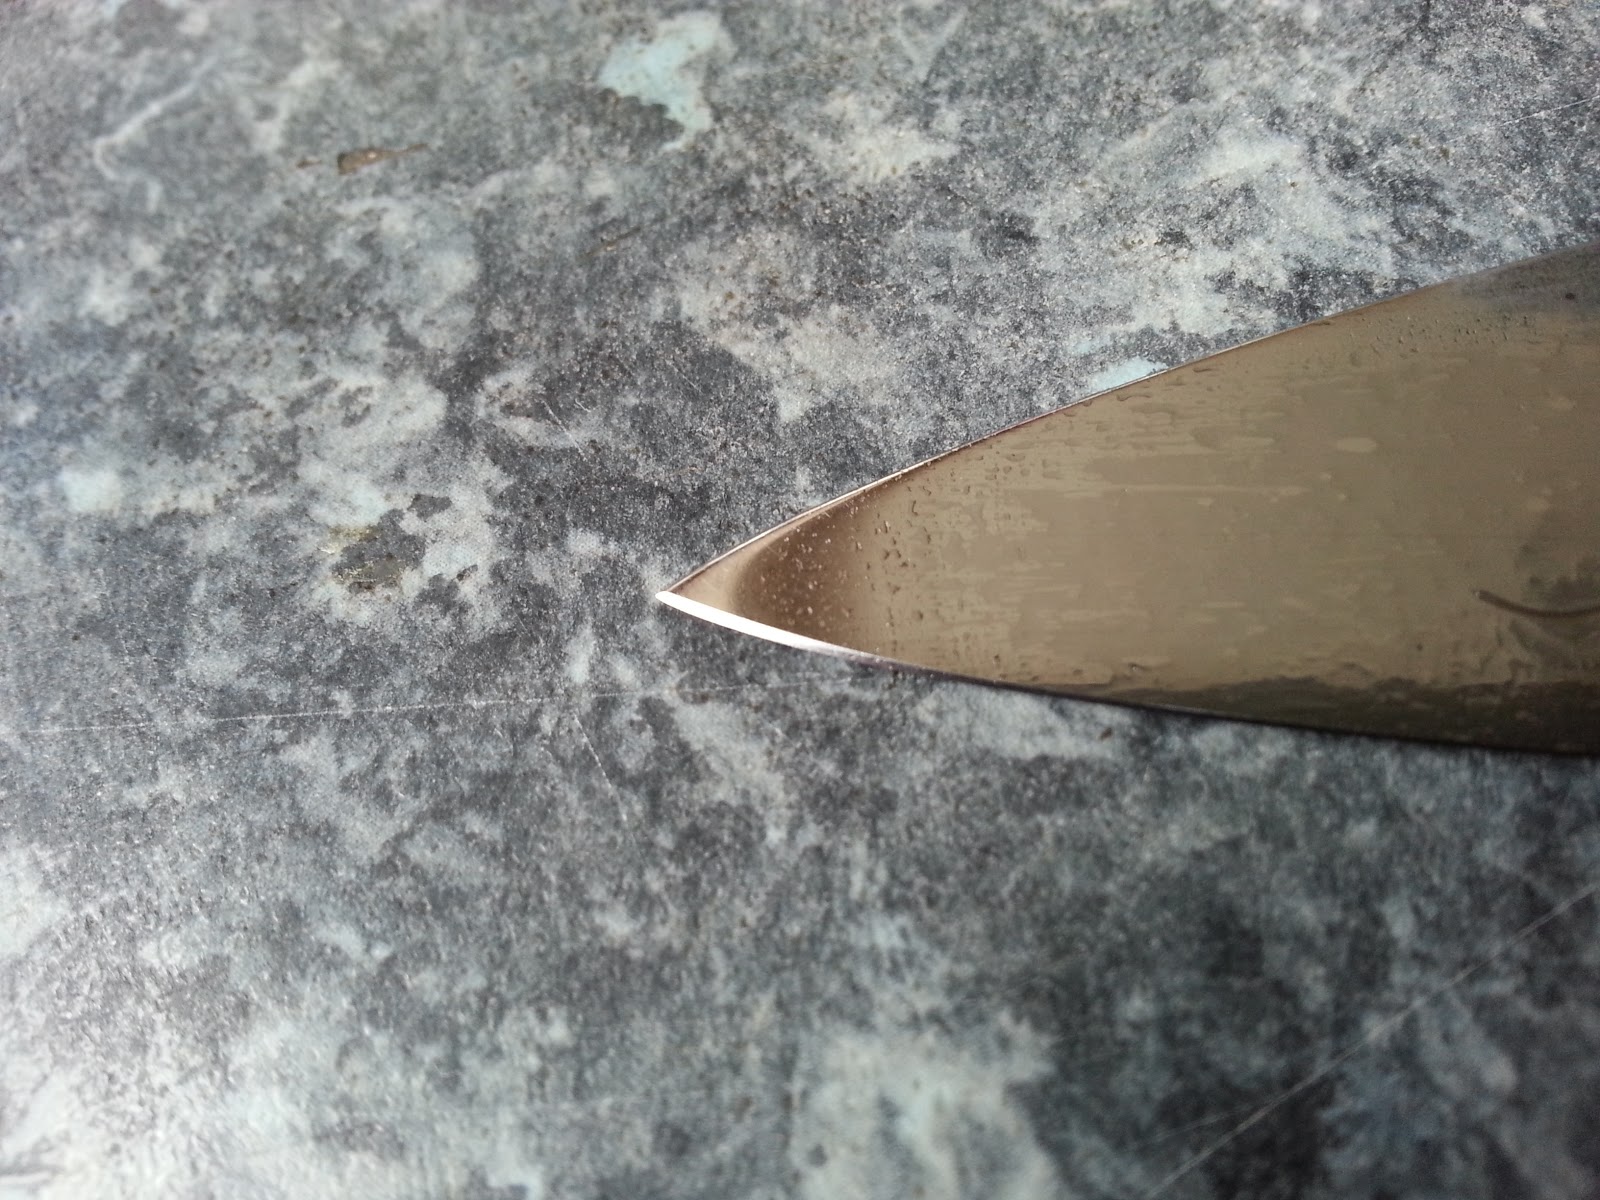
After thinning:


And some final pictures after knife came back to me:


poniedziałek, 31 marca 2014

Forgecraft modification.

Hello!
I didn't write since some time but now it will change. I am planning to make few projects in the near future so I will have things to describe.

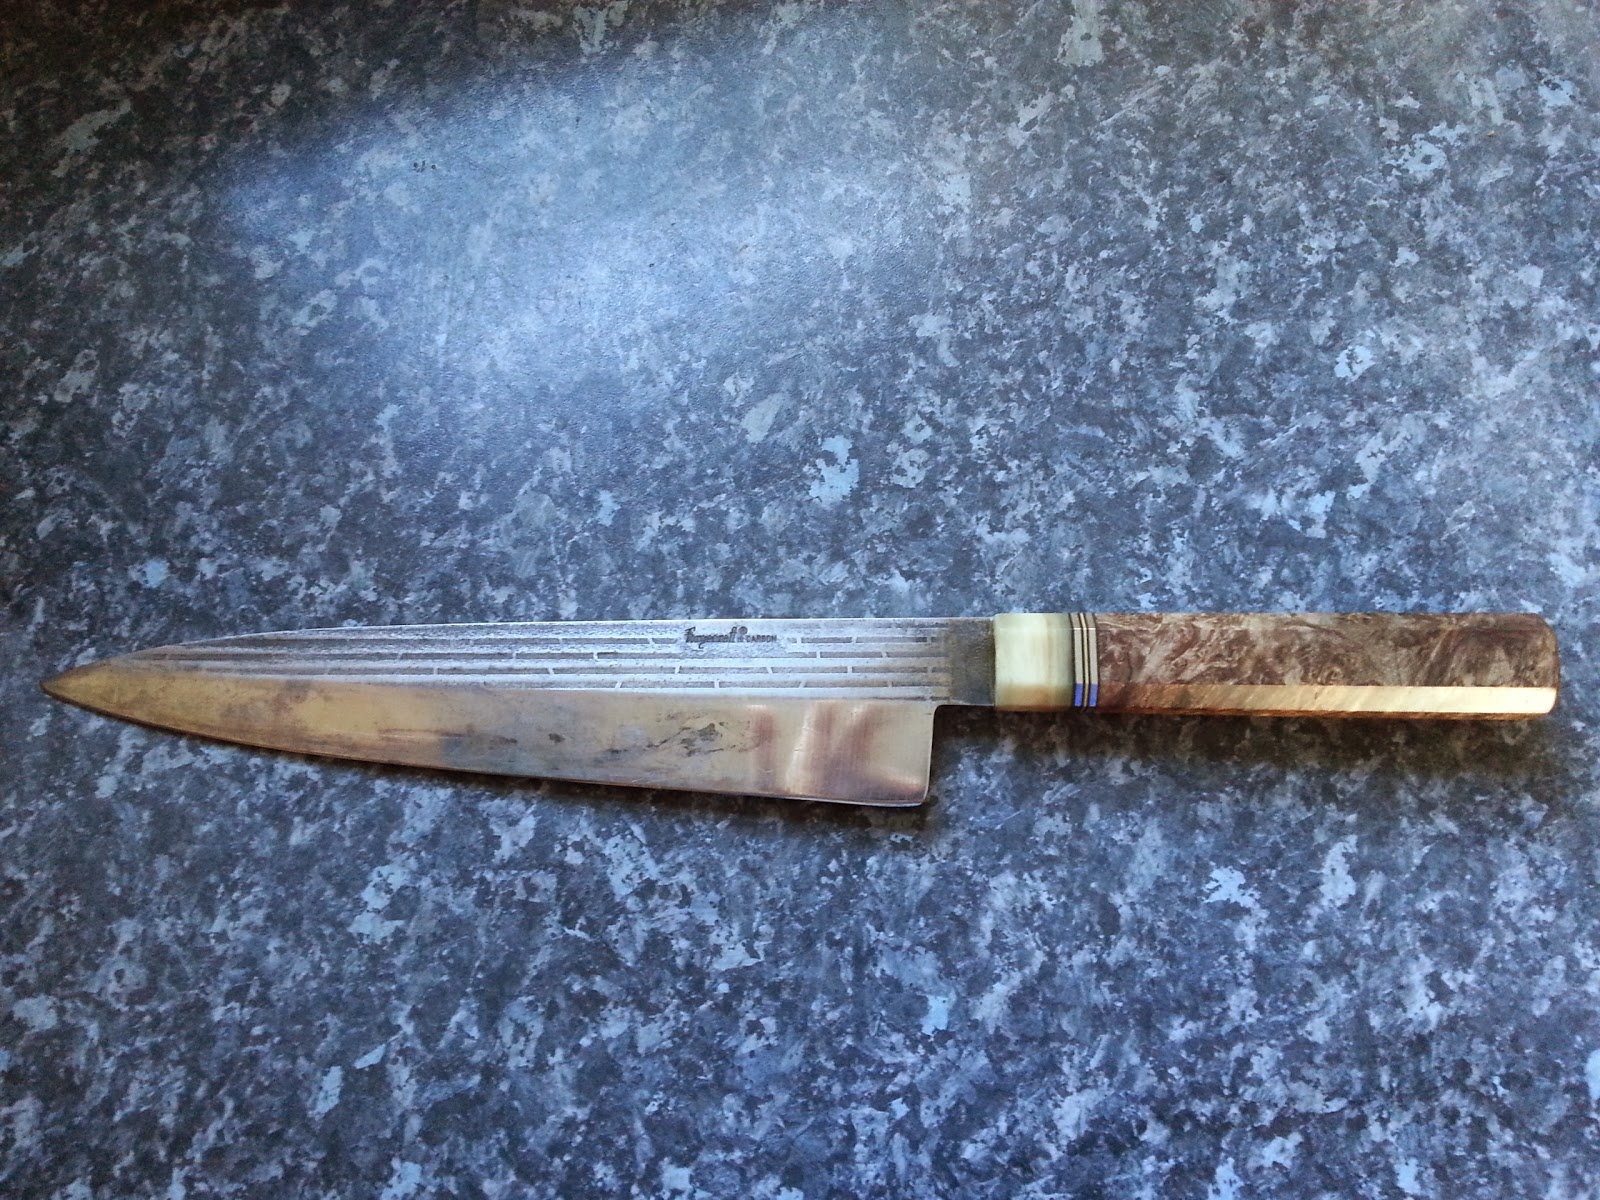
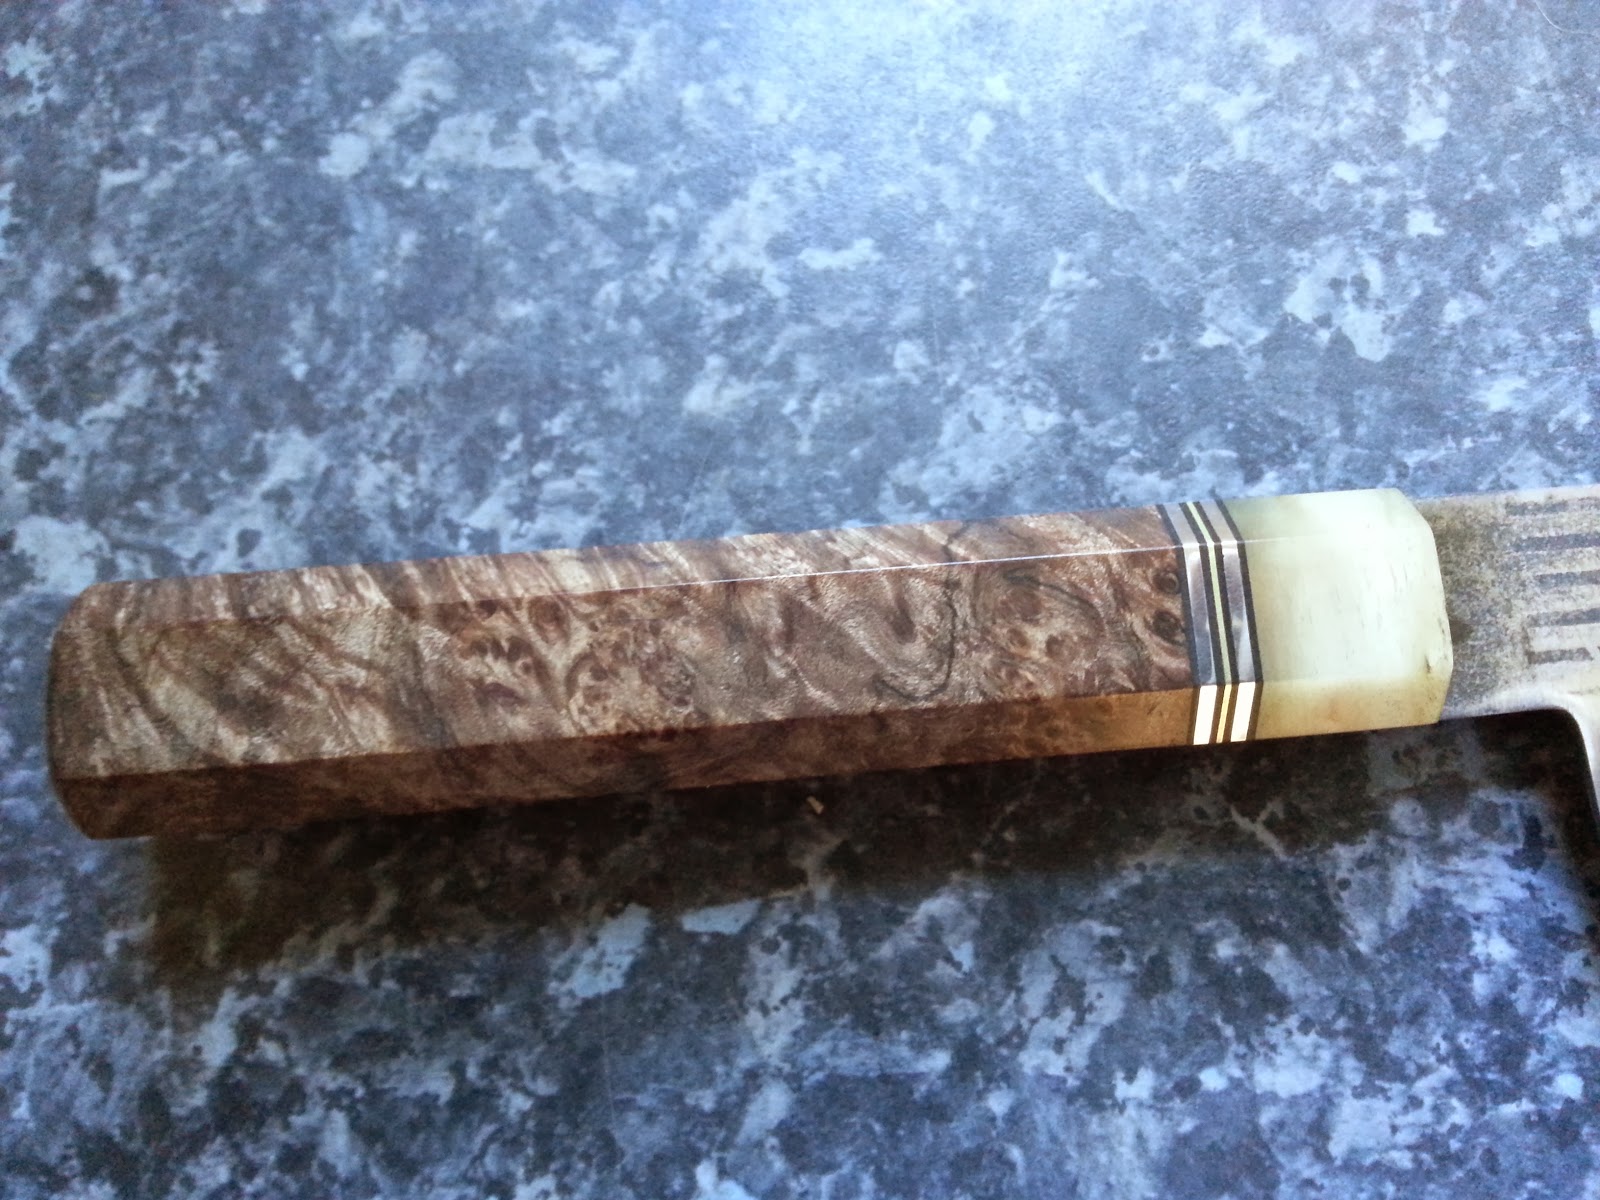
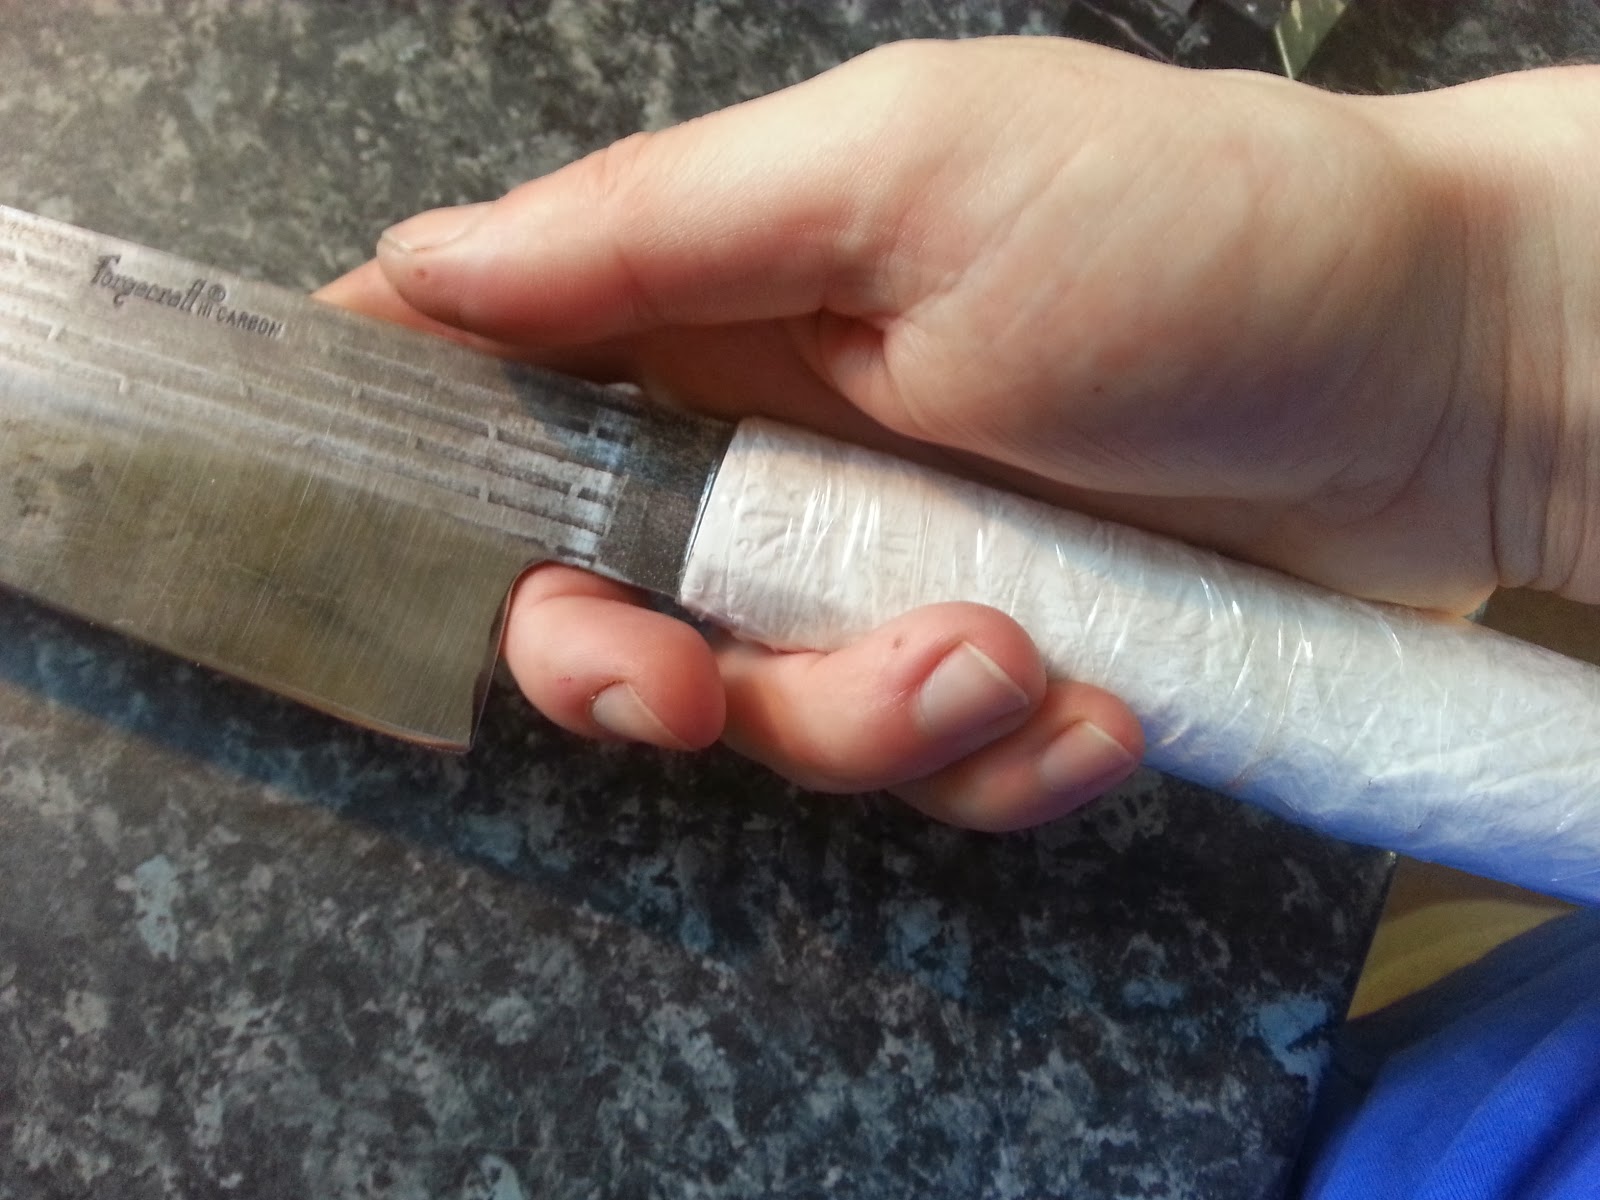
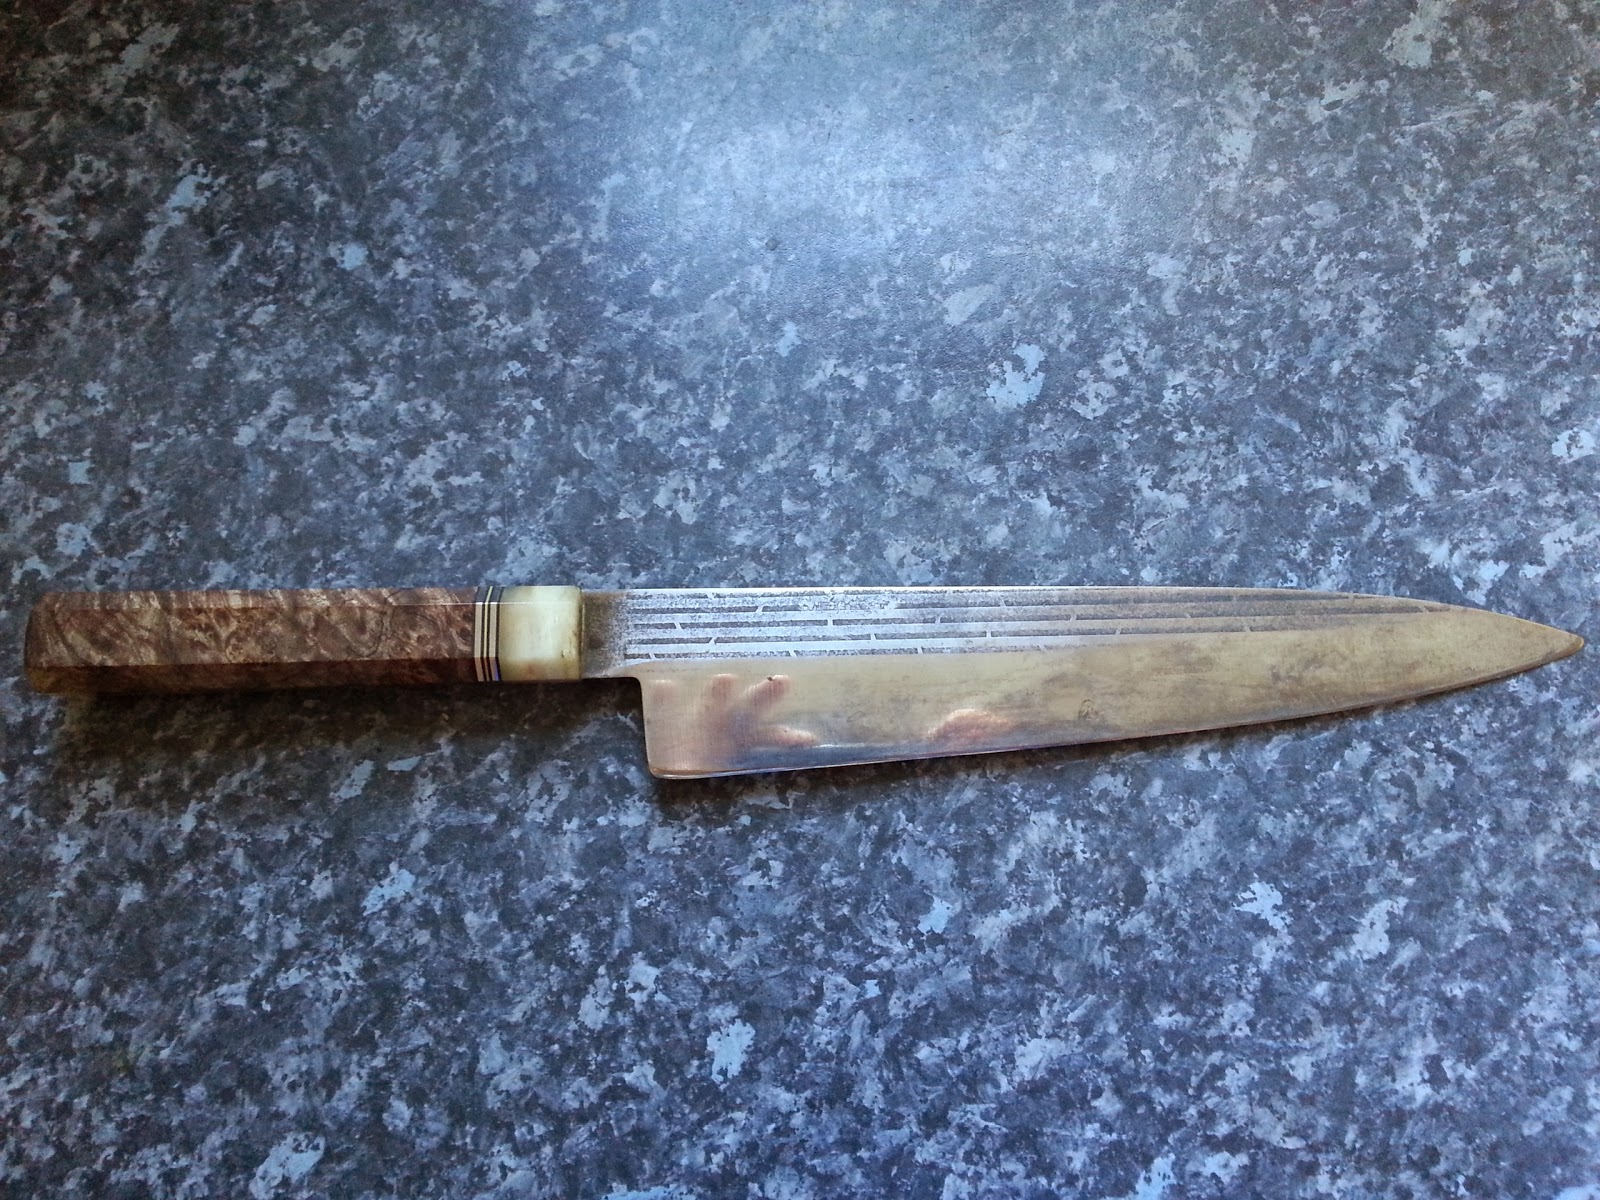
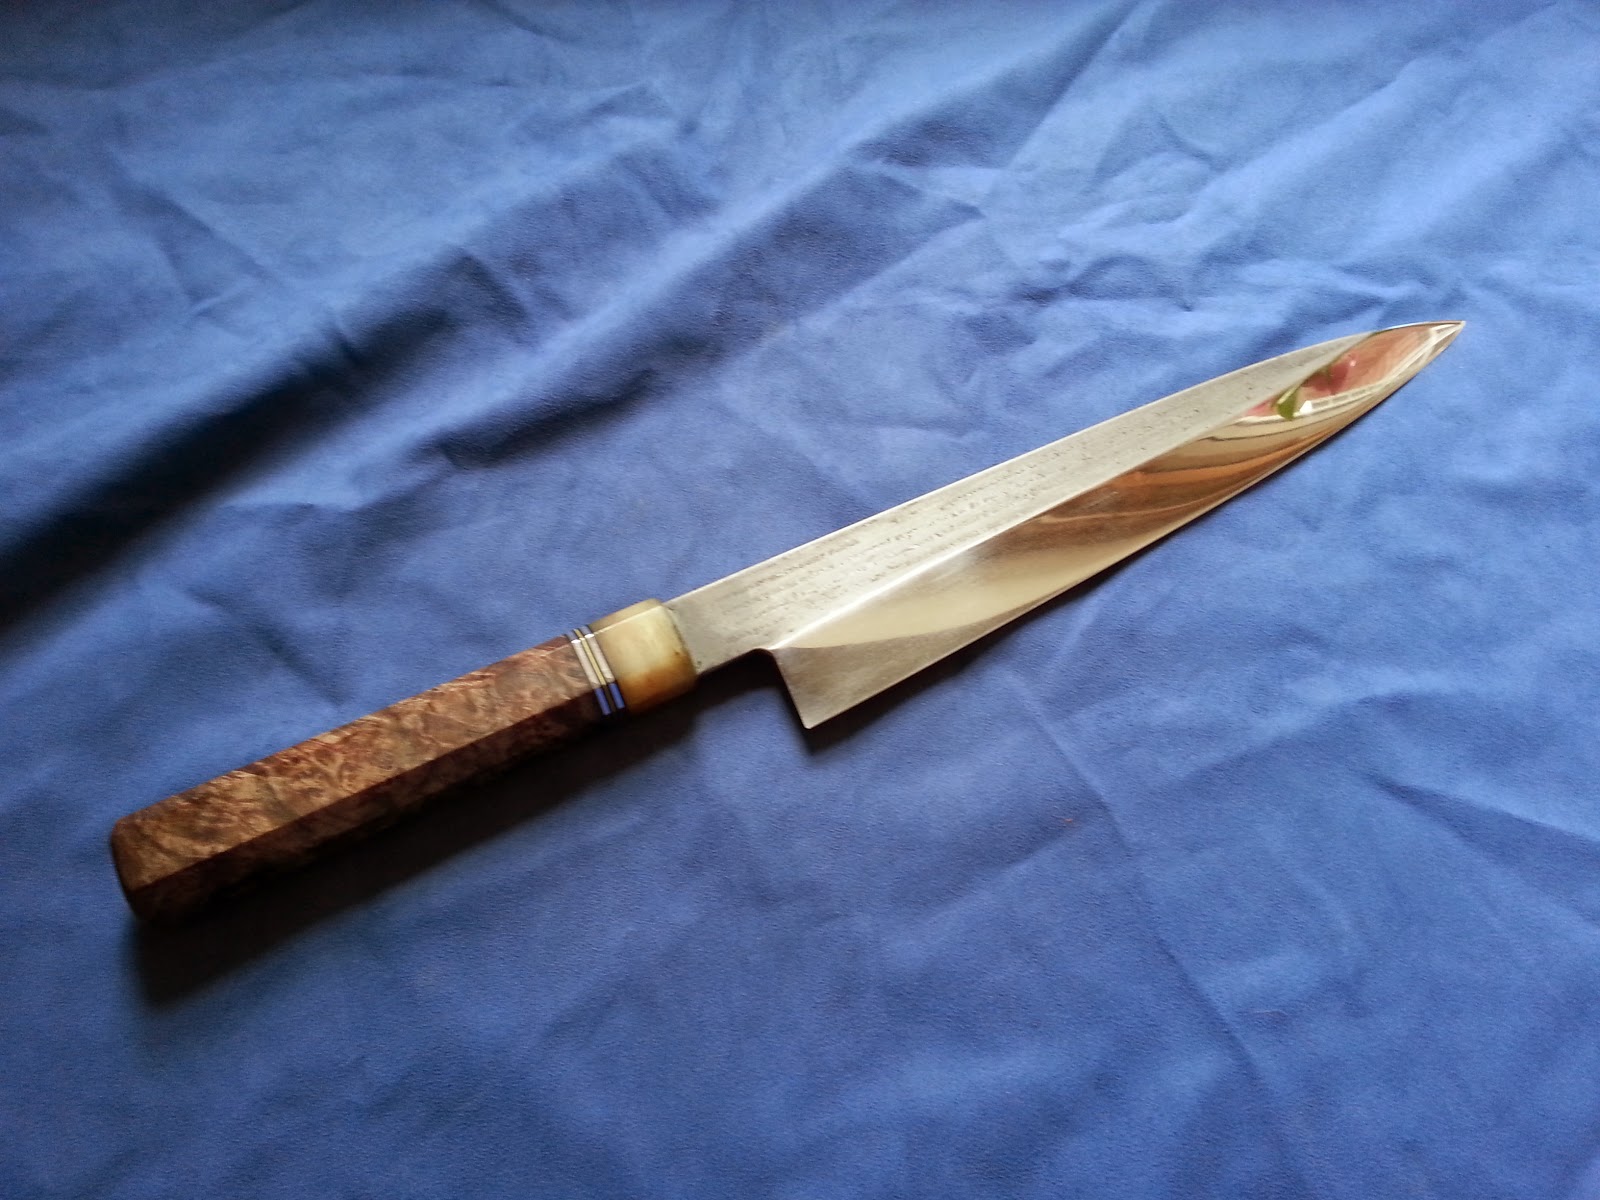
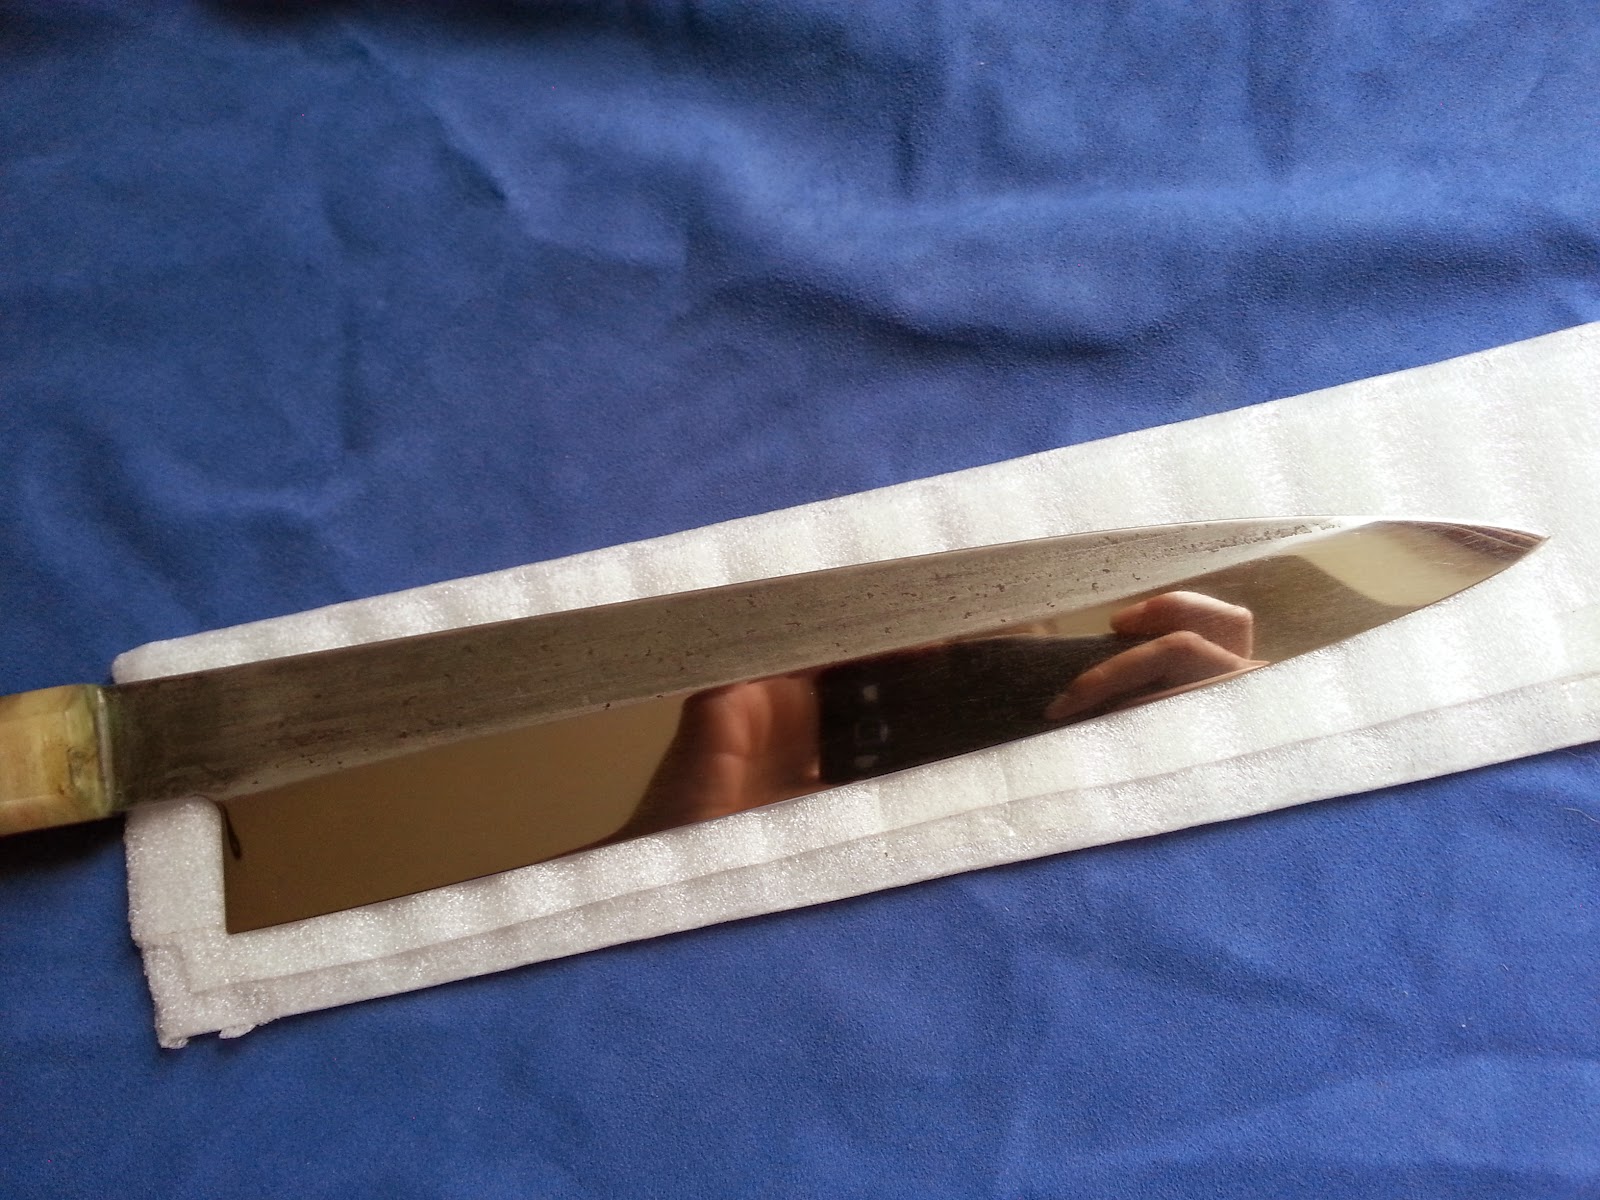
I recieved package from Sweden with vintage Forgecraft. This knife was previously rehandled by Mike Henry. I must say that this handle is super nice and it should be an example (for me) of  how to make handles.


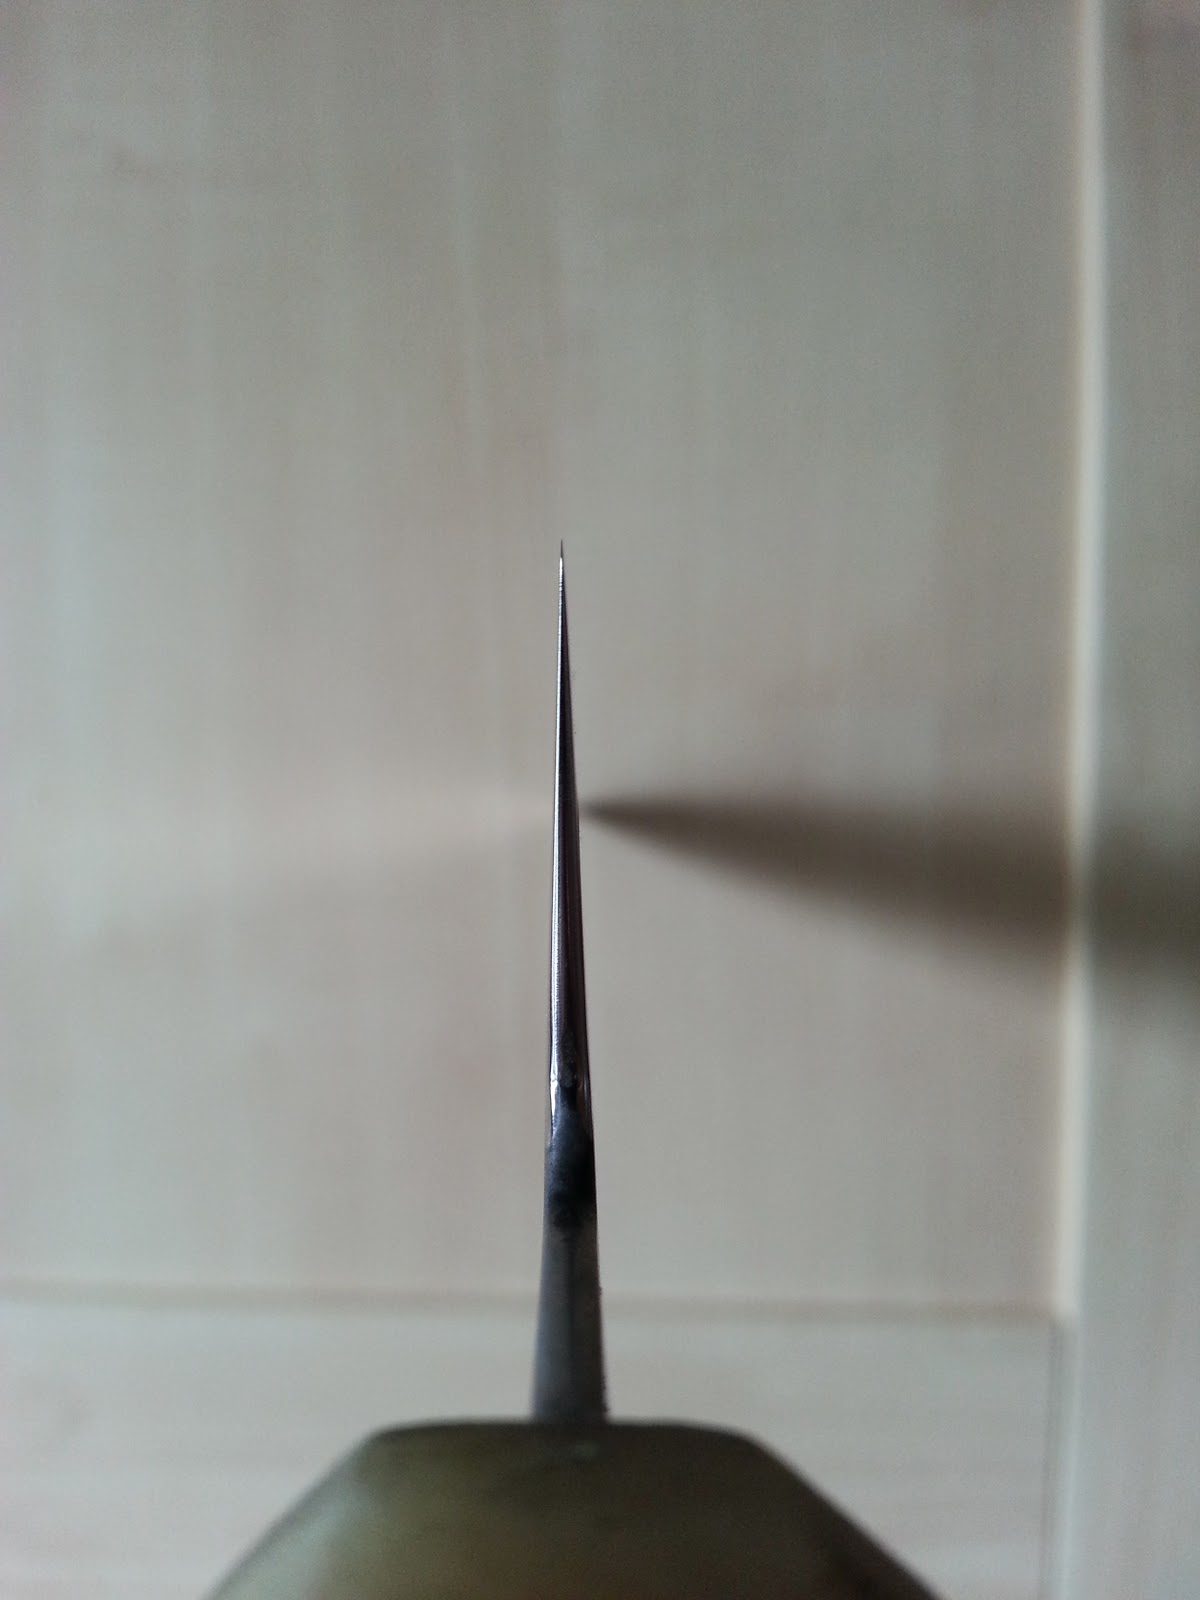
I've been asked to thin this knife a lot because the grind was to thick.


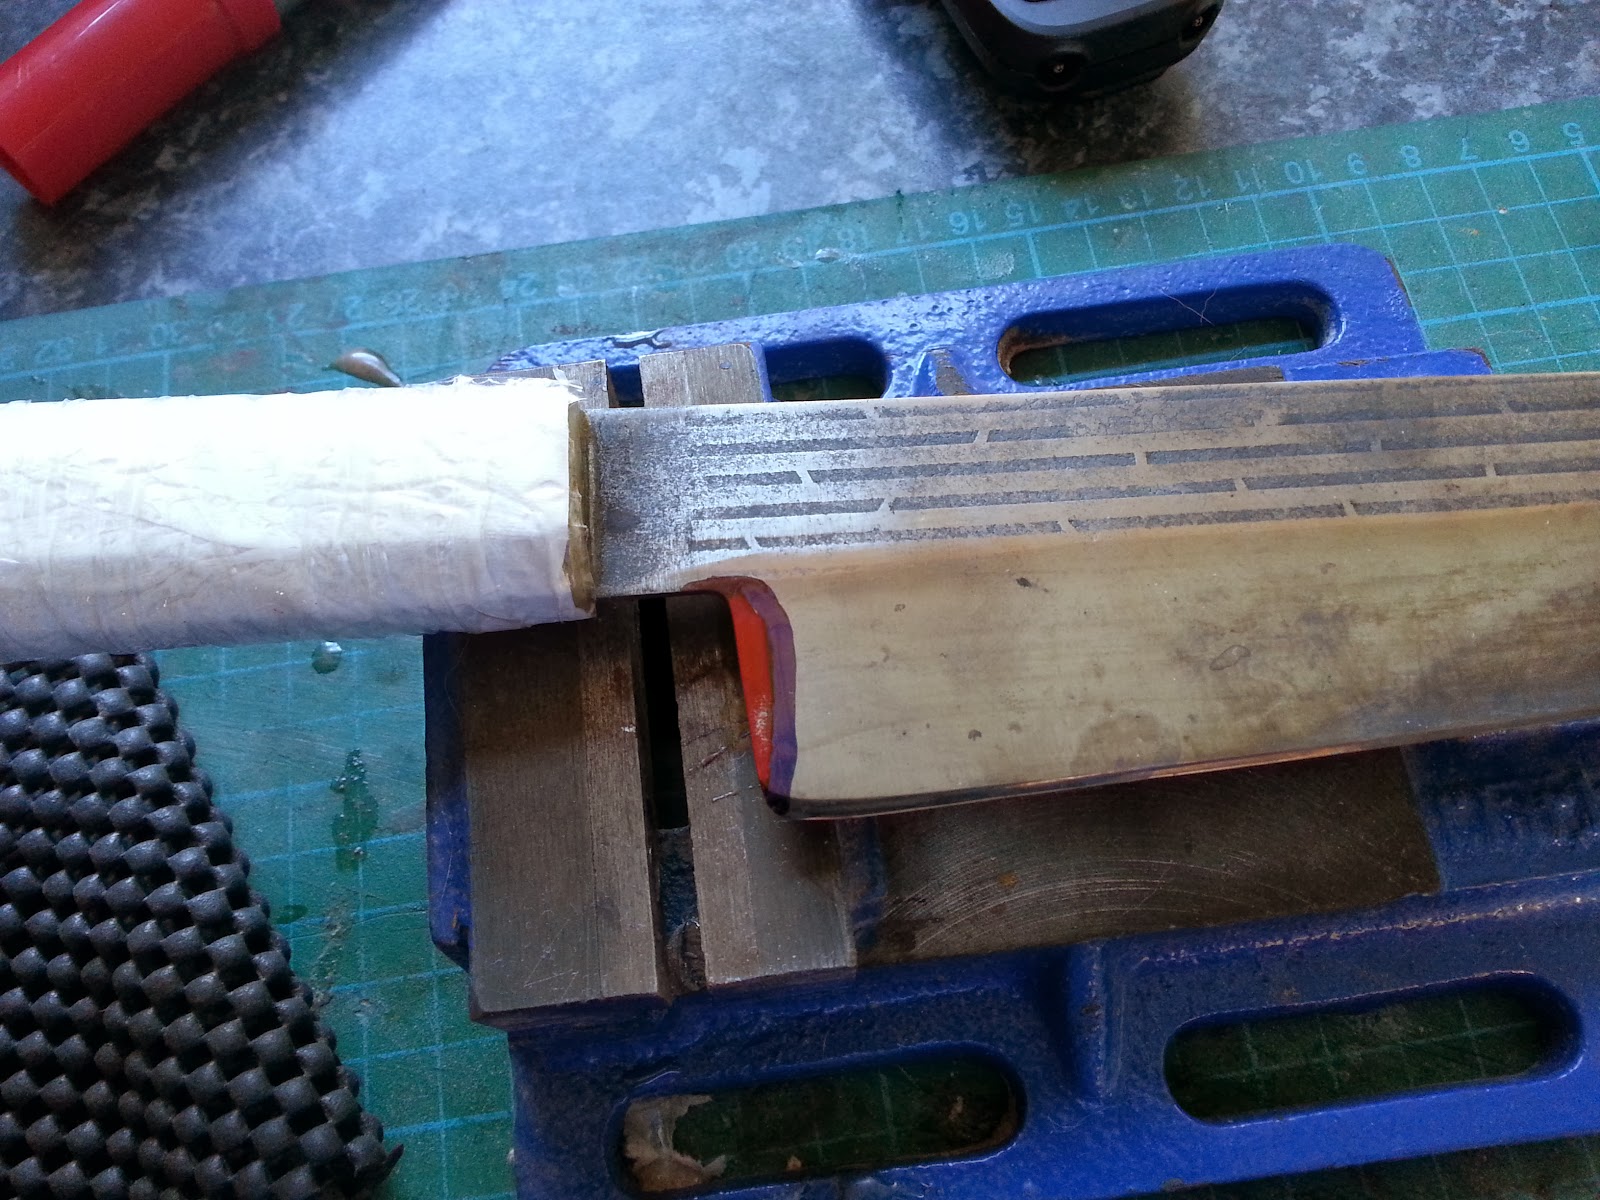
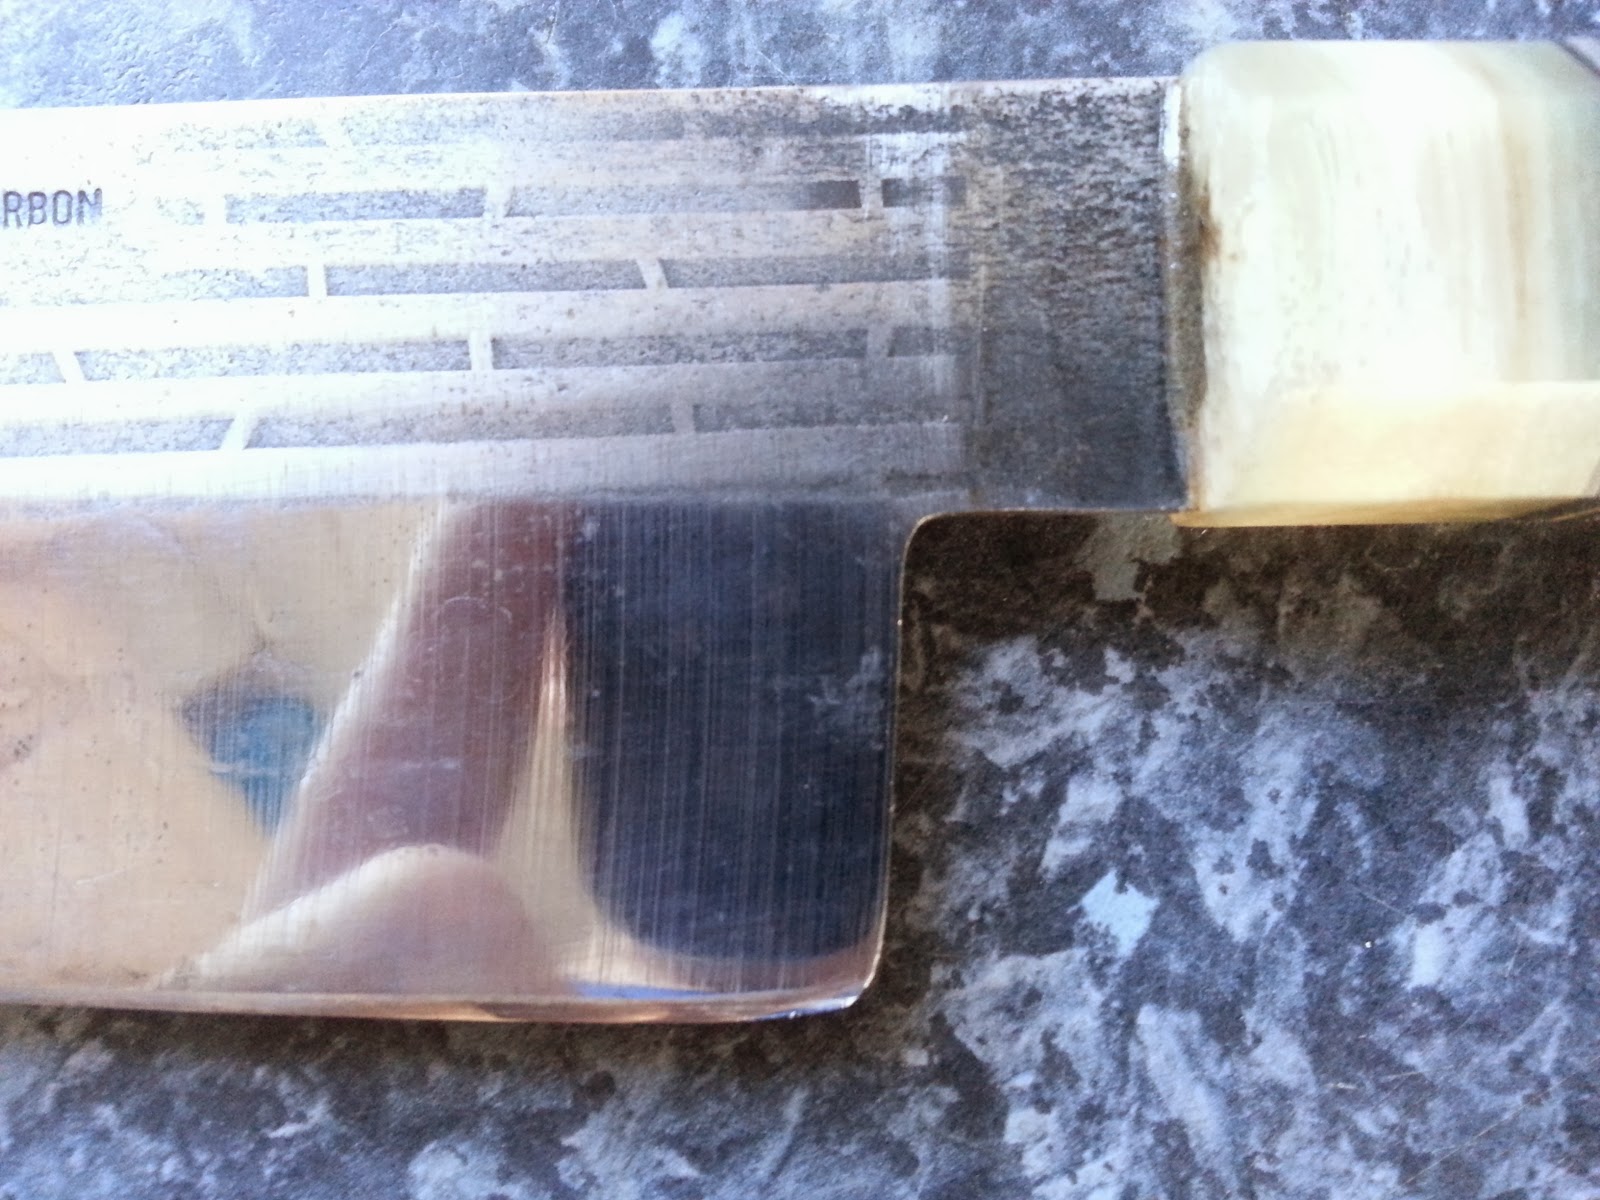
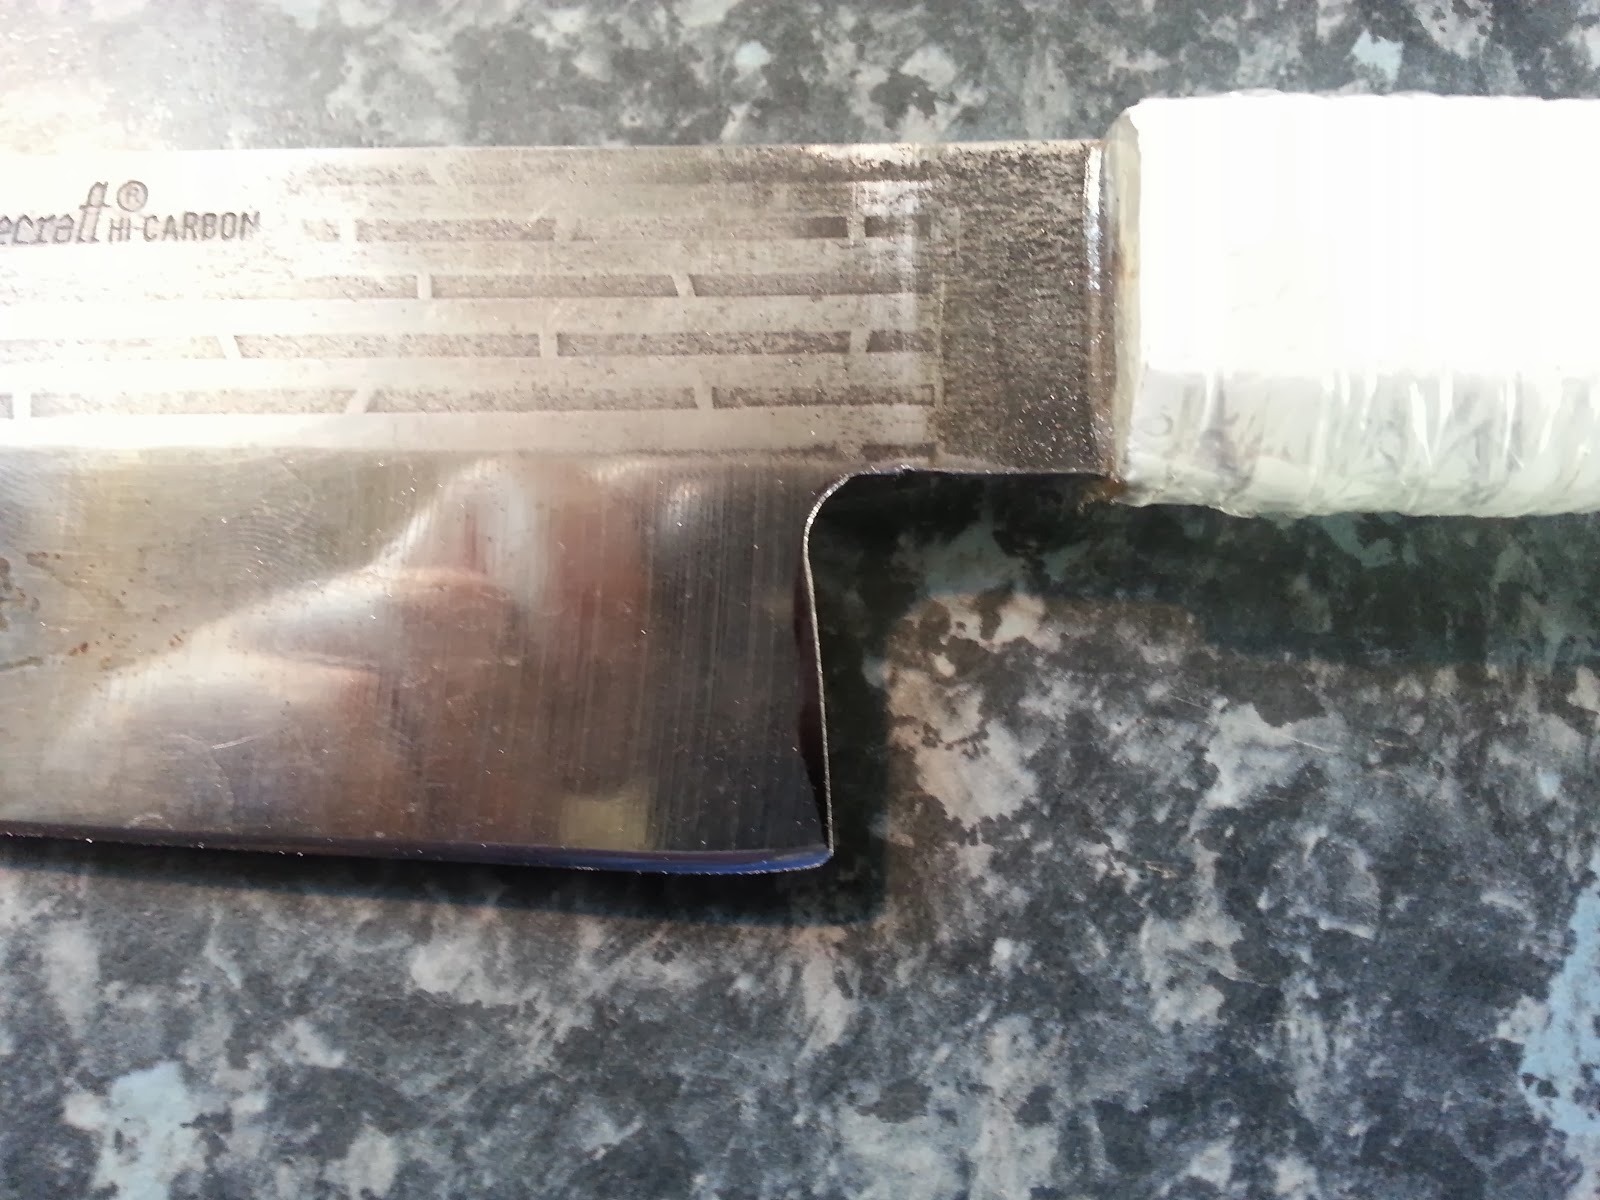
Also I had to make the choil bigger, round the spine and choil, eventually etch the whole thing and mirror polish bevels.

I started from cutting out new choil. I used files to do that.
Before:


After:


Then I rounded the spine and choil. Later on I thin it a lot. I wanted to use belt grinder but steel was soft and I manage to do that on stones. First Atoma 140 followed by JNS 300, Beston 500 and JNS 1000. In this place I really regret that I don't have muddy JNS 800 which I tried year earlier on JNS gathering in Denmark. I am going there again next month and I plan to get one.
I used Iron Chloride to etch the knife.

Etching:


Etched blade:


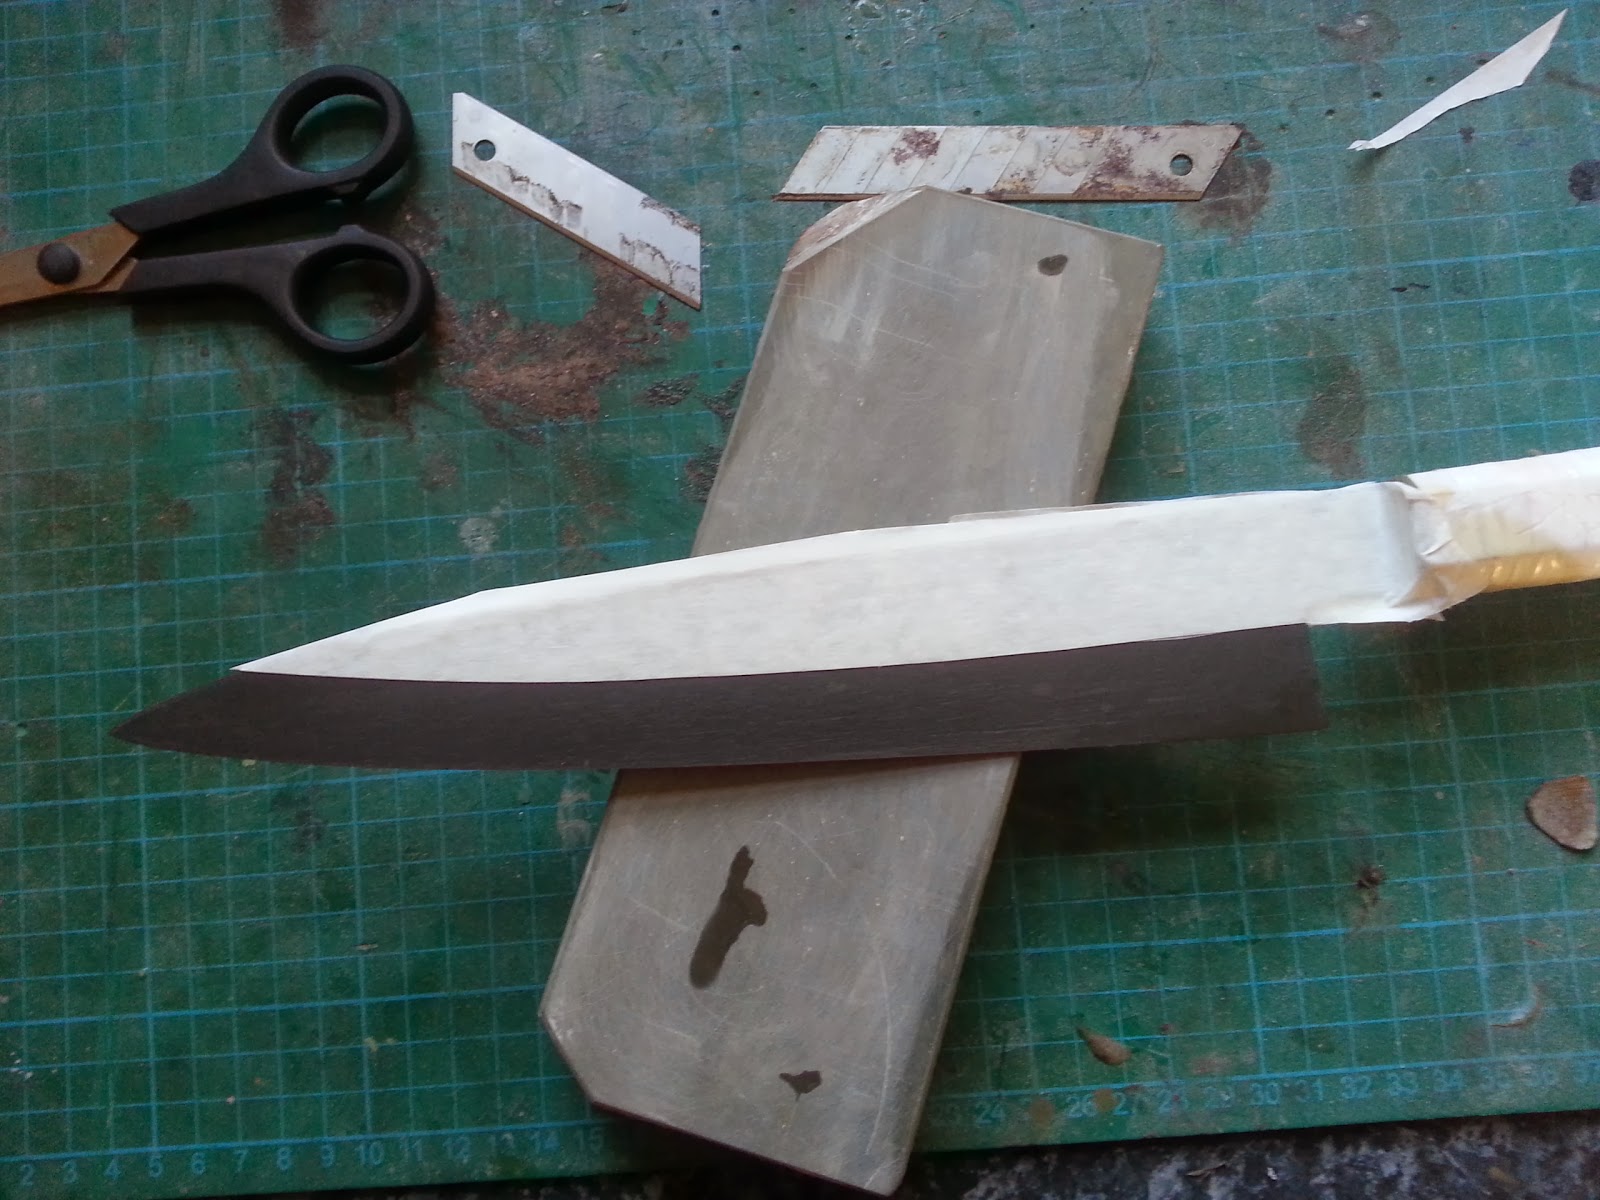
I masked top part with few layers of masking tape:


First attempt to make mirror finish:


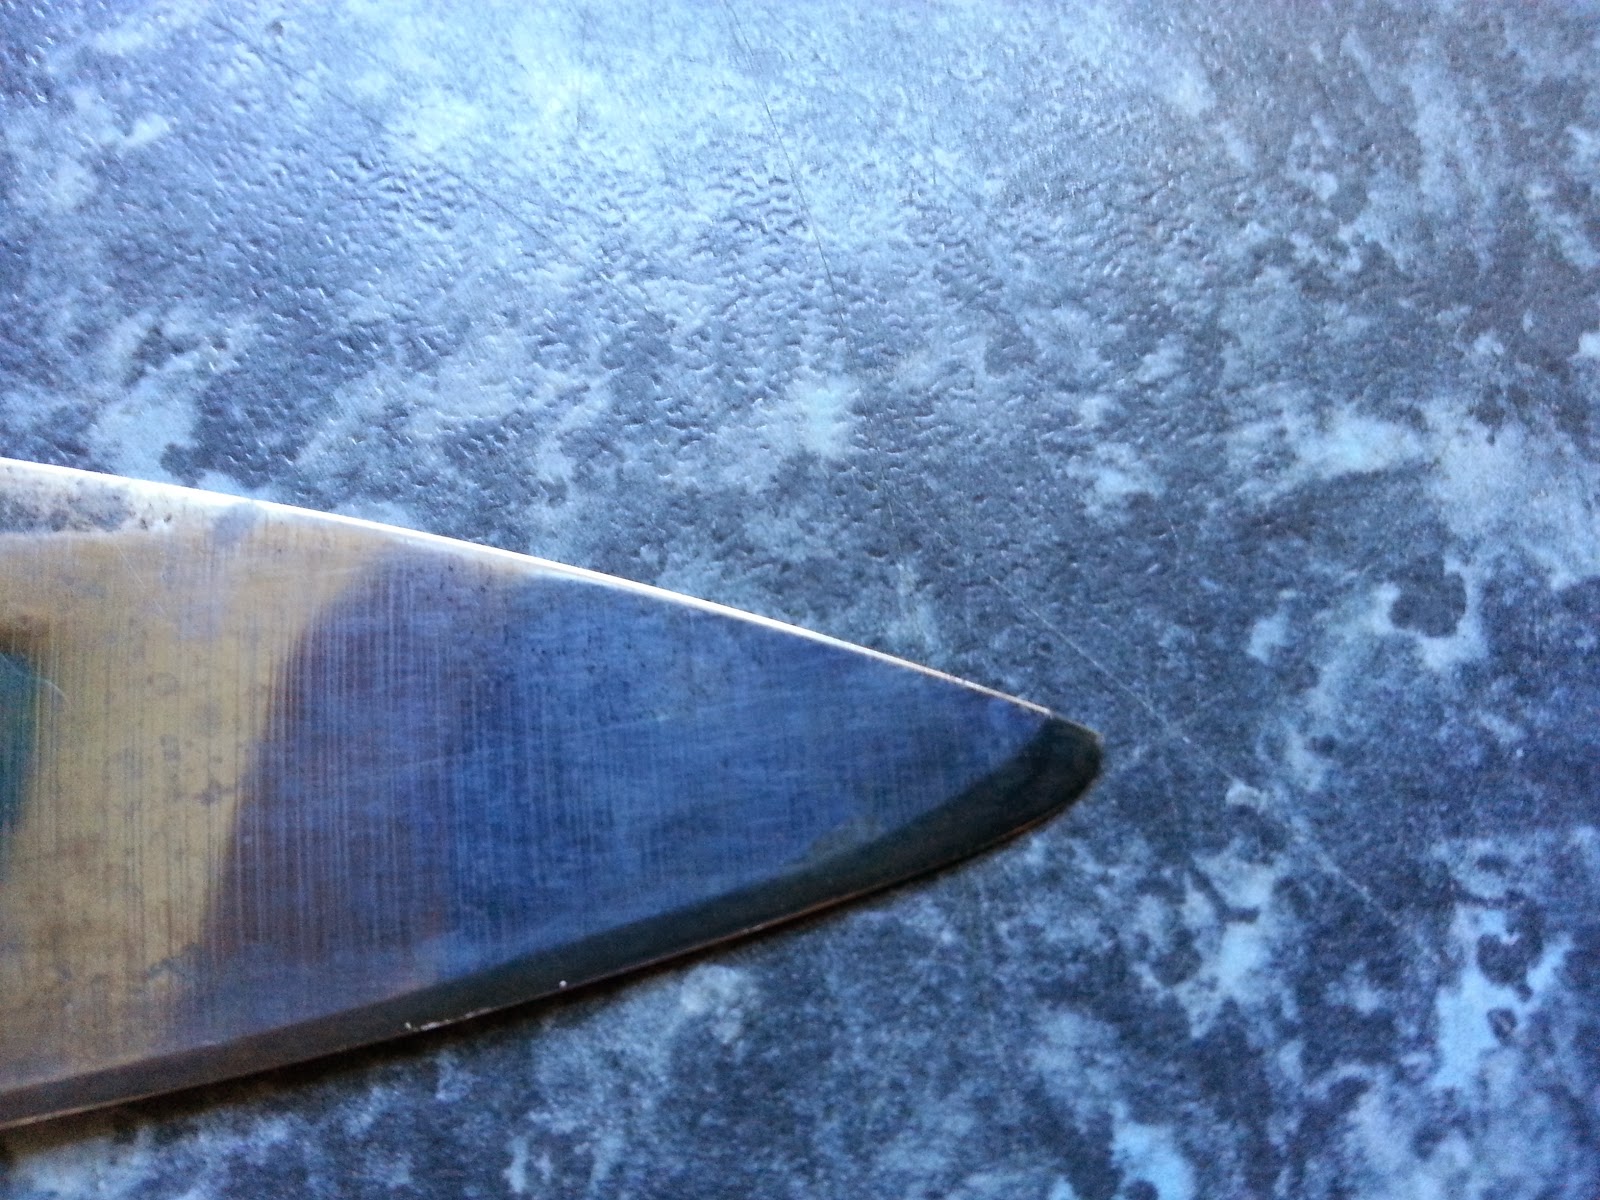
Originally there are ''bricks'' on the top face of the Forgecraft knives. It could be very hard to make it look as new so I decided to etch the whole knife and then mirror polish the bevels. Top face will look like a kurouchi finish.
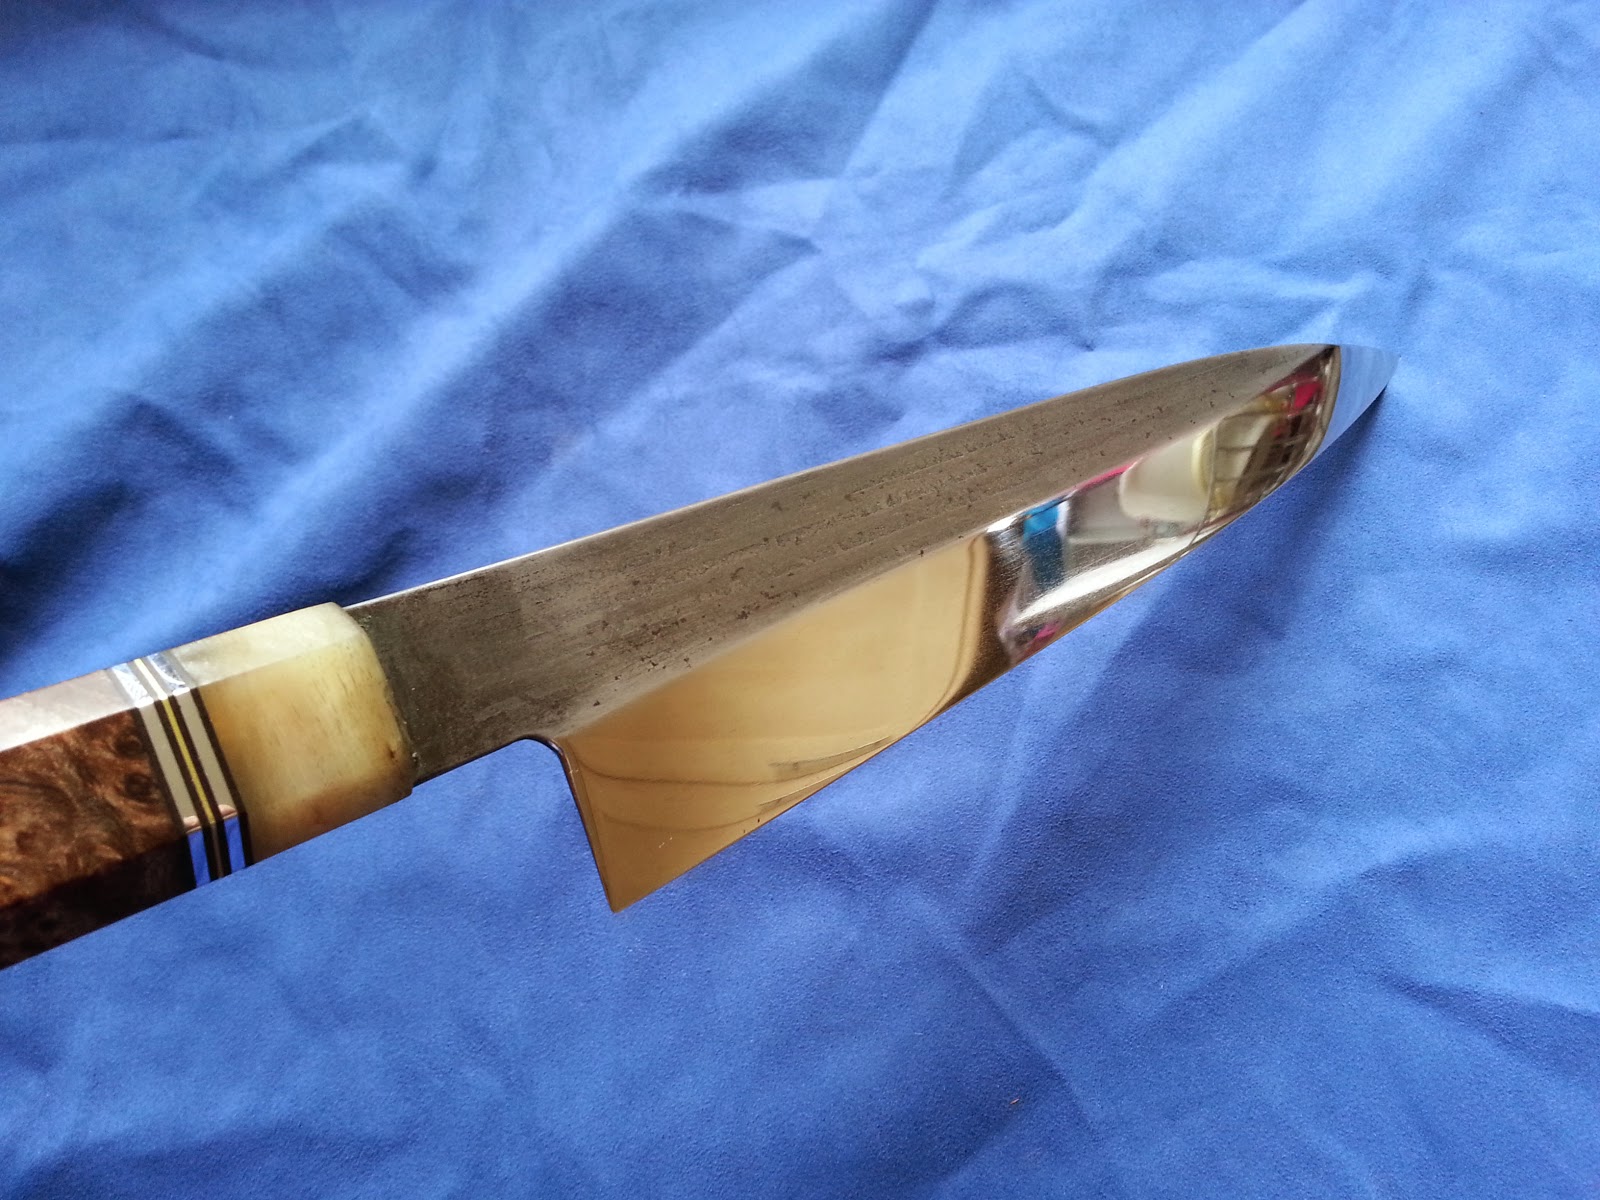
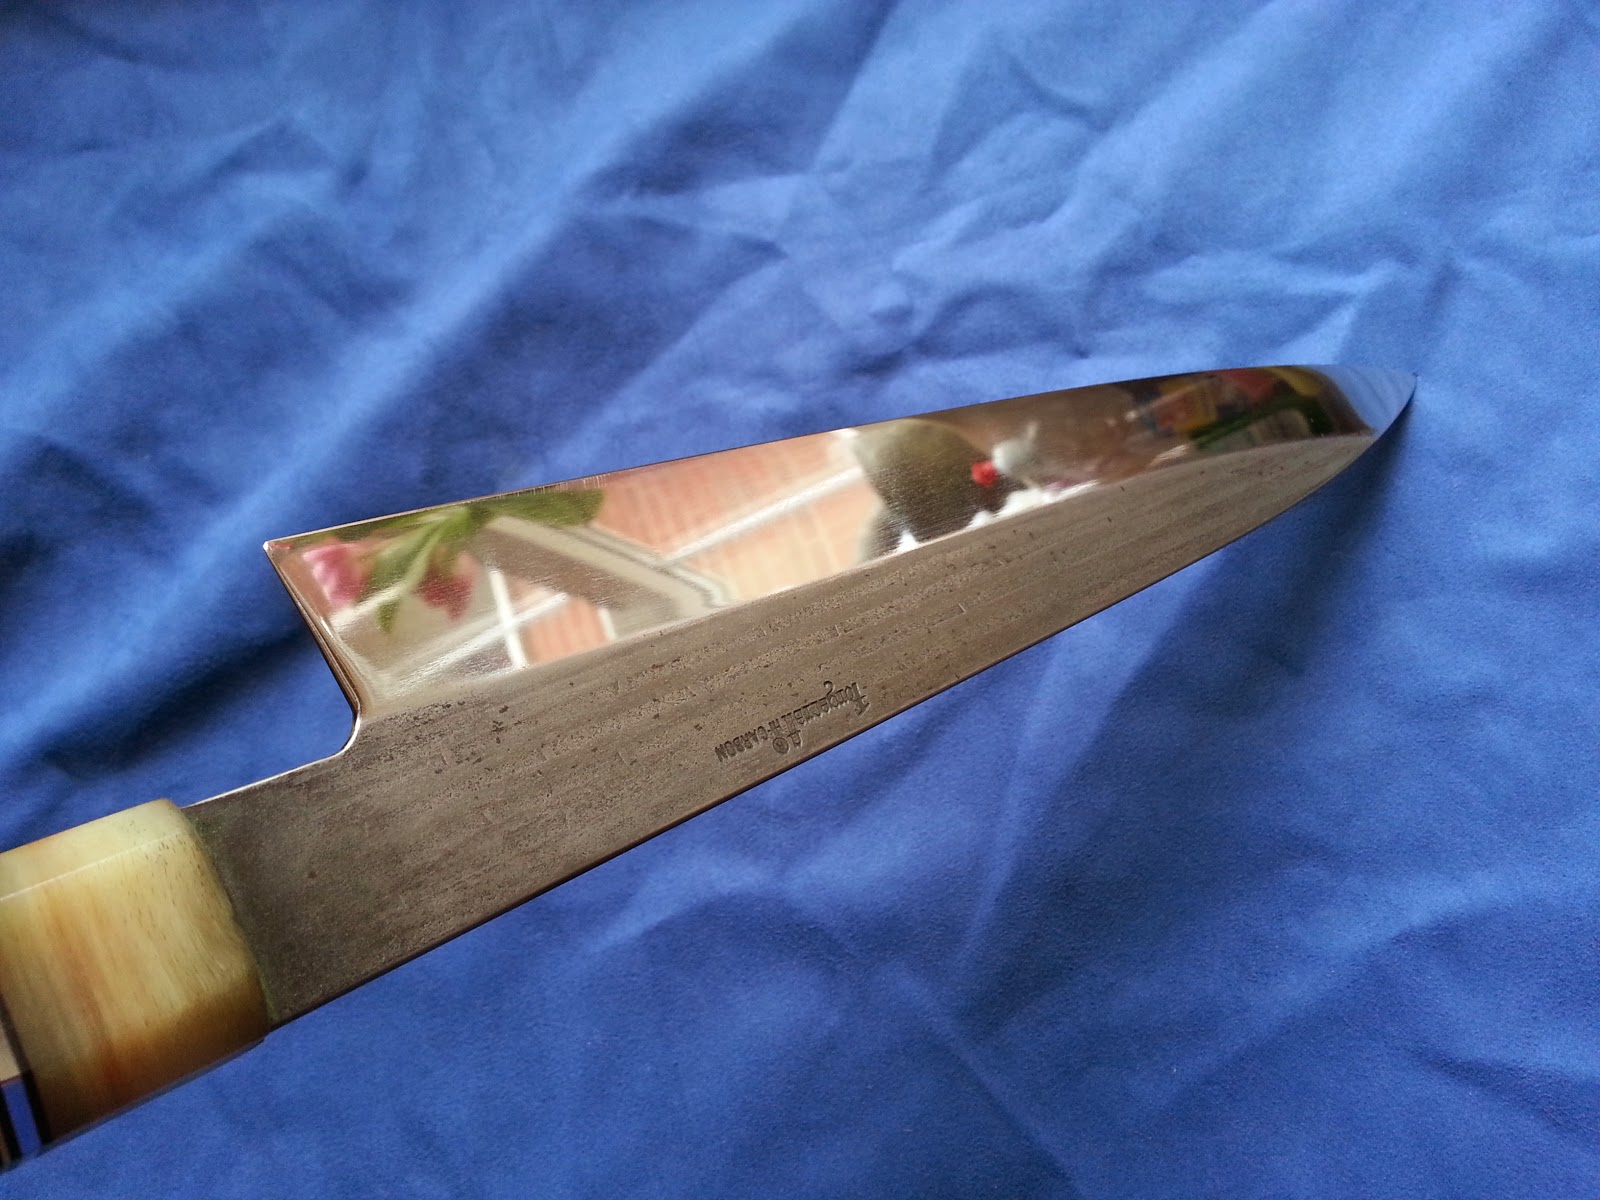
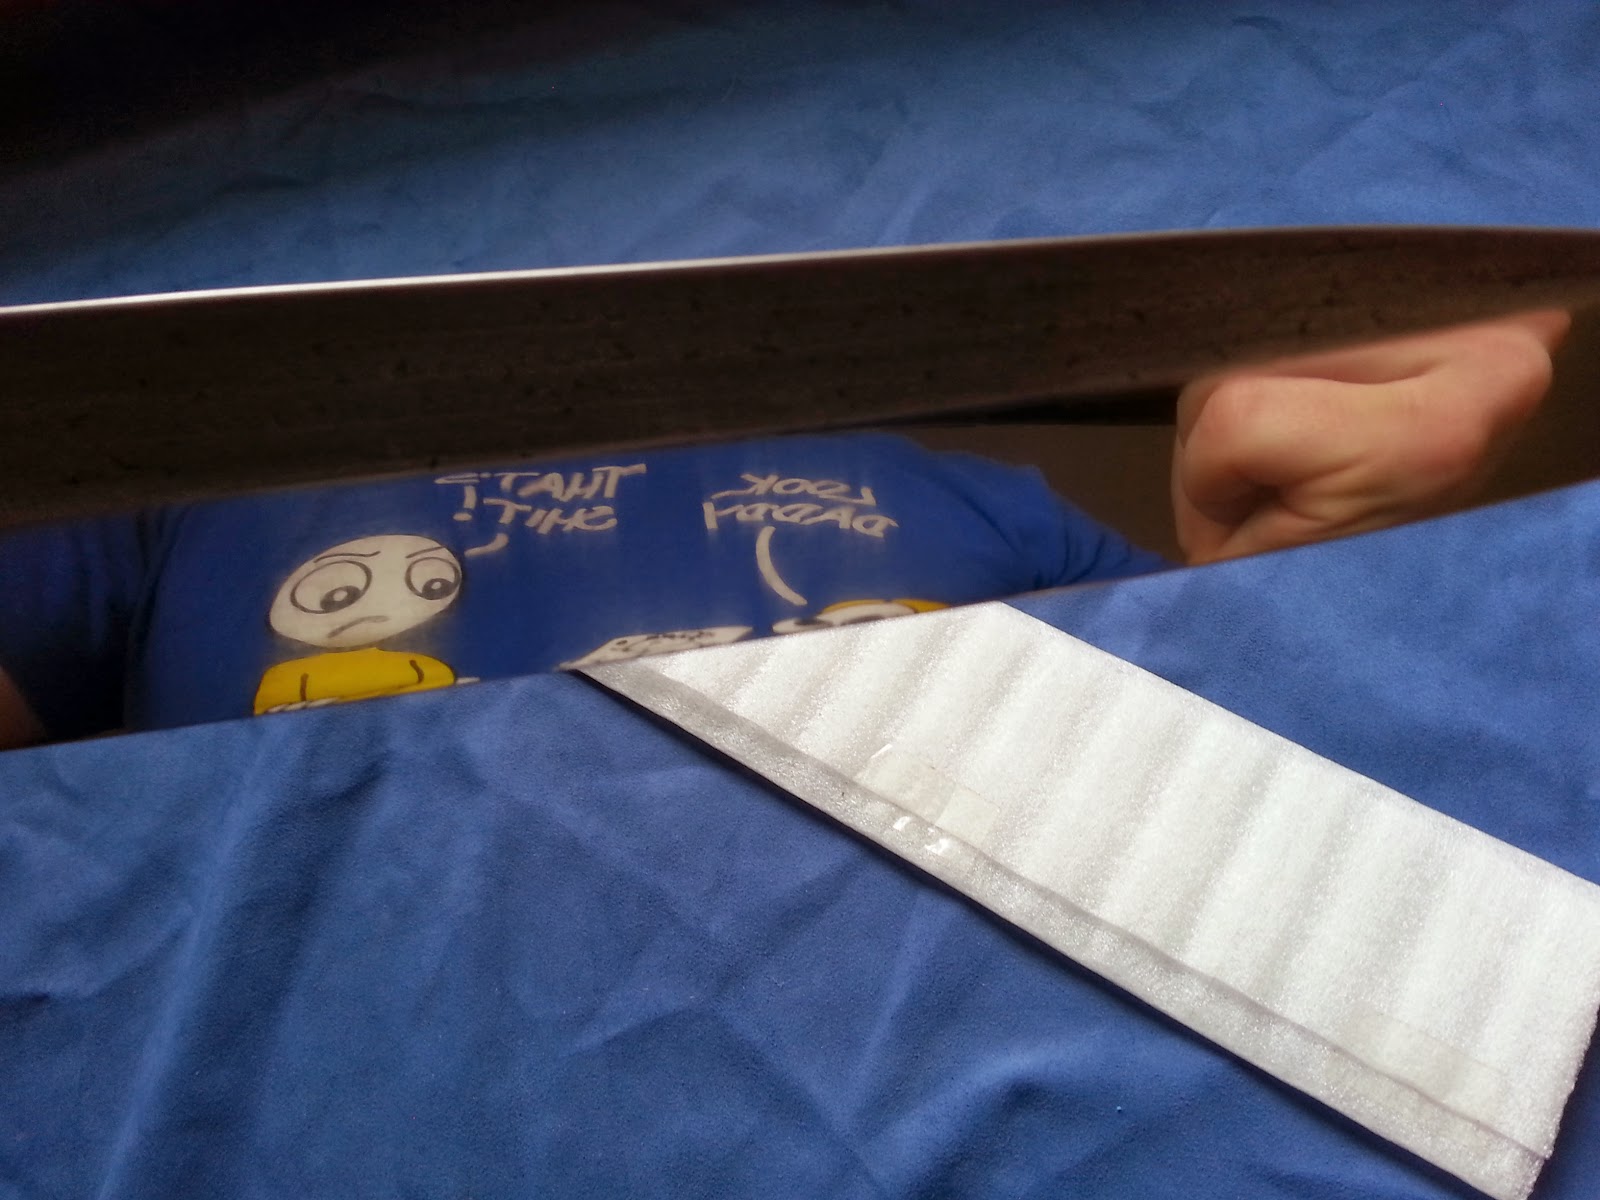
After thinning I had to mirror polish it but it was much harder than I thought. If i could do as much as possible on the stones then it could be quite easy but there was a low spot behind the heel, between flat face of the knife and bevels on the roght side. This is the reason why I had to do that with sanding paper. I thought that polishing this thing will be super easy because I've done that previously with much harder knives than this one but I was wrong. I was sanding it every day except weekends for two weeks!! Yes I know it is crazy but I always left some scratches. When I finished for the first time I've noticed that there are some etching marks and I had to do that again. When I finished with sanding paper I used my mops and polishing compounds. When I was doing that for the last time I started with 80 grit and everytime when I finished with one grit I've done scratches in opposite direction. And when I started with next one I was sanding as long as I could see scratches from previous grit and because of that I could be sure that I removed all scratches. Sounds easy. You know what?? Once again I was wrong. I got it to mirror level but it is getting new scratches super fast. Also after all this sanding and polishing I can still see some scratches and I already done 3 new very visible ones. It seems that I can't get it to perfect mirror finish because I can't make it perfect flat. I told Magnus, owner of the knife, that if he won't like it, then I'll do that all over again.

I am very dissappointed that I couldn't do what I exactly  wanted  to achieve but on the other hand I think that putting a lot of work in to 40$ knife is not woth it. Obviously it is looking nice but it will loose it's nice appearance very quickly.


Before:

After:


Before:


After:


Before:


After: