I didn't write since some time but now it will change. I am planning to make few projects in the near future so I will have things to describe.
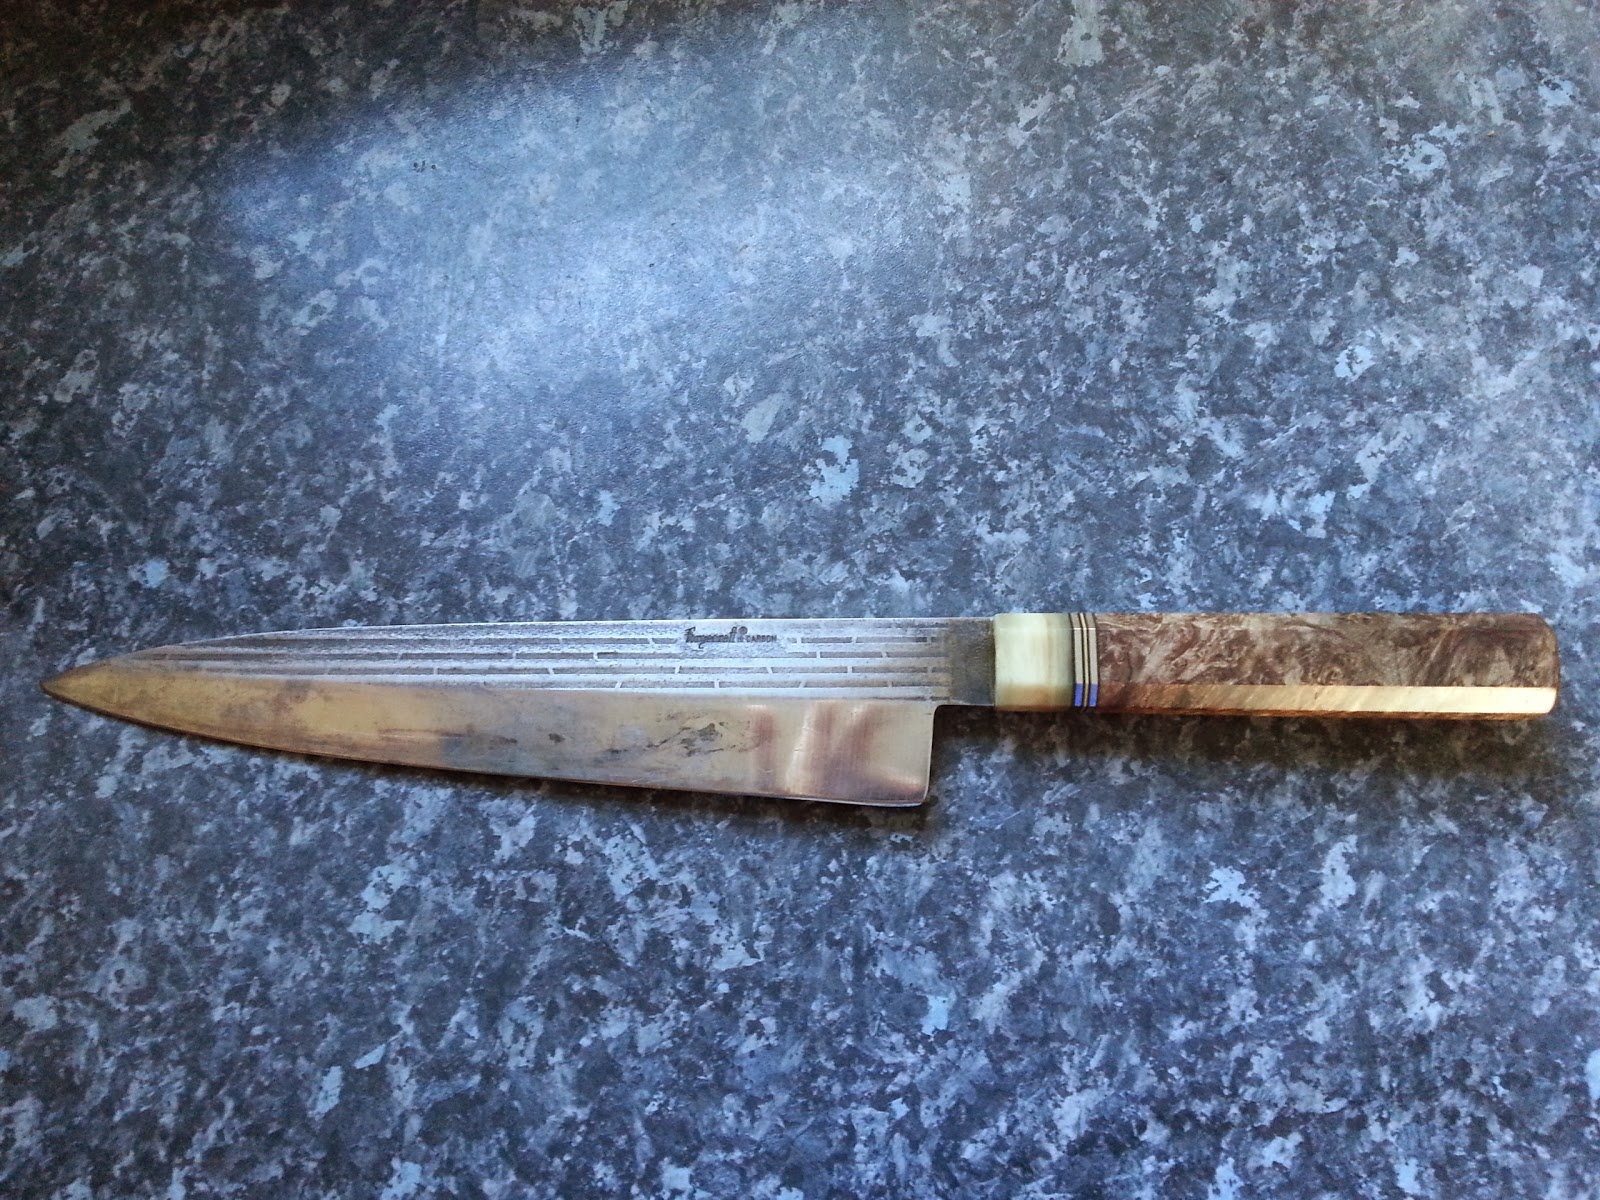
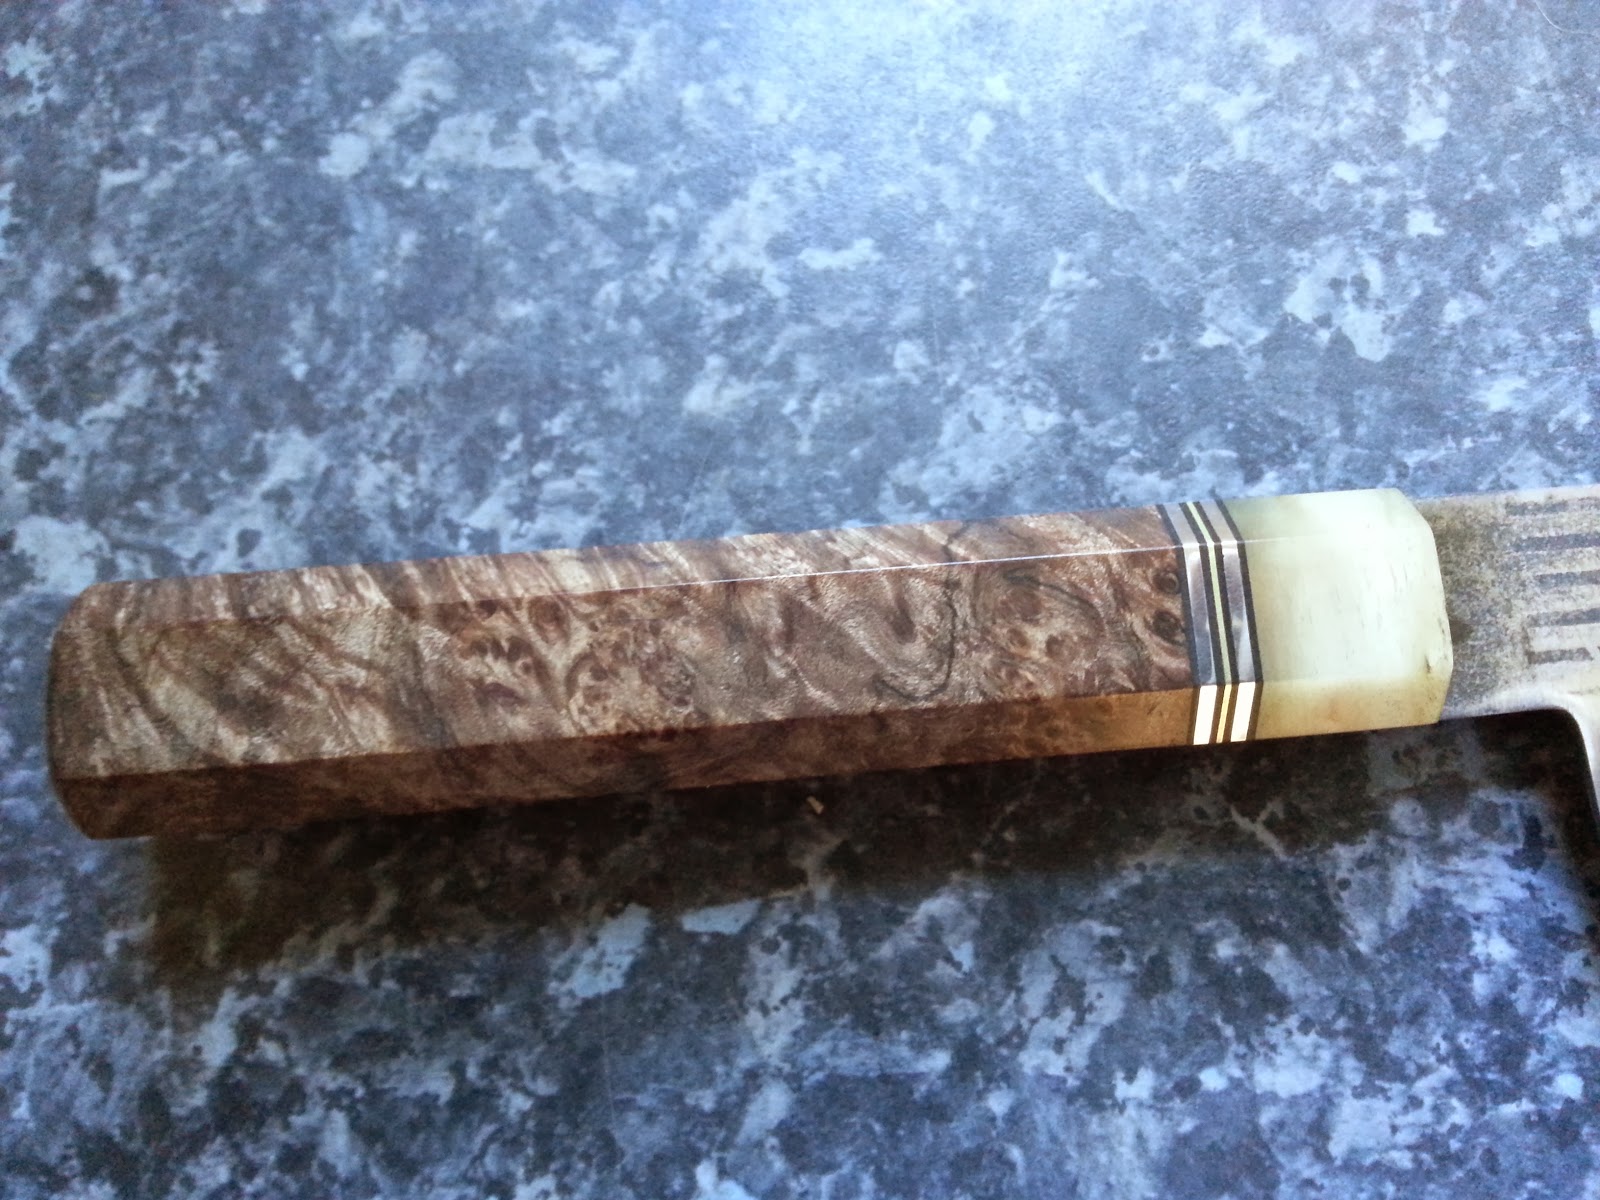
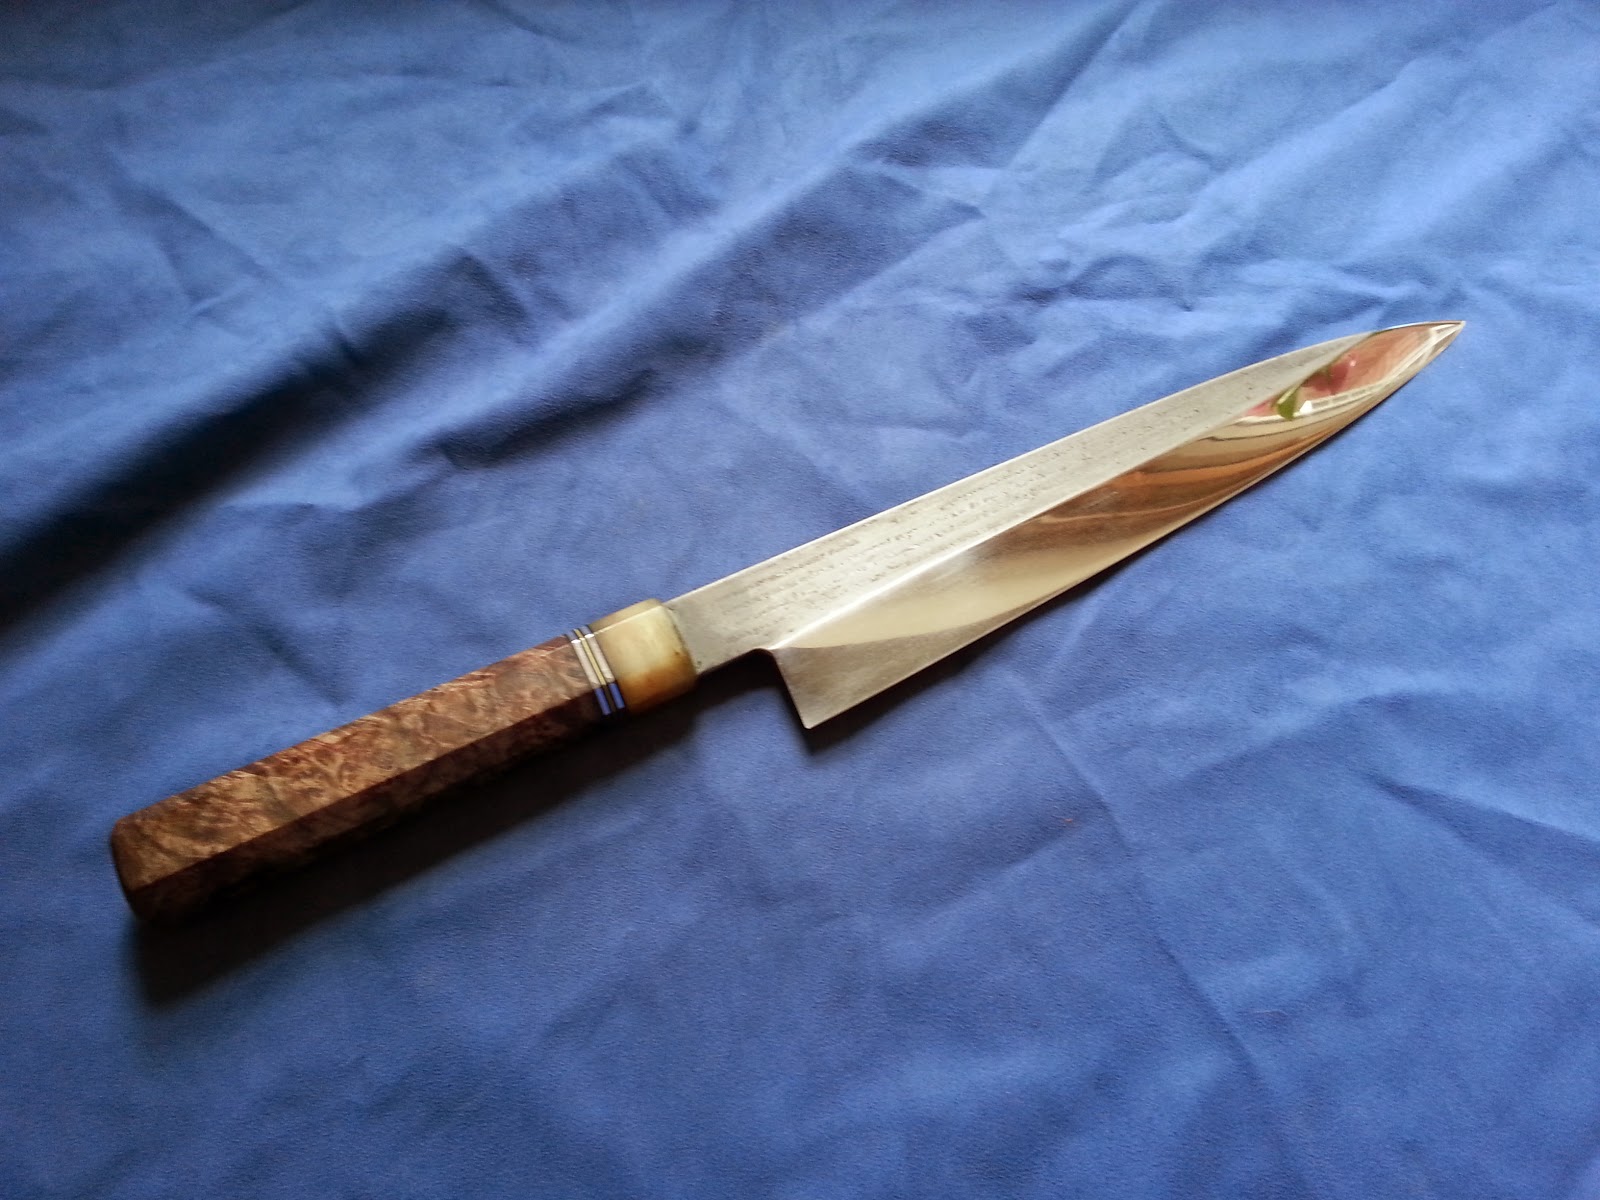
I recieved package from Sweden with vintage Forgecraft. This knife was previously rehandled by Mike Henry. I must say that this handle is super nice and it should be an example (for me) of how to make handles.
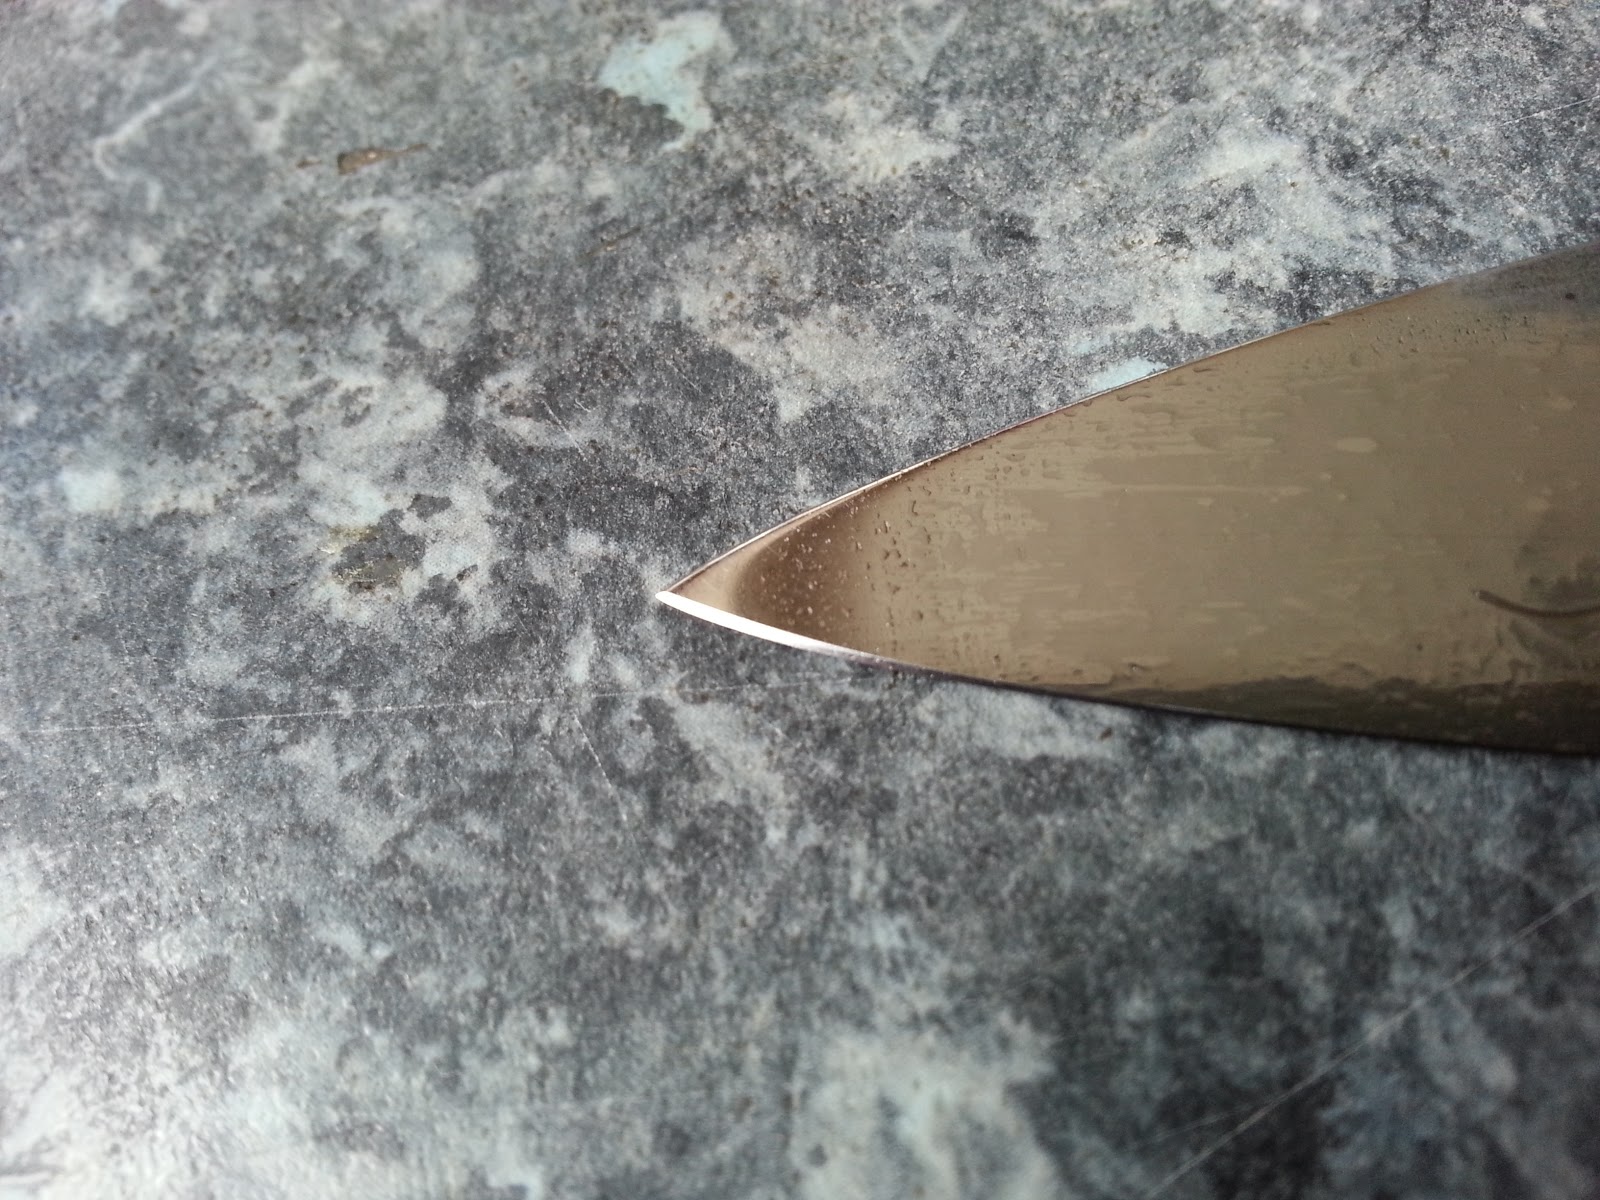
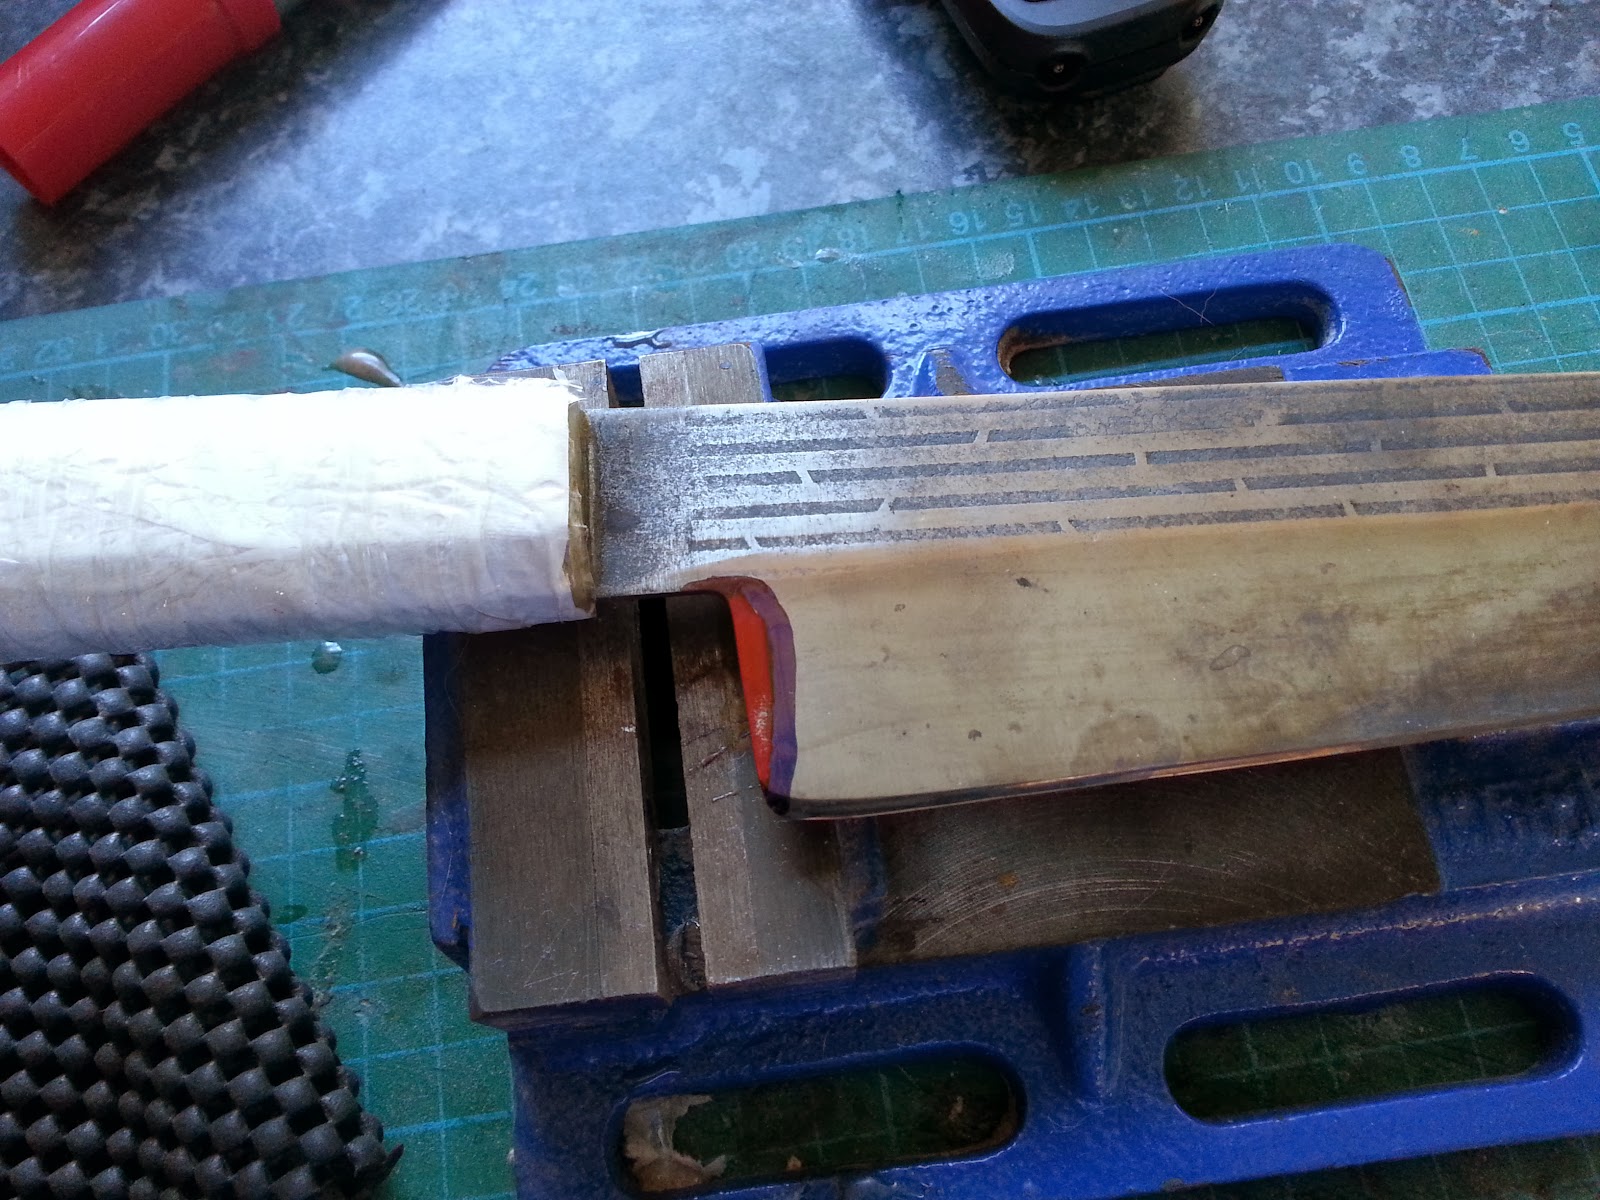
I've been asked to thin this knife a lot because the grind was to thick.
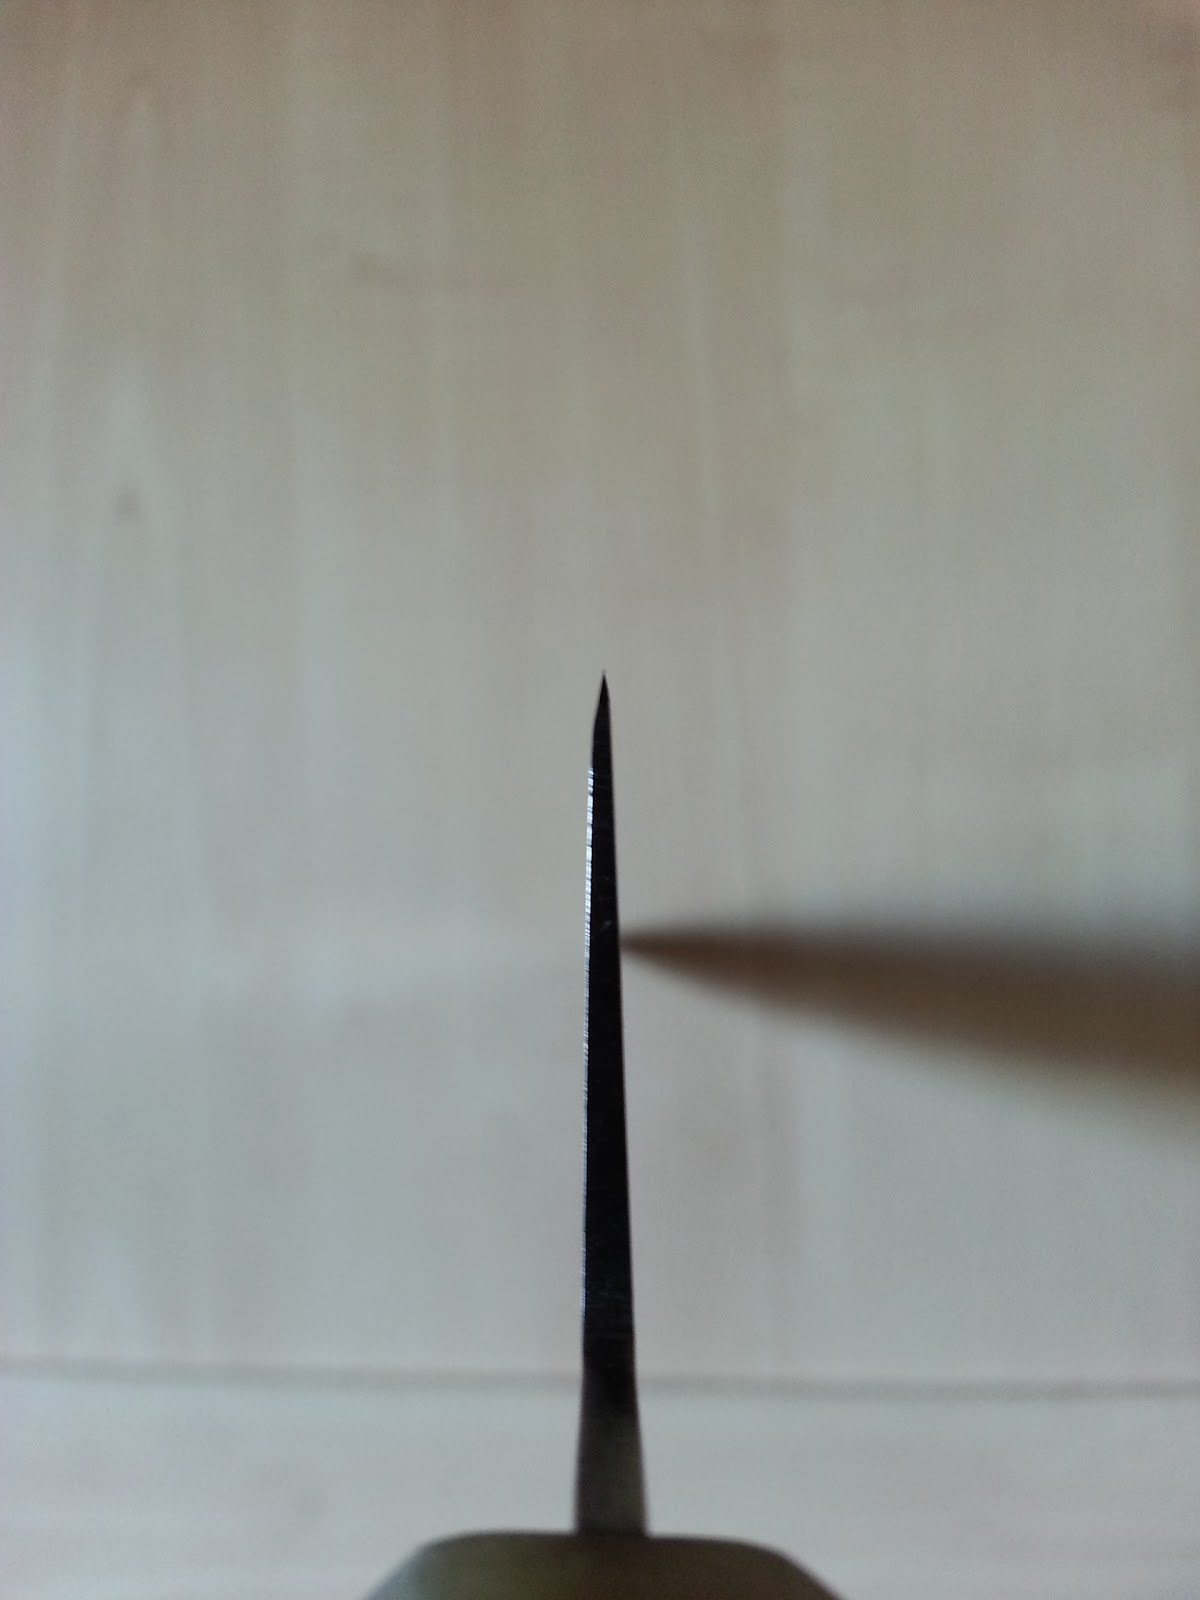
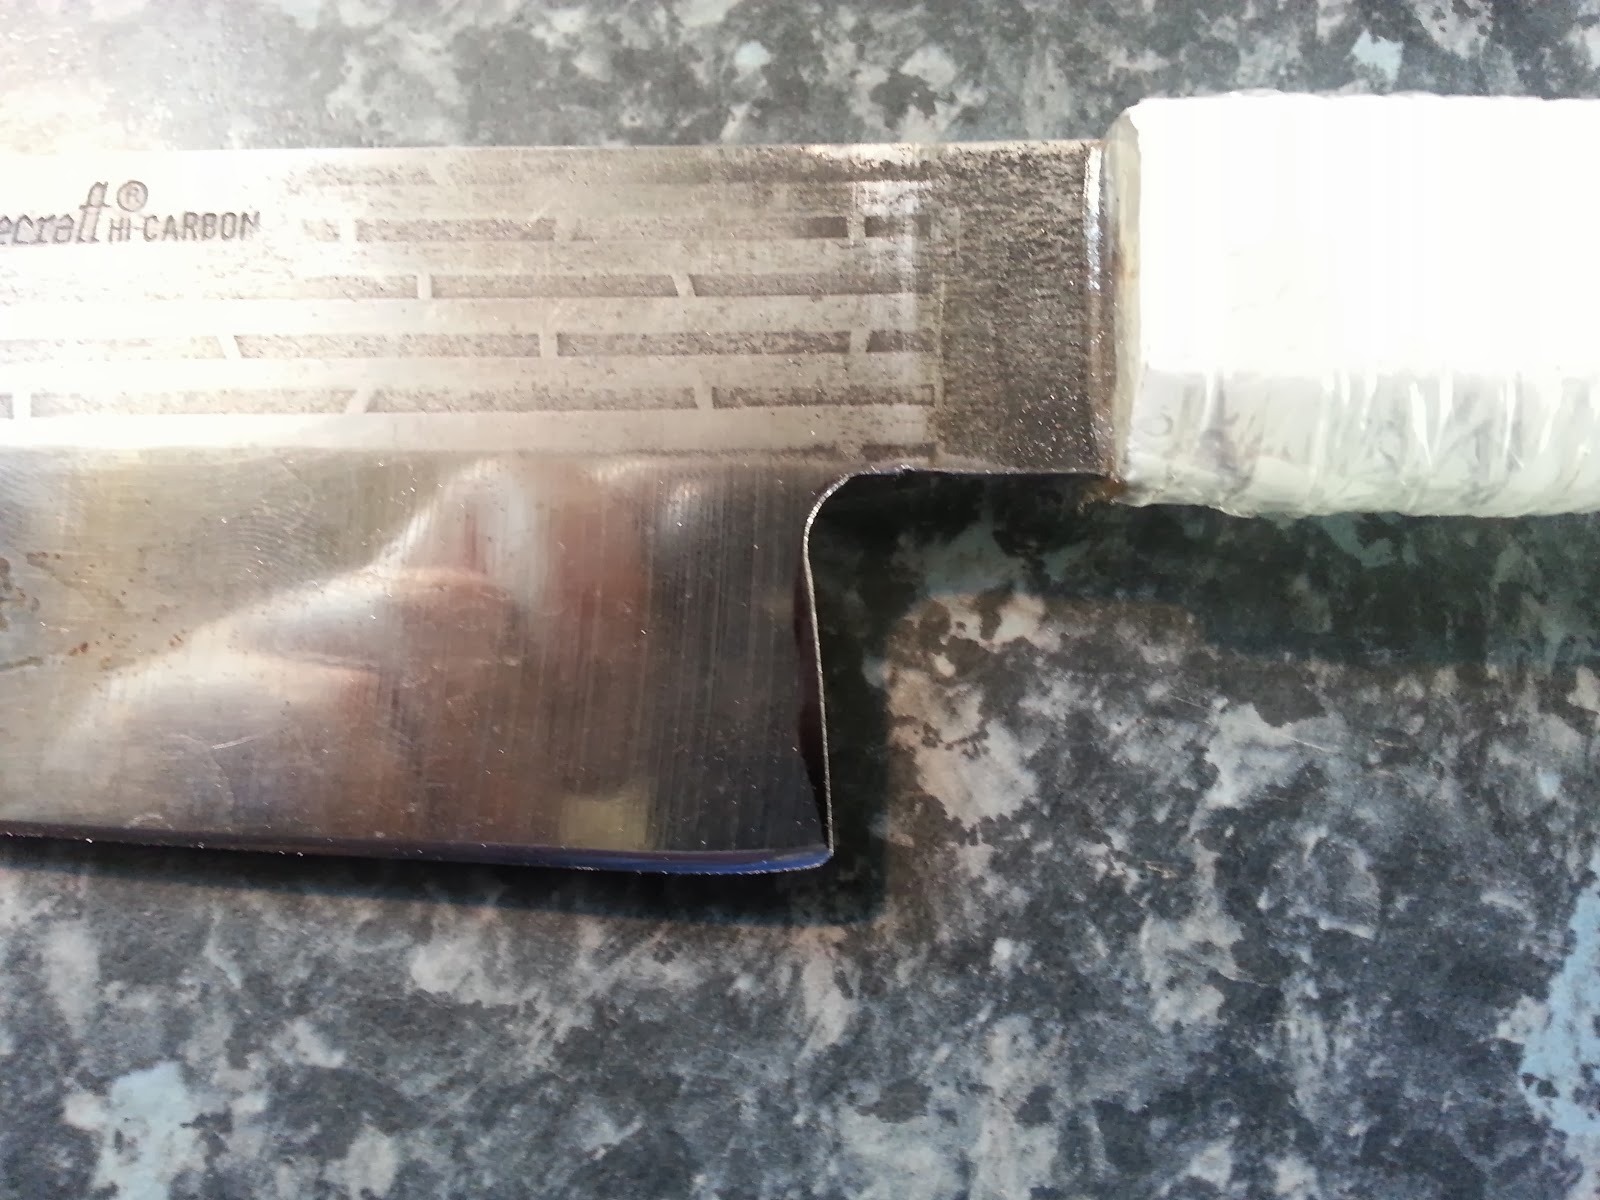
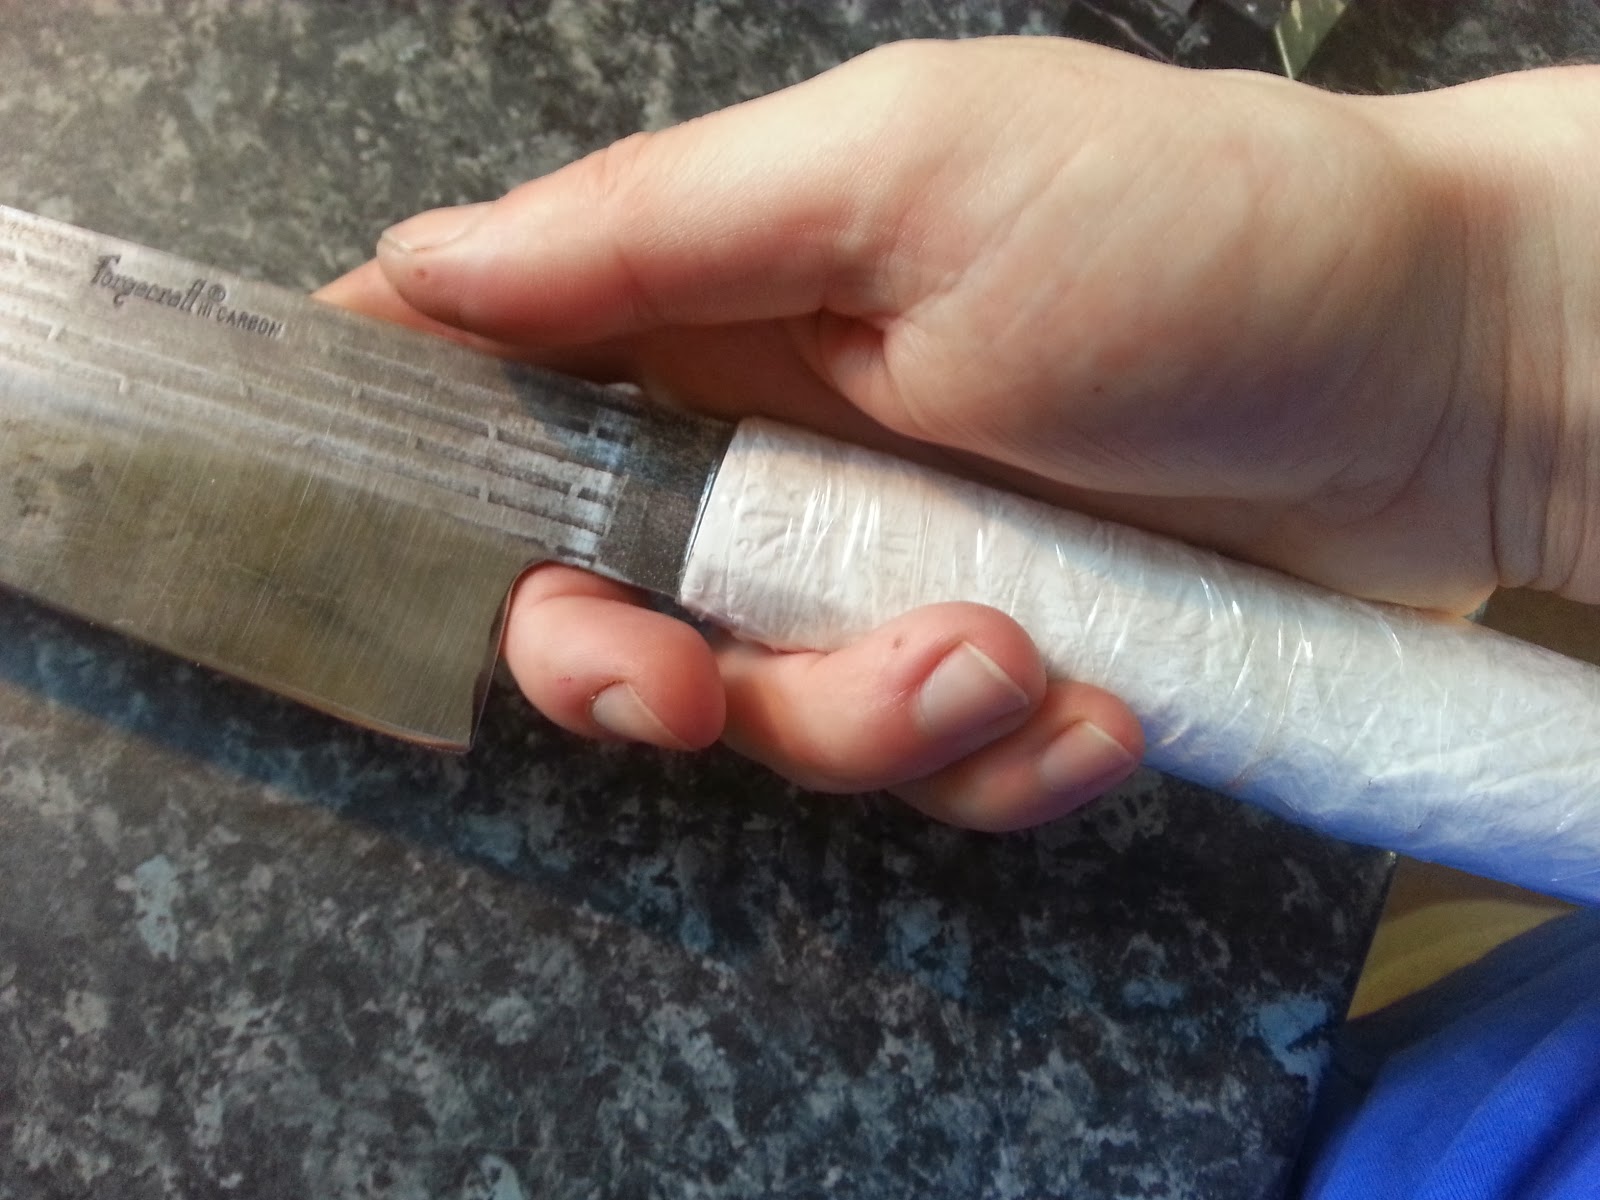
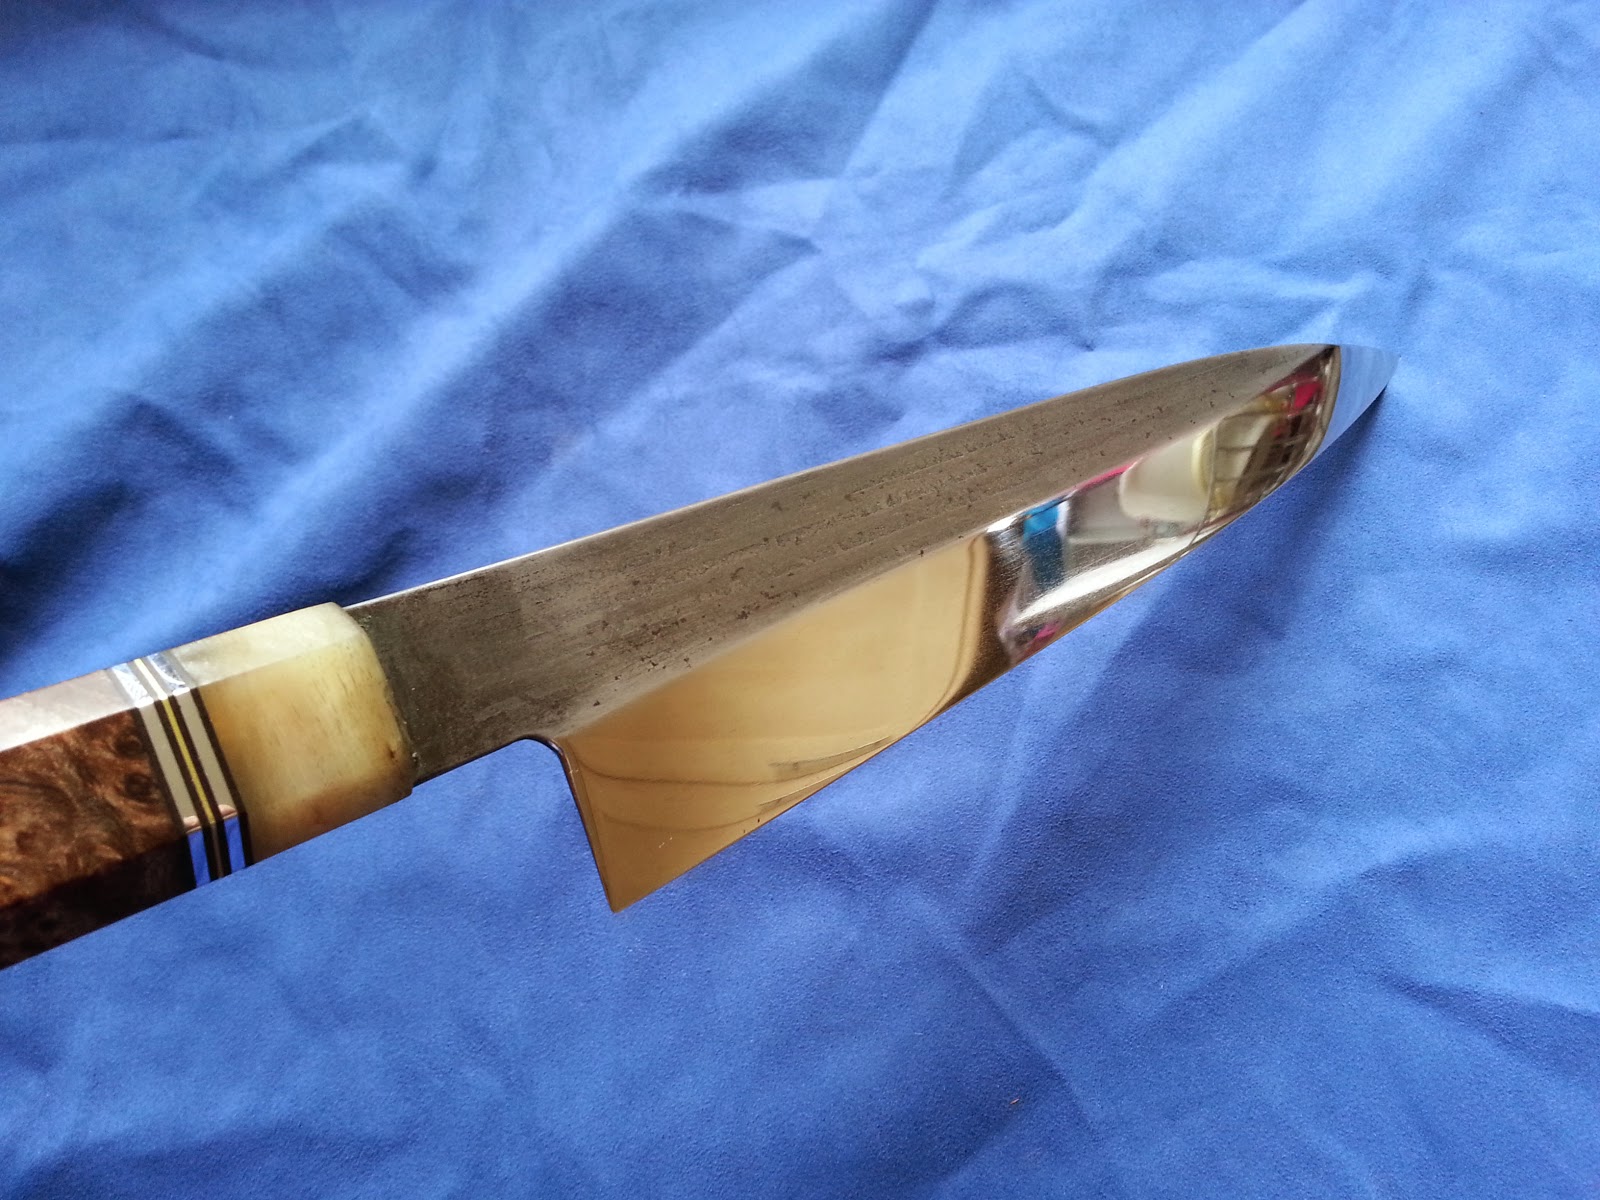
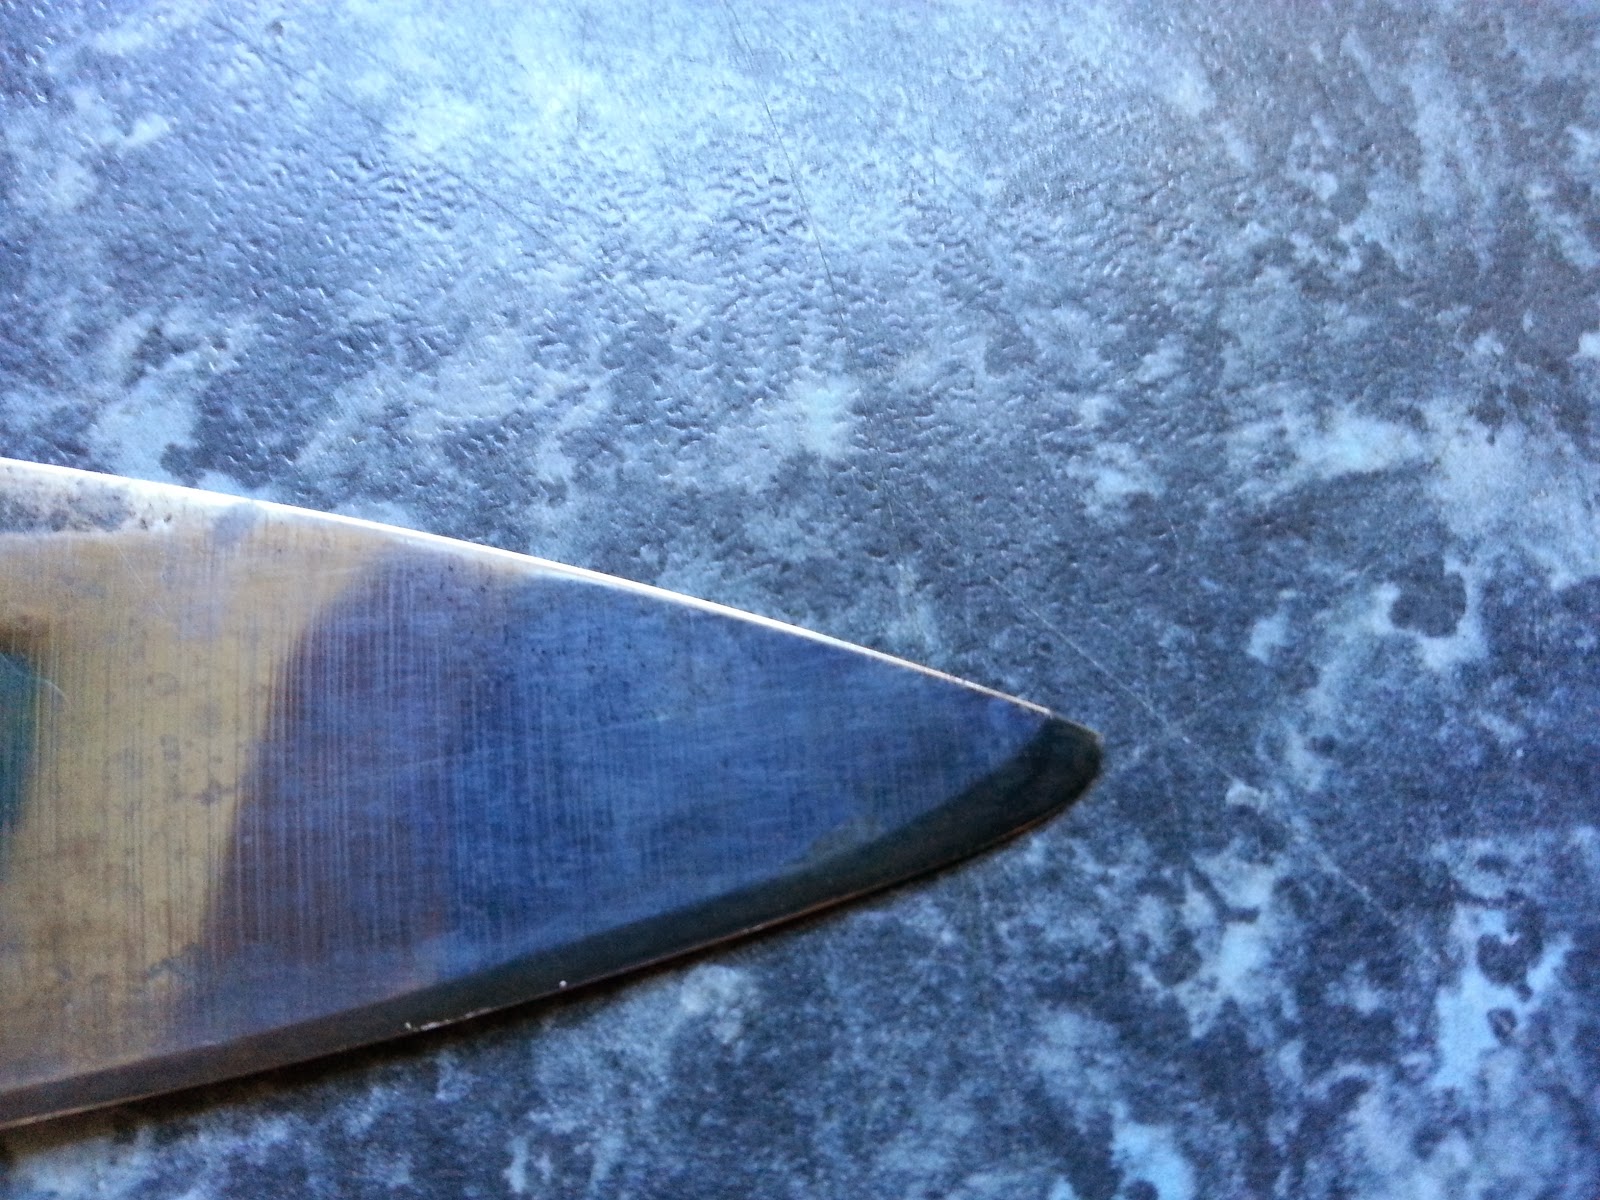
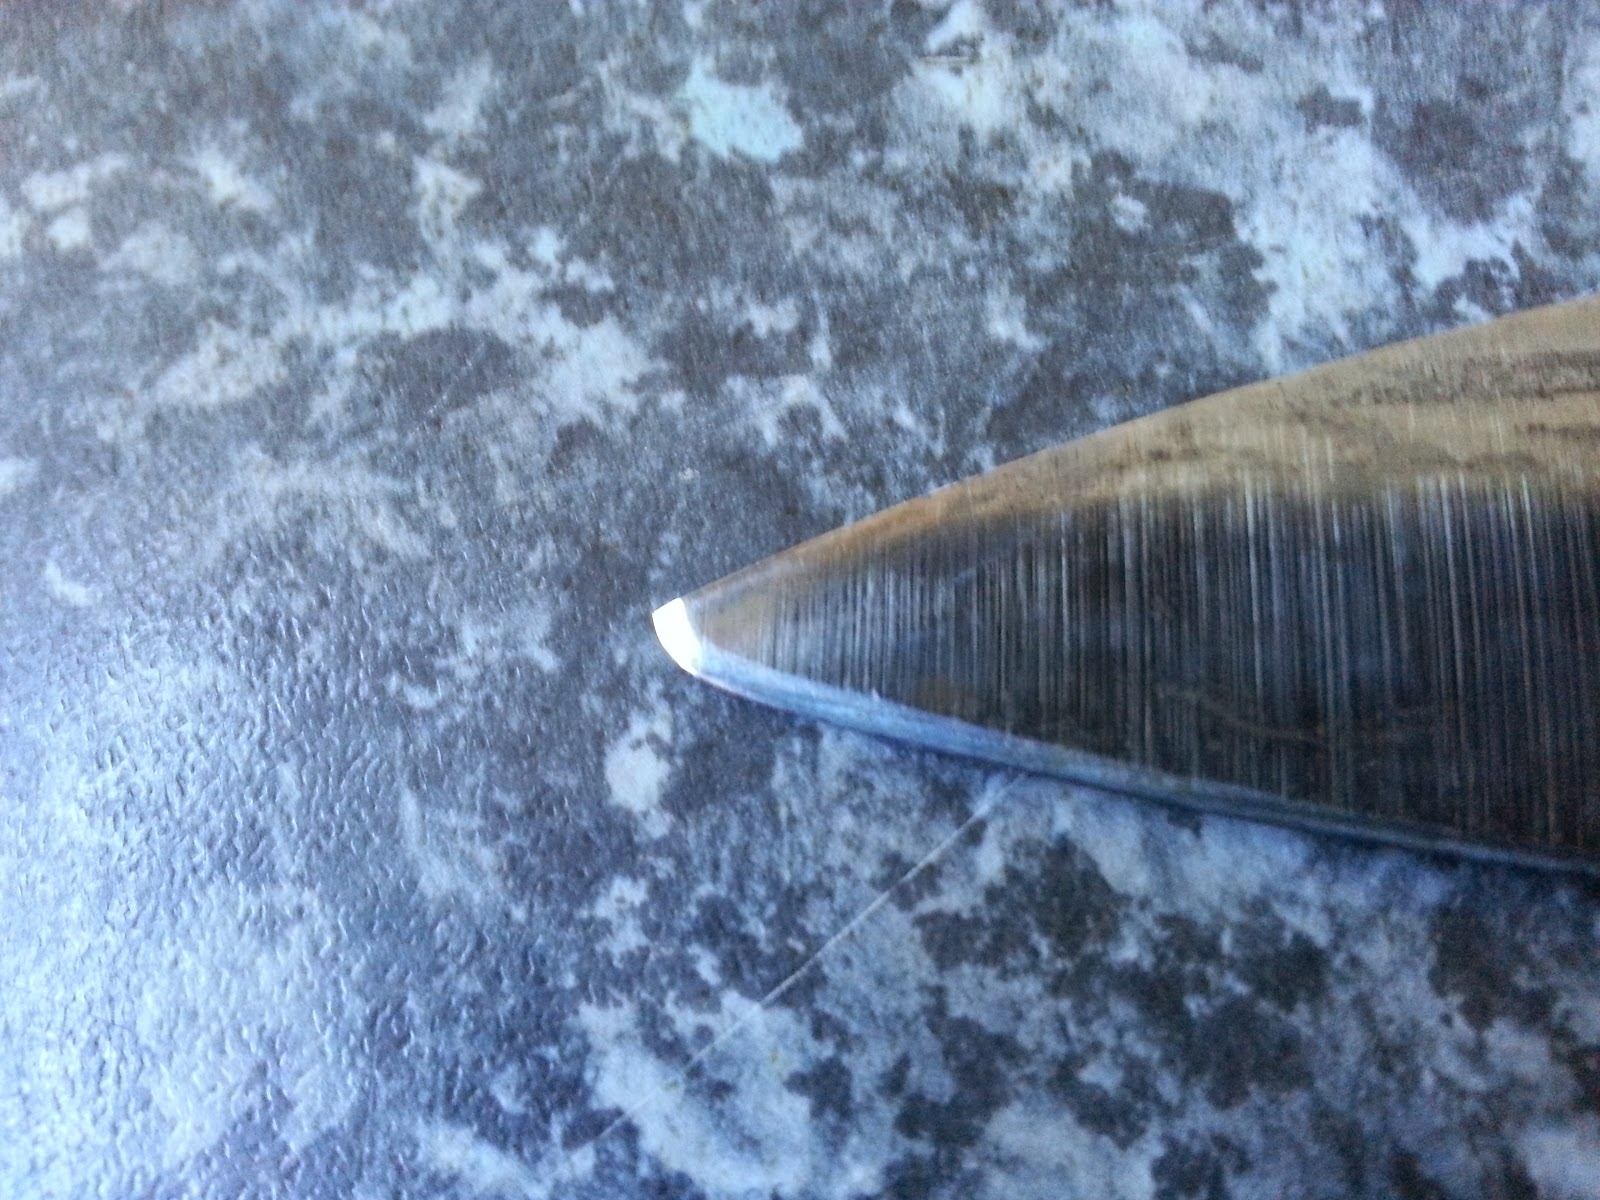
Also I had to make the choil bigger, round the spine and choil, eventually etch the whole thing and mirror polish bevels.
I started from cutting out new choil. I used files to do that.
Before:
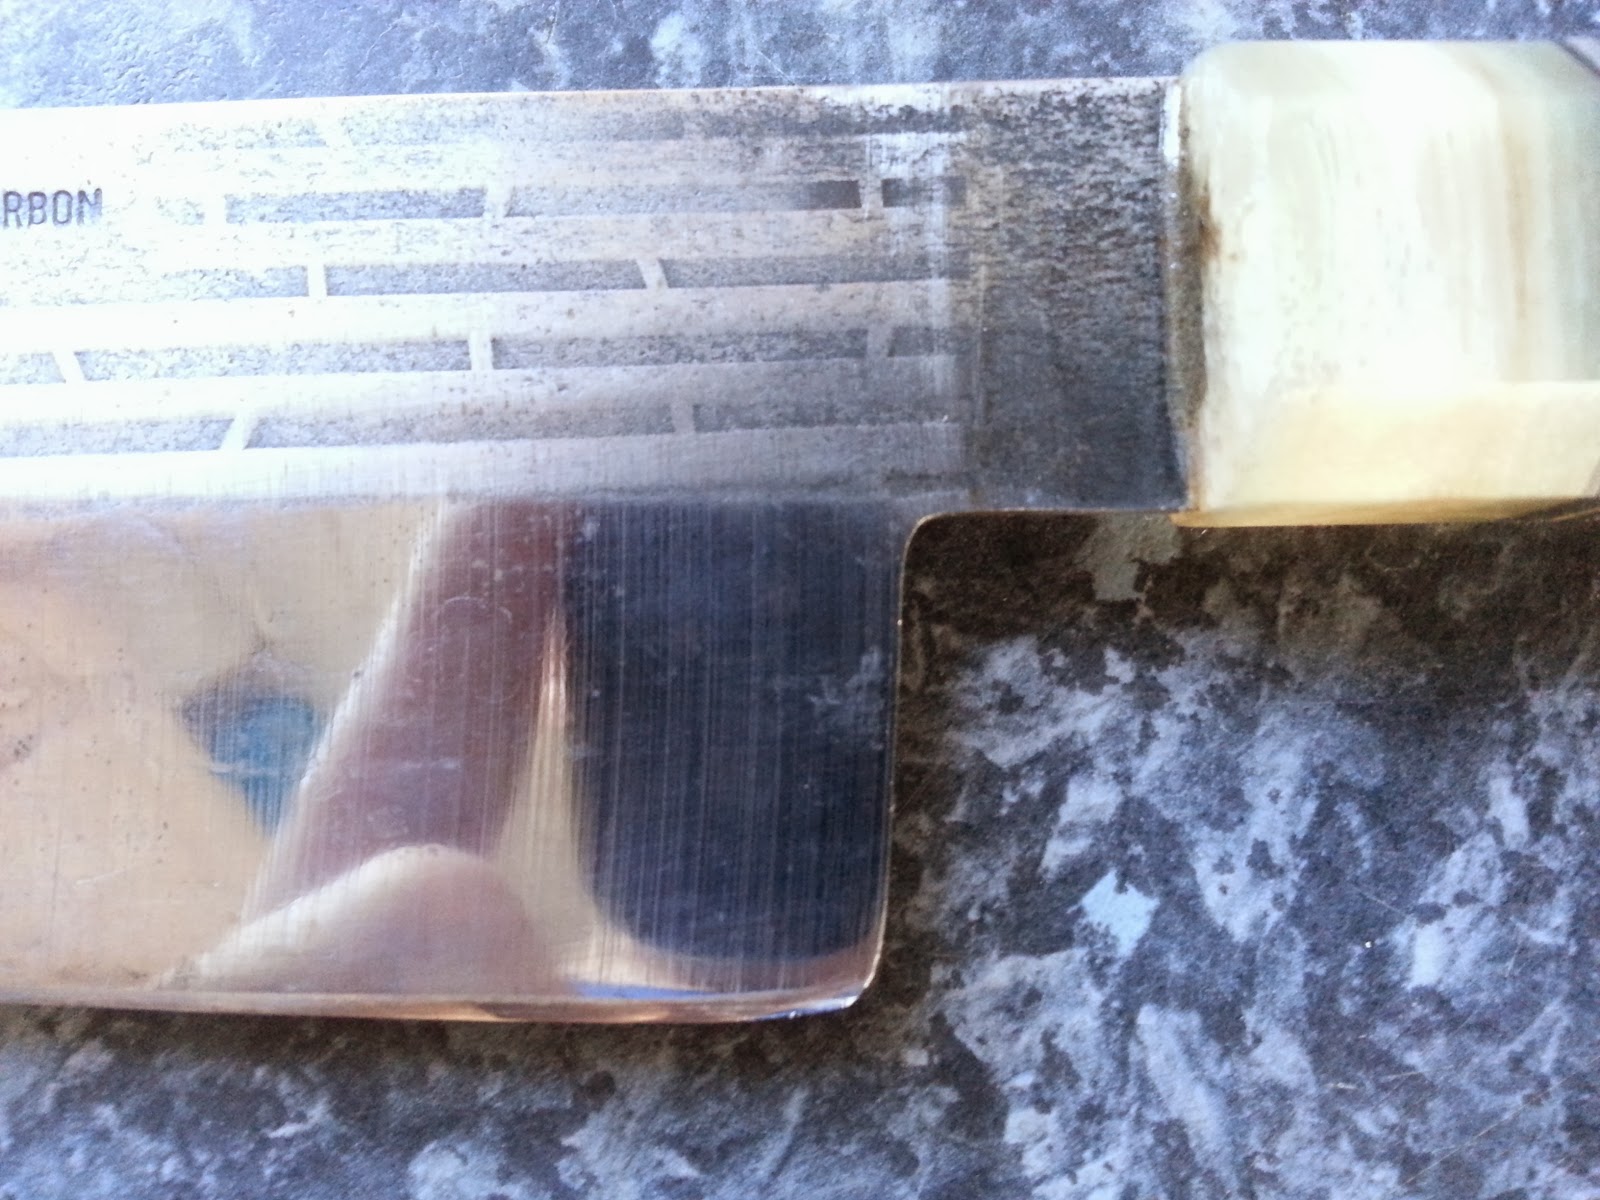
After:
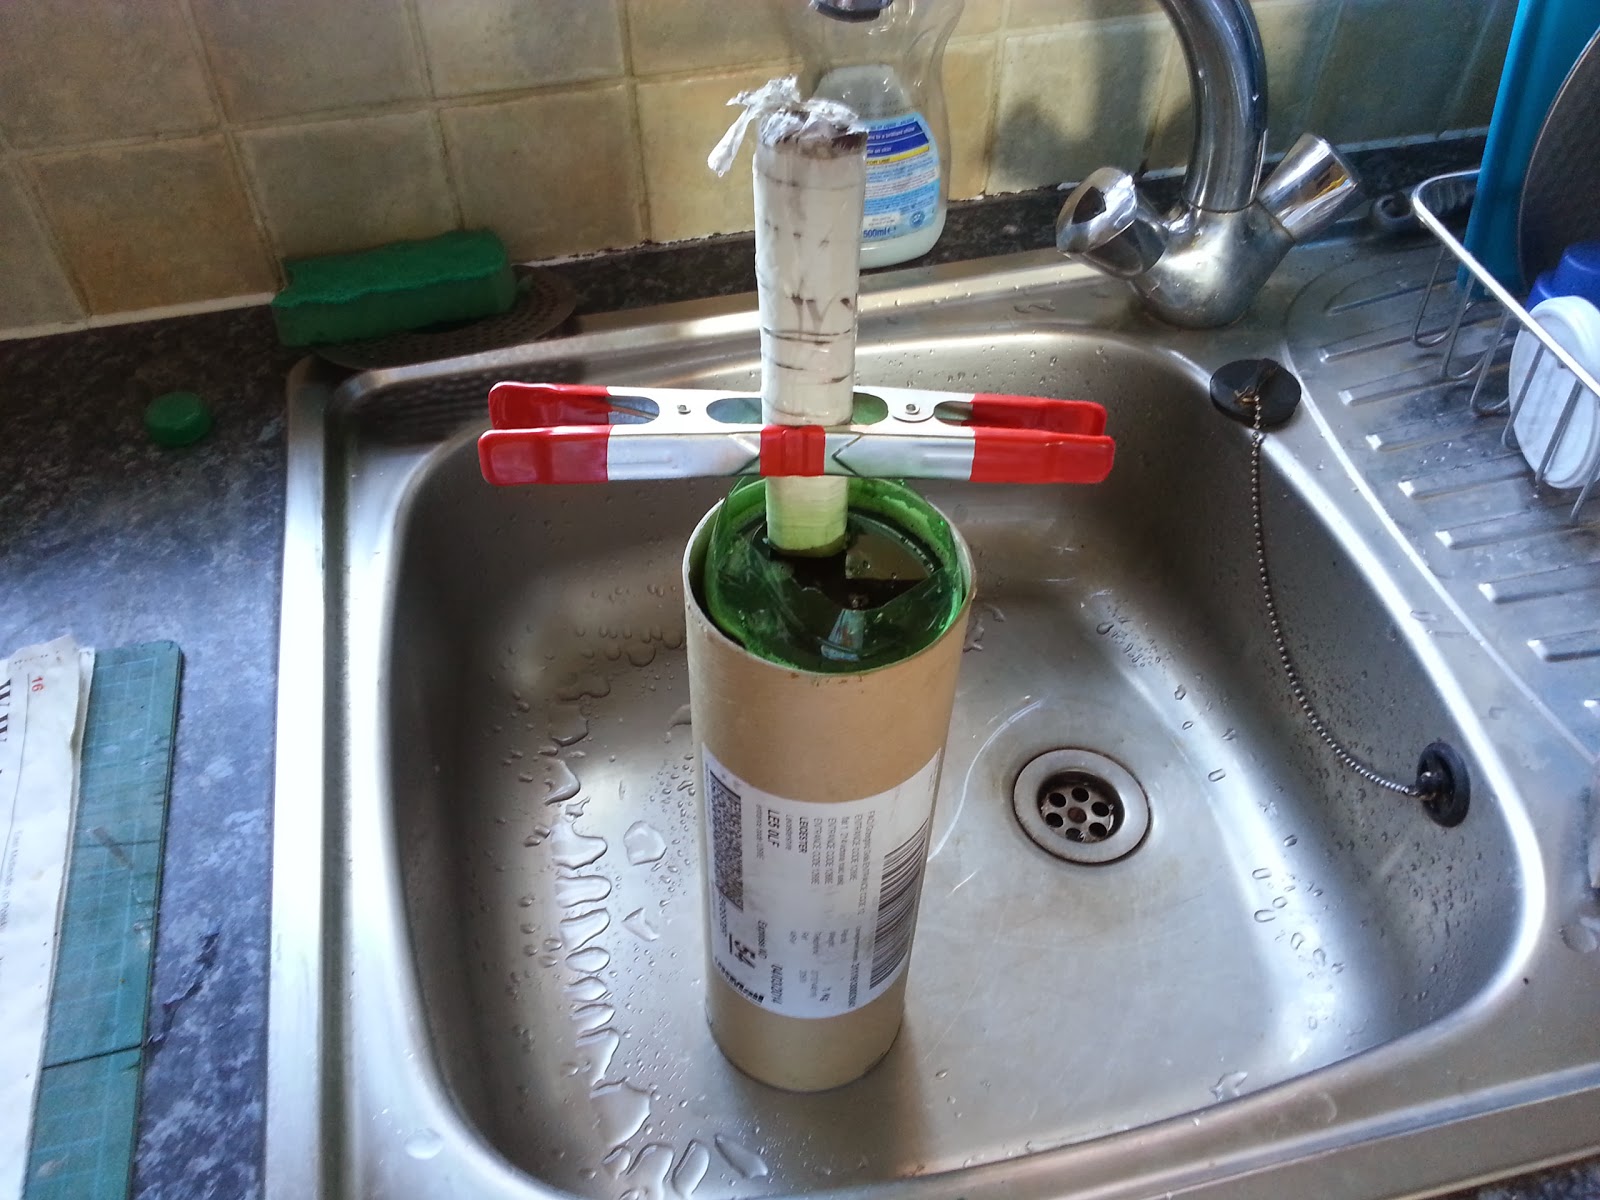
I used Iron Chloride to etch the knife.
Etching:
Etched blade:

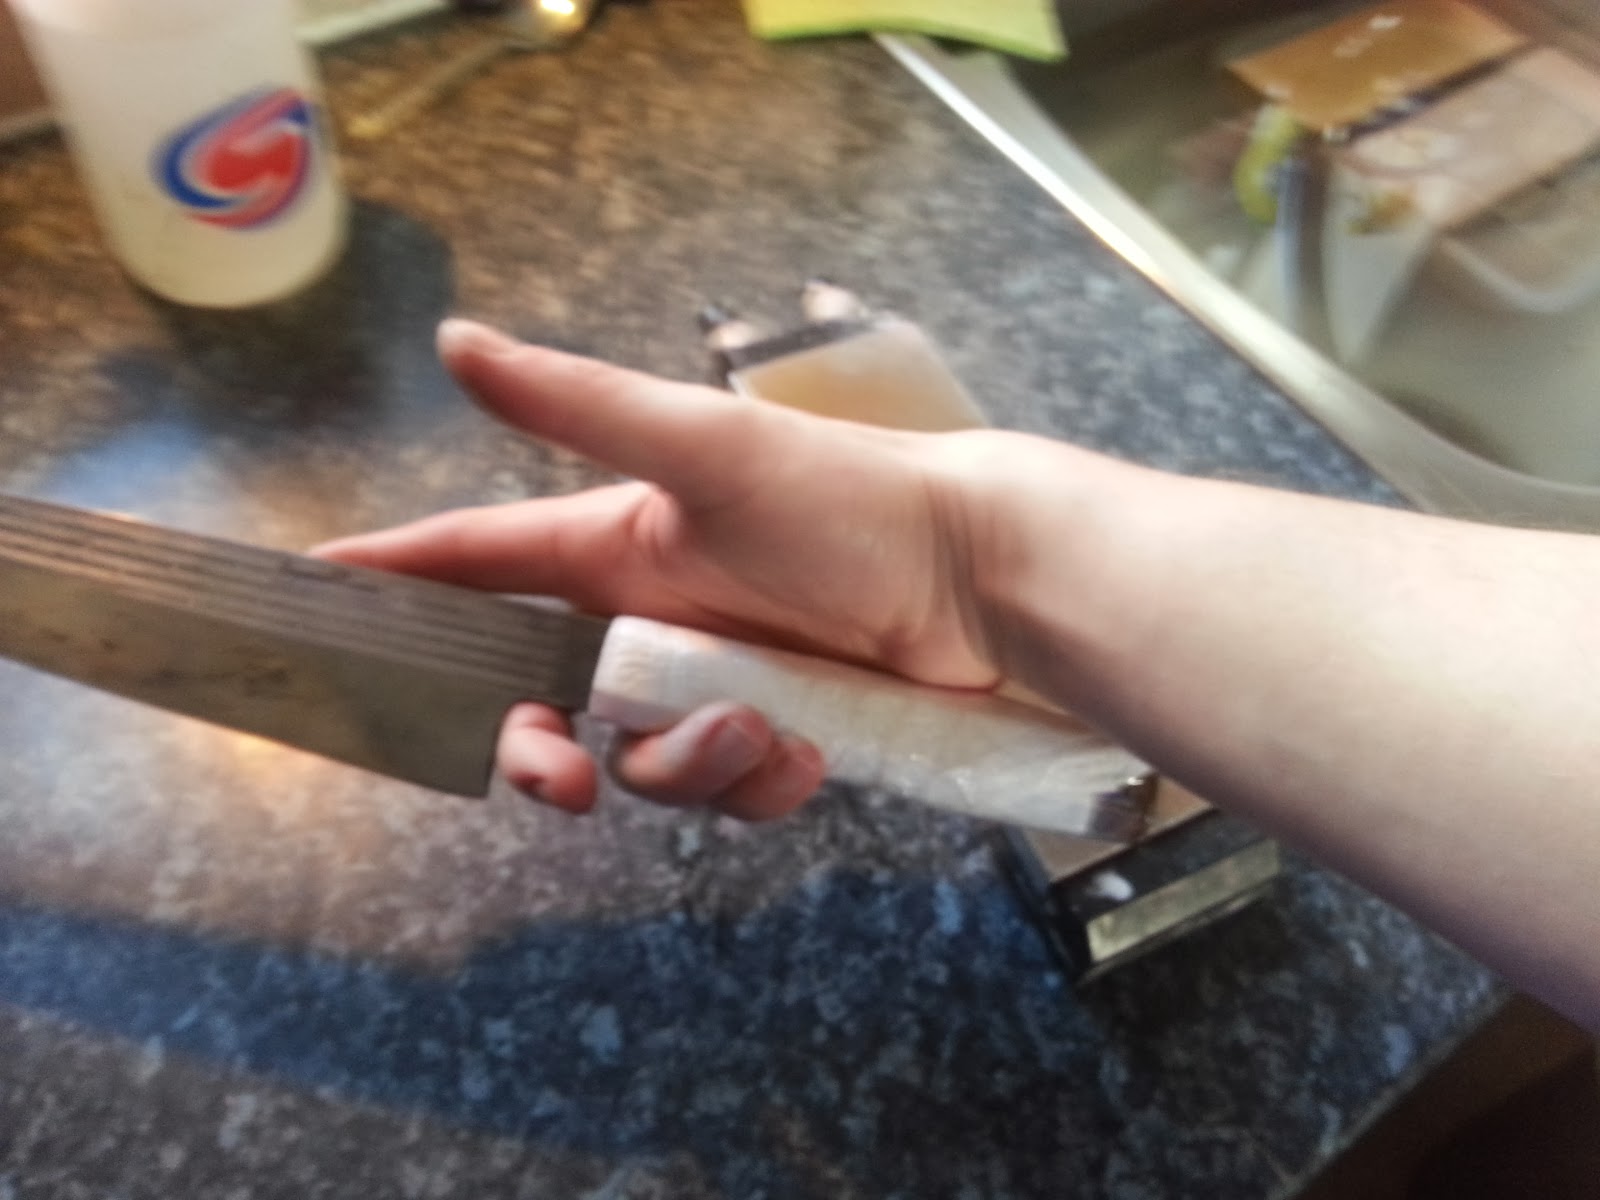
I masked top part with few layers of masking tape:
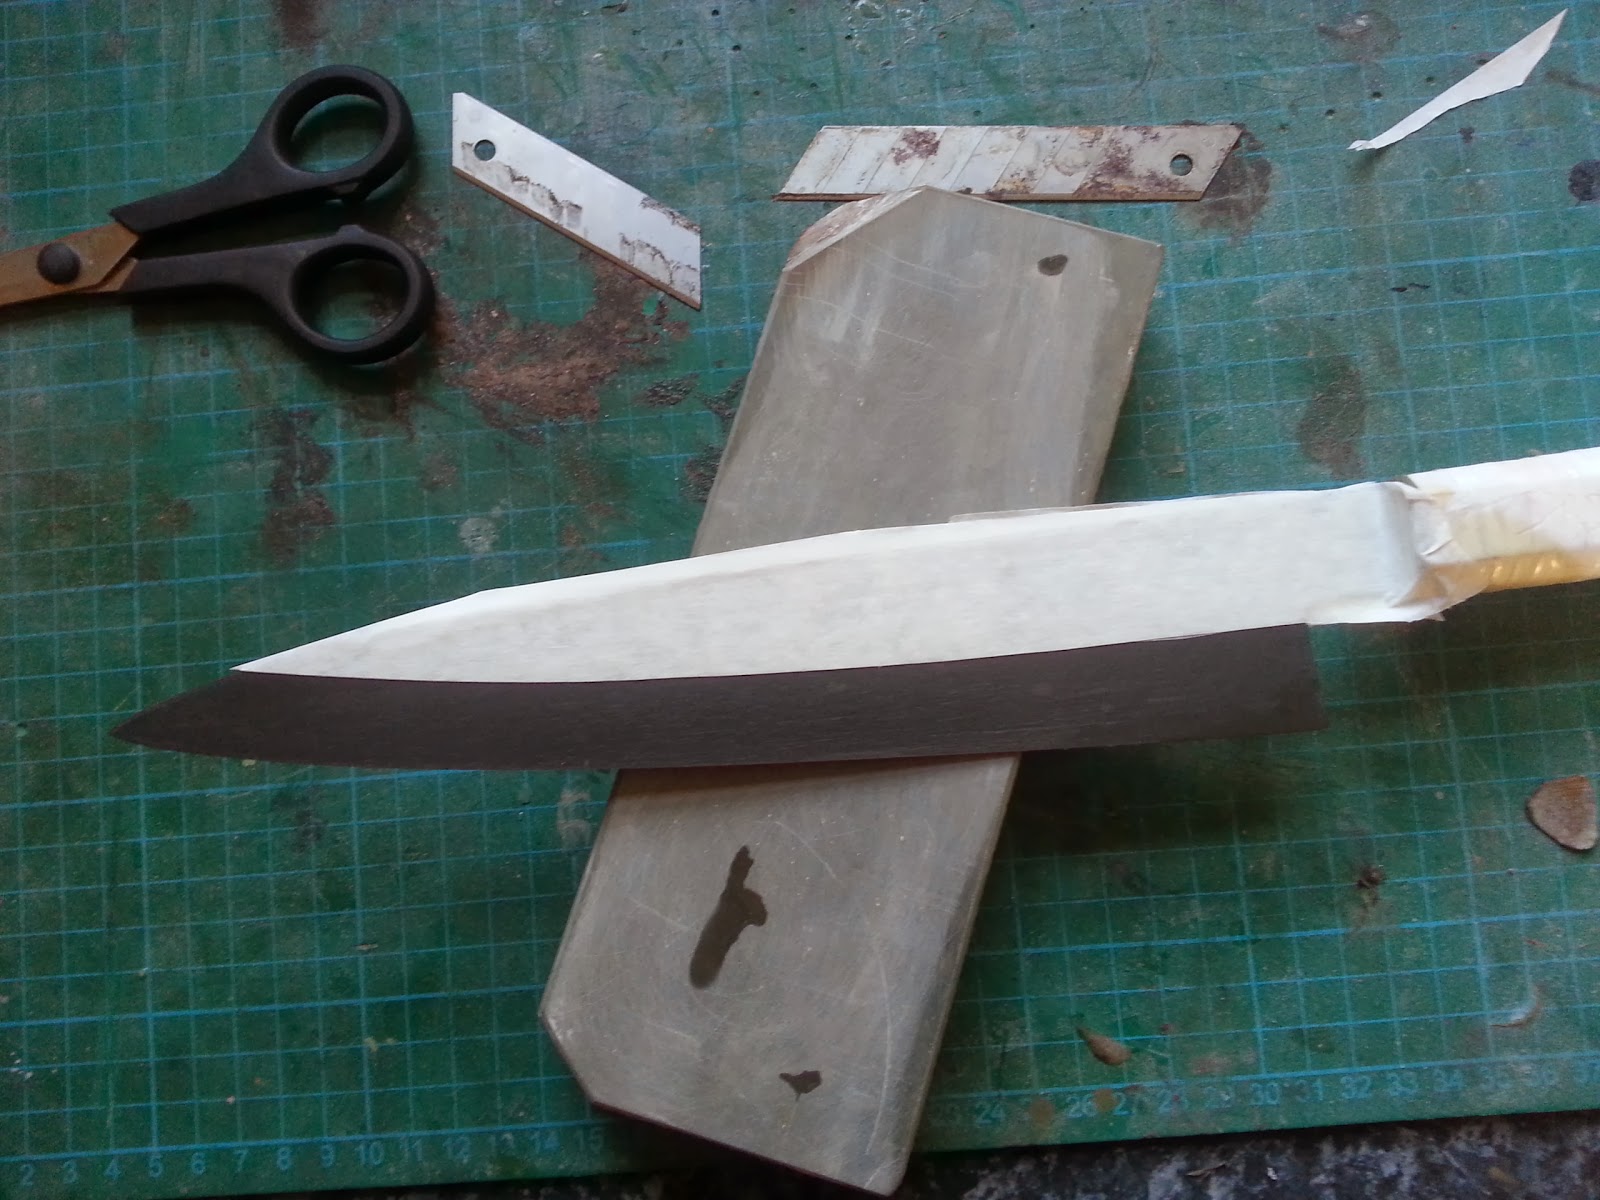
First attempt to make mirror finish:


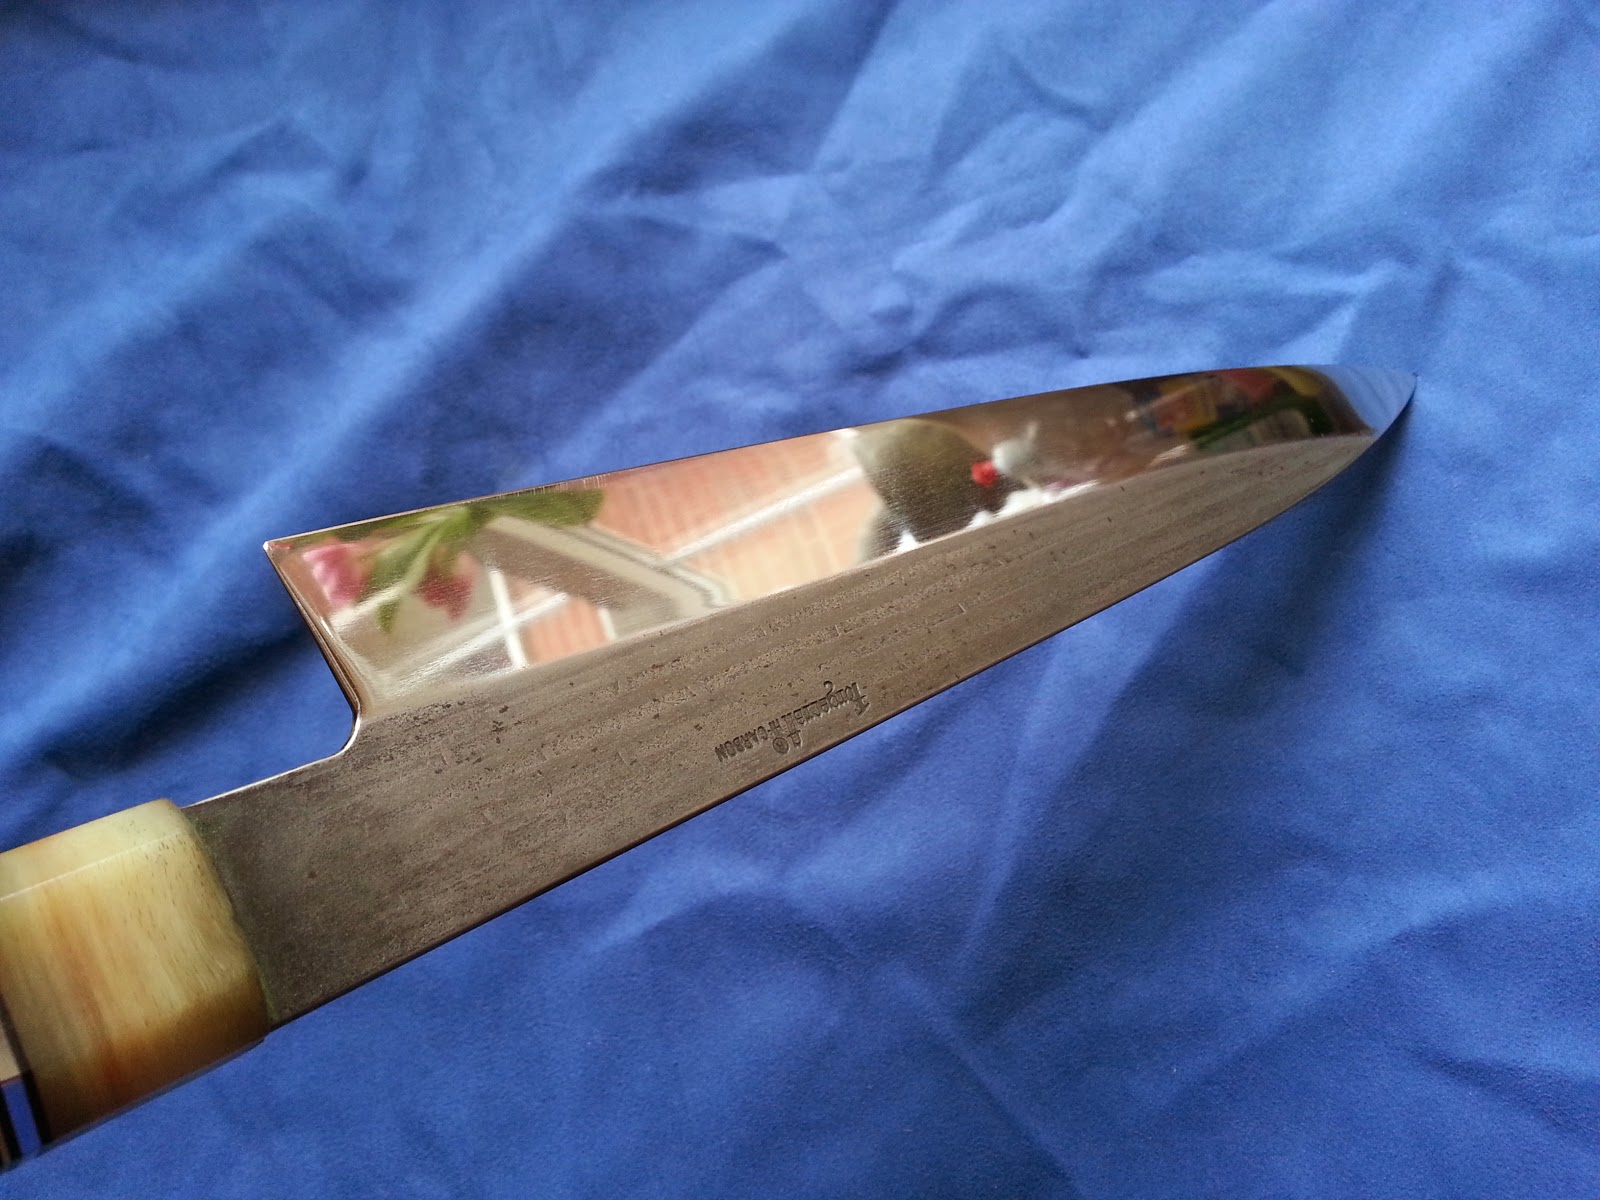
Originally there are ''bricks'' on the top face of the Forgecraft knives. It could be very hard to make it look as new so I decided to etch the whole knife and then mirror polish the bevels. Top face will look like a kurouchi finish.
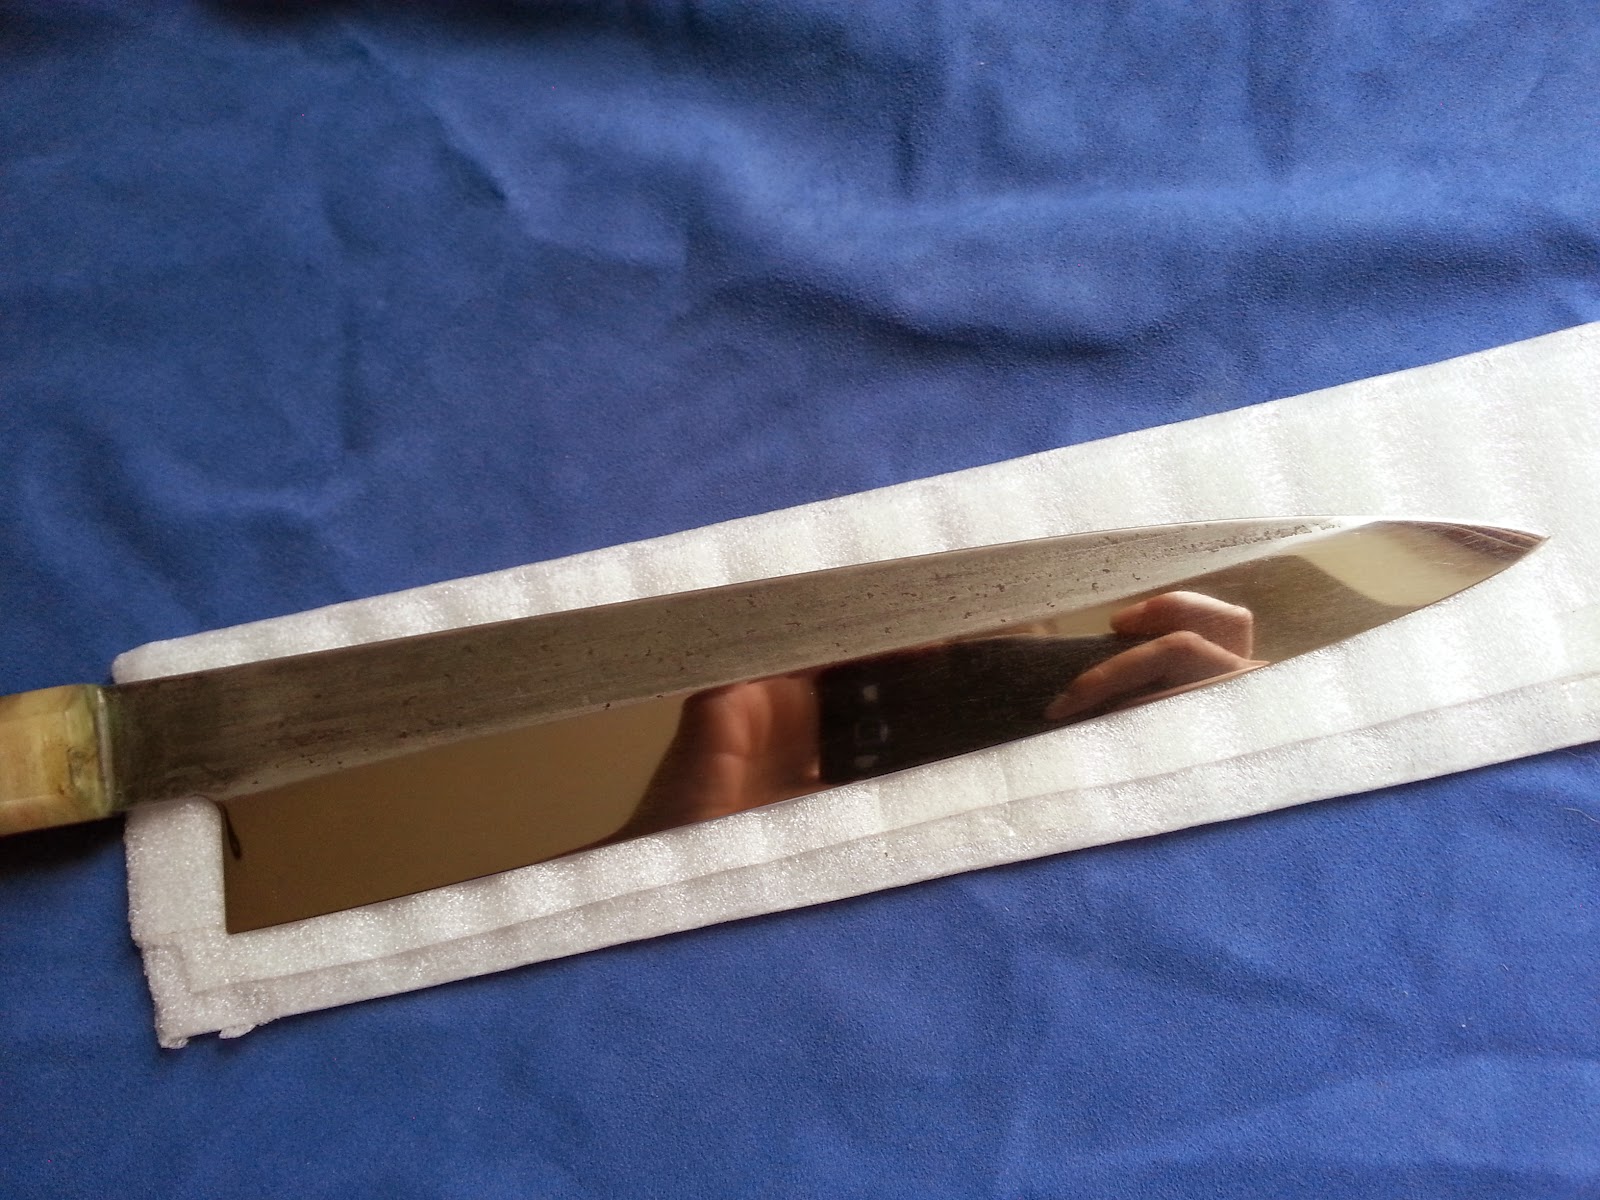
After thinning I had to mirror polish it but it was much harder than I thought. If i could do as much as possible on the stones then it could be quite easy but there was a low spot behind the heel, between flat face of the knife and bevels on the roght side. This is the reason why I had to do that with sanding paper. I thought that polishing this thing will be super easy because I've done that previously with much harder knives than this one but I was wrong. I was sanding it every day except weekends for two weeks!! Yes I know it is crazy but I always left some scratches. When I finished for the first time I've noticed that there are some etching marks and I had to do that again. When I finished with sanding paper I used my mops and polishing compounds. When I was doing that for the last time I started with 80 grit and everytime when I finished with one grit I've done scratches in opposite direction. And when I started with next one I was sanding as long as I could see scratches from previous grit and because of that I could be sure that I removed all scratches. Sounds easy. You know what?? Once again I was wrong. I got it to mirror level but it is getting new scratches super fast. Also after all this sanding and polishing I can still see some scratches and I already done 3 new very visible ones. It seems that I can't get it to perfect mirror finish because I can't make it perfect flat. I told Magnus, owner of the knife, that if he won't like it, then I'll do that all over again.
I am very dissappointed that I couldn't do what I exactly wanted to achieve but on the other hand I think that putting a lot of work in to 40$ knife is not woth it. Obviously it is looking nice but it will loose it's nice appearance very quickly.
Before:

Before:
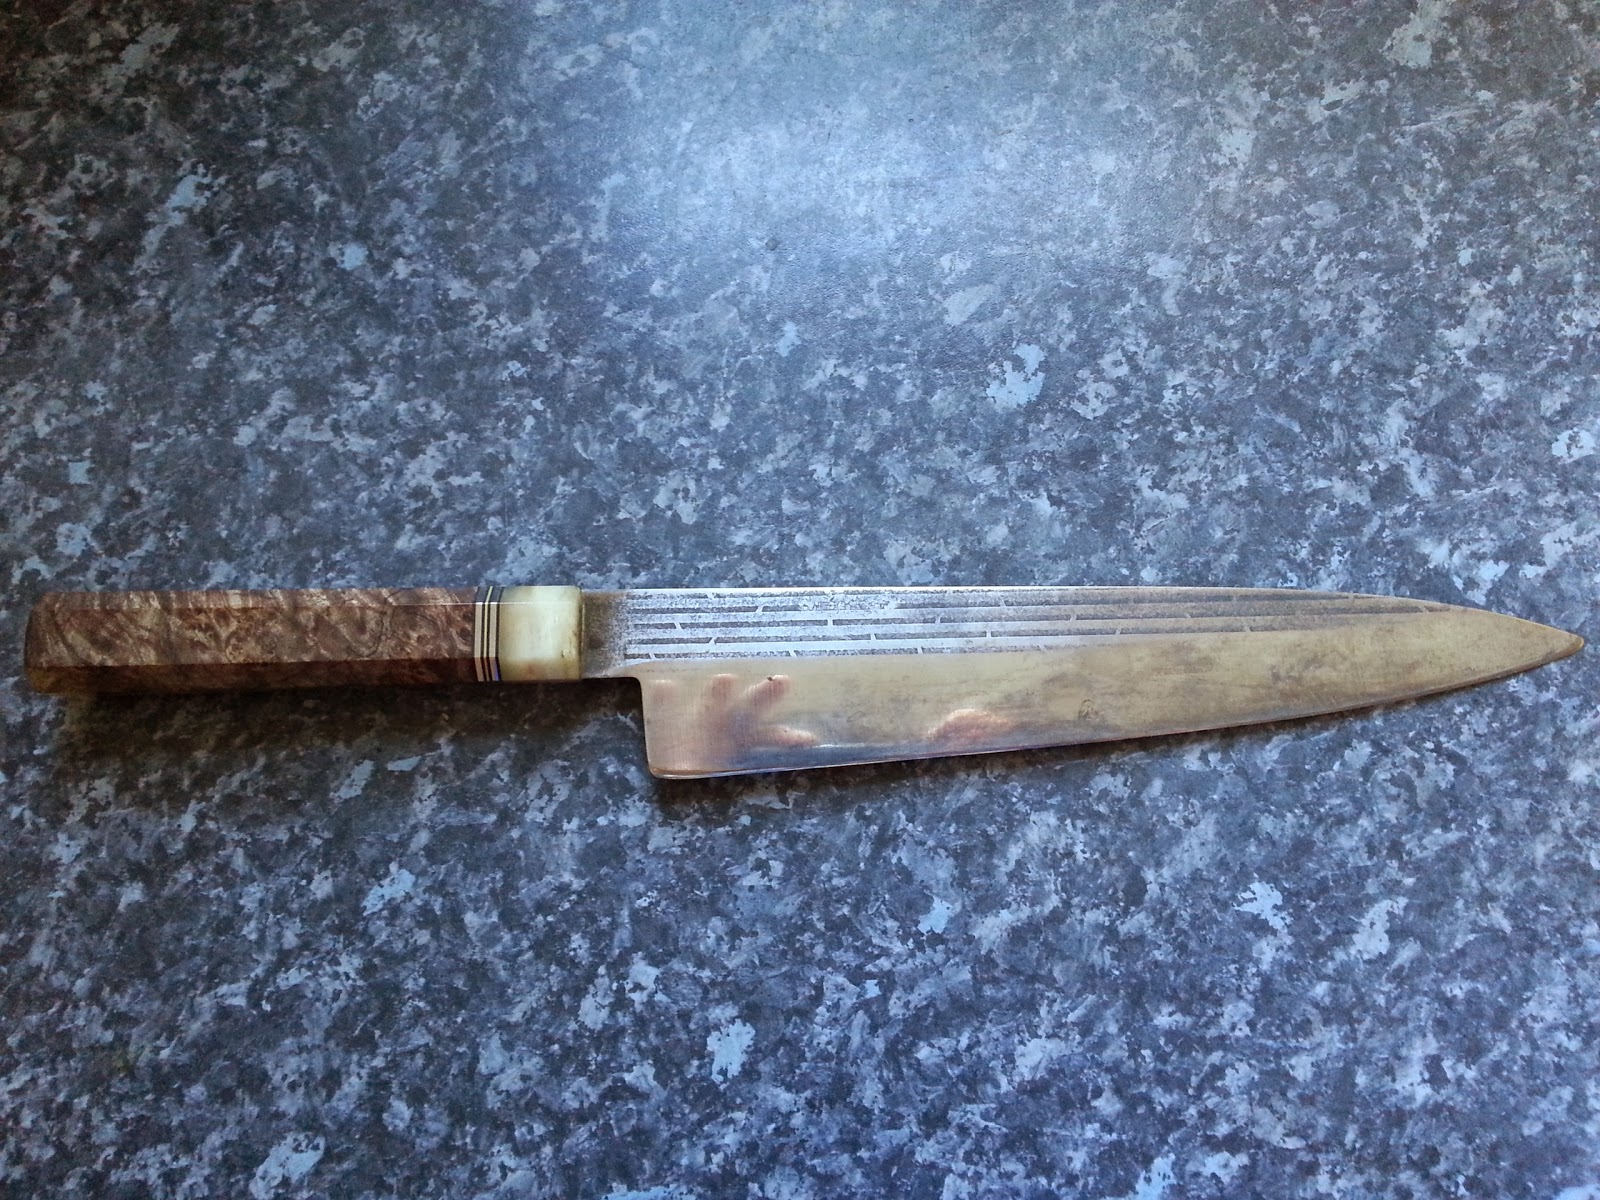
After:

Before:
After: